Evacuate, Leak-Test and Charge with One Digital Manifold
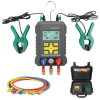
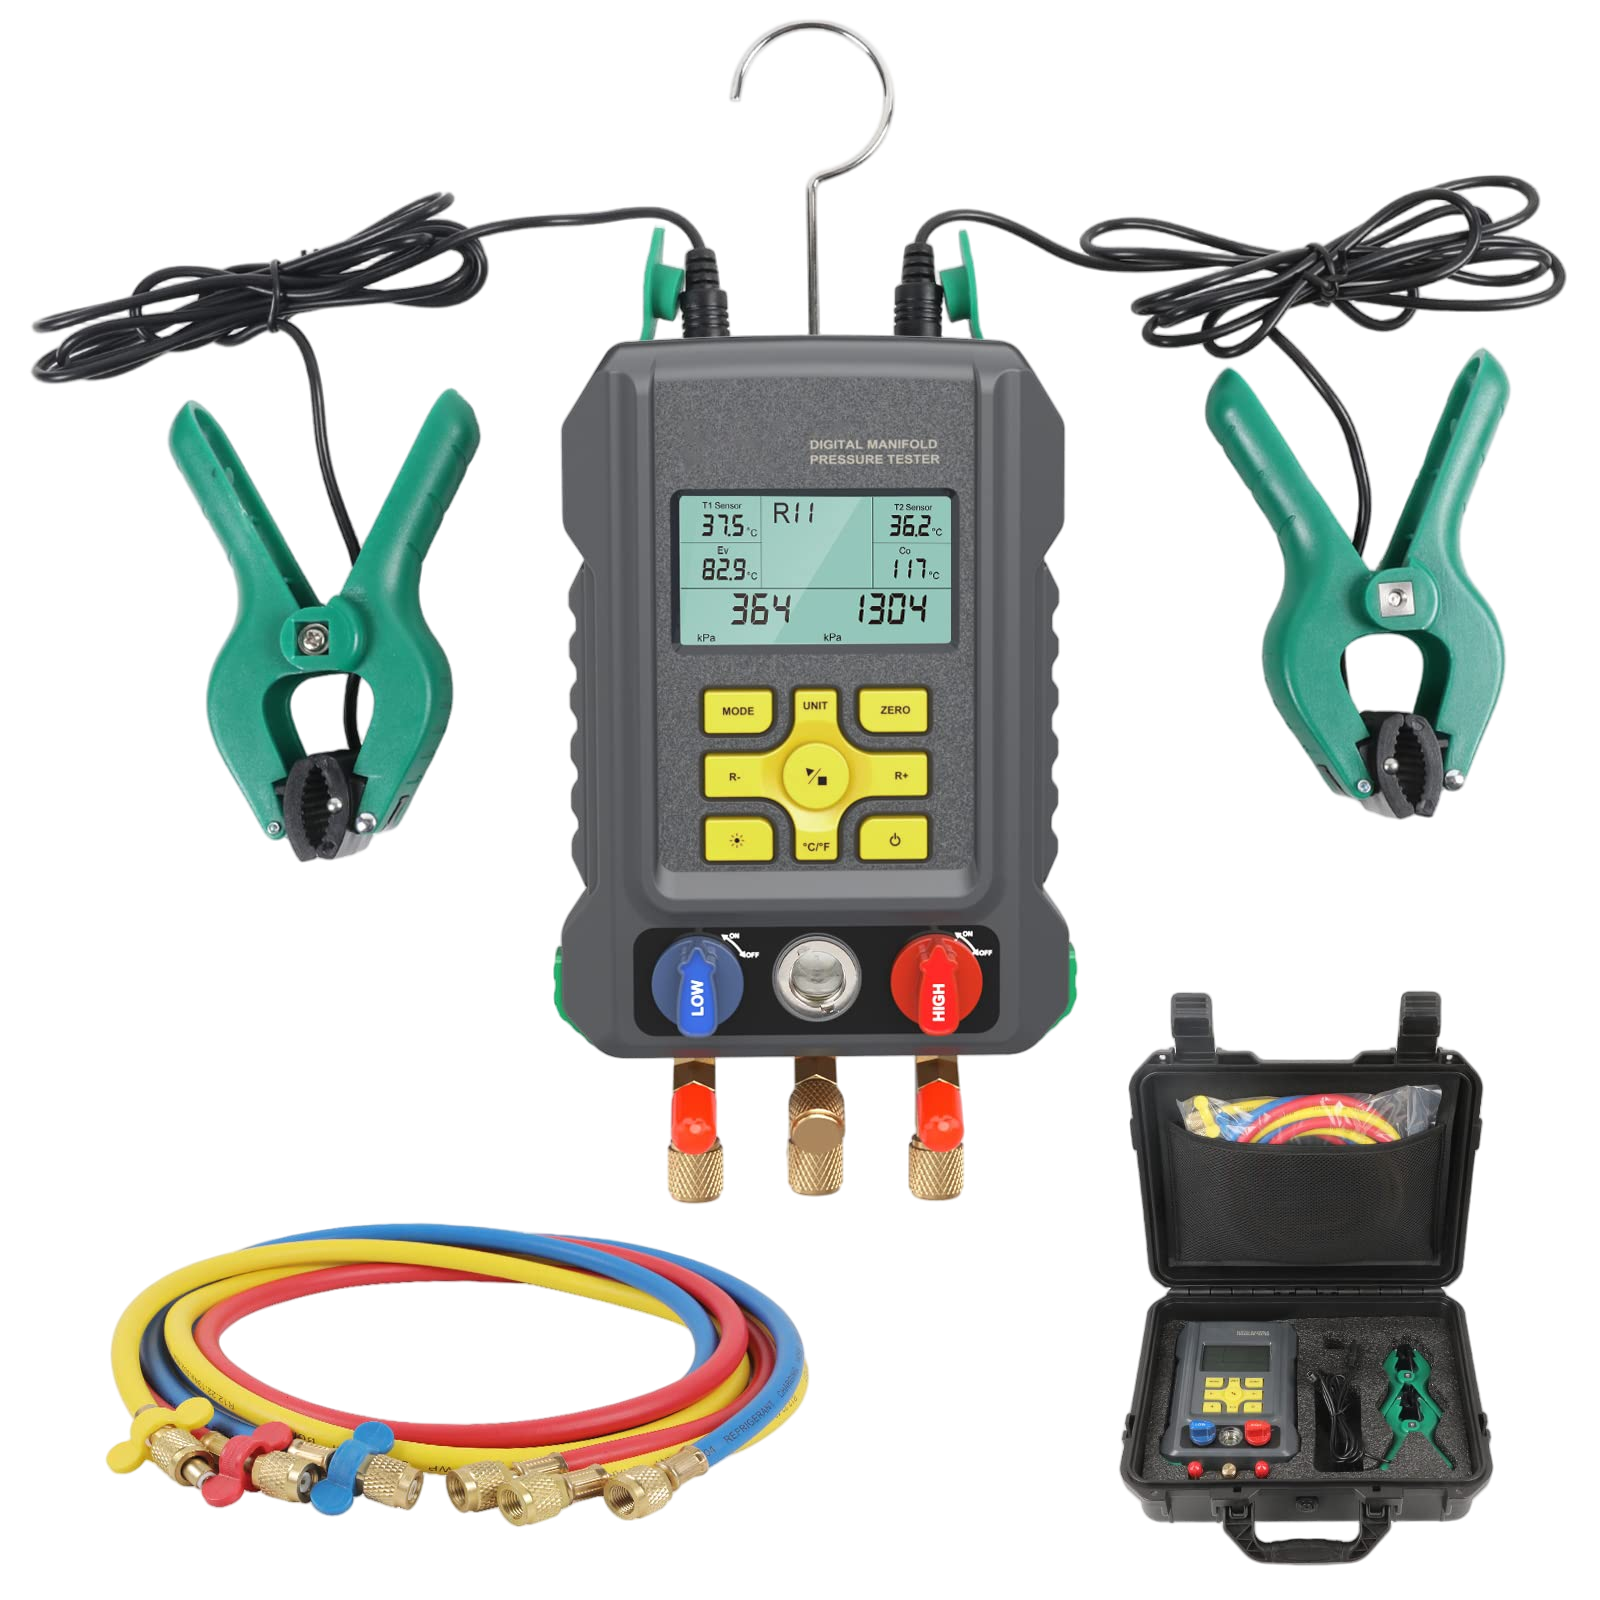
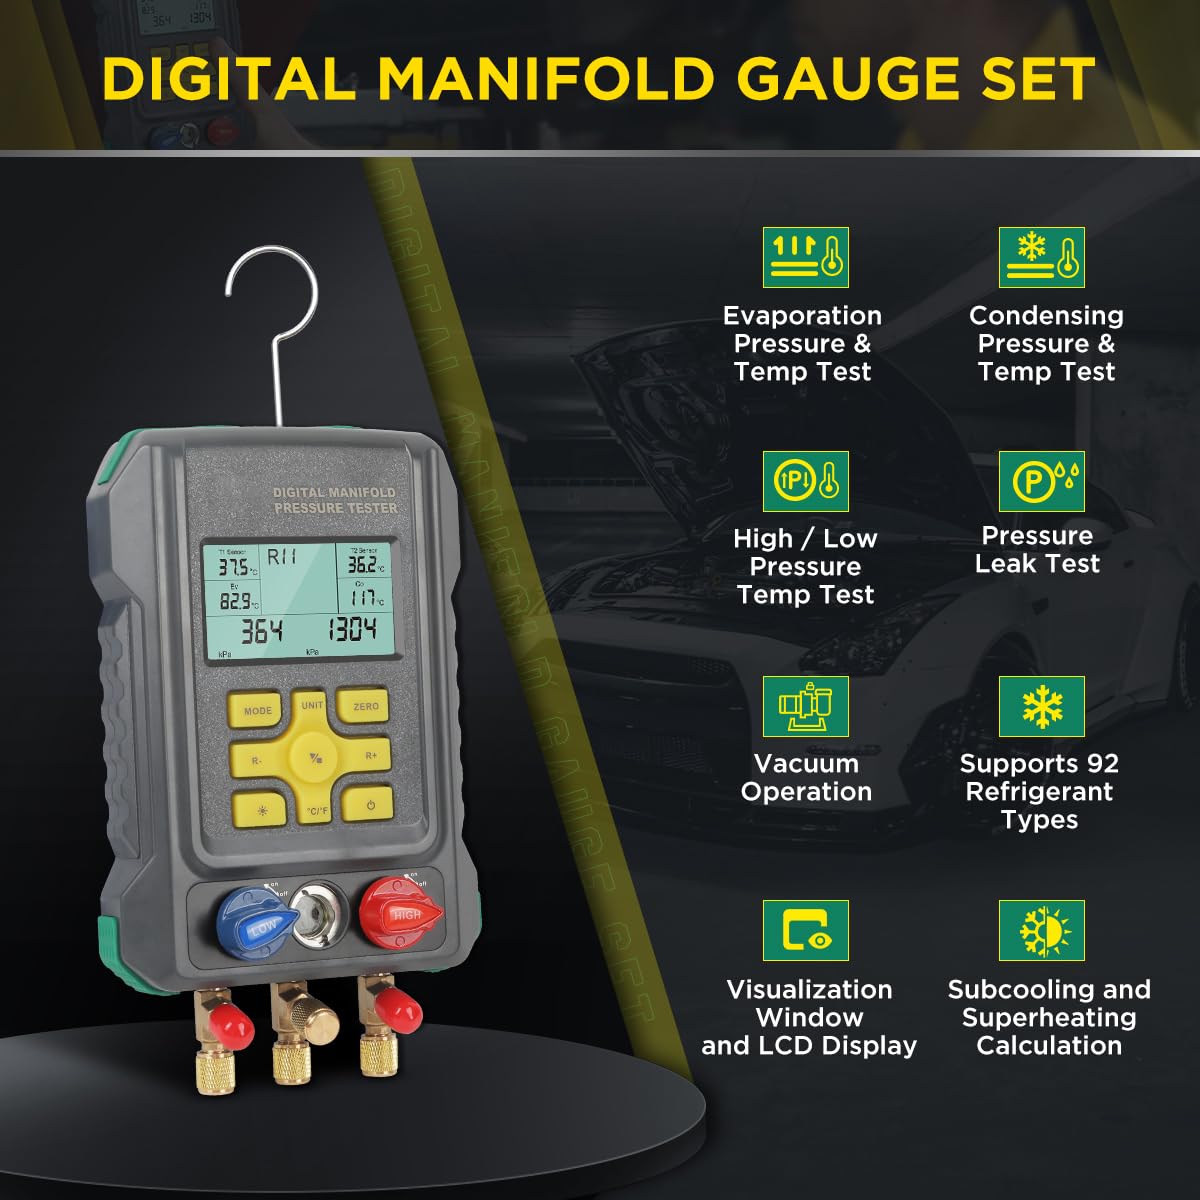
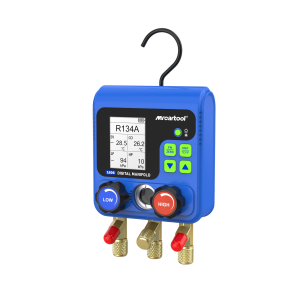
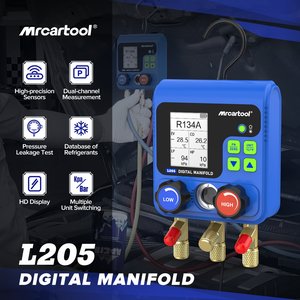
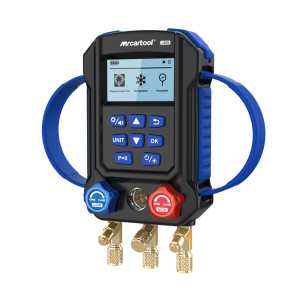
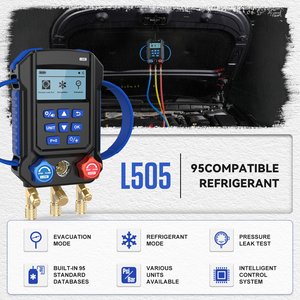
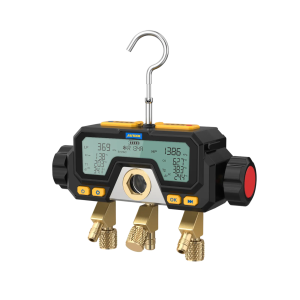
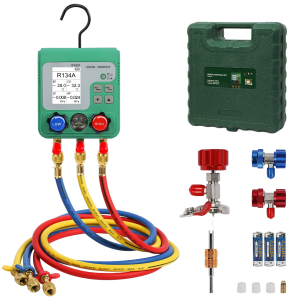
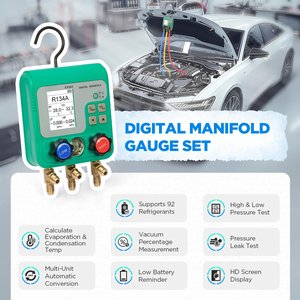
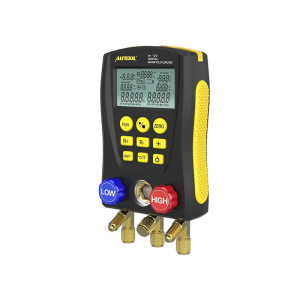
A digital manifold for installing and servicing air conditioners, refrigerators and cold storage, with a NIST-based refrigerant database that adds R438A, R448A, R449A and R452A.
- -101 to 6000 kPa
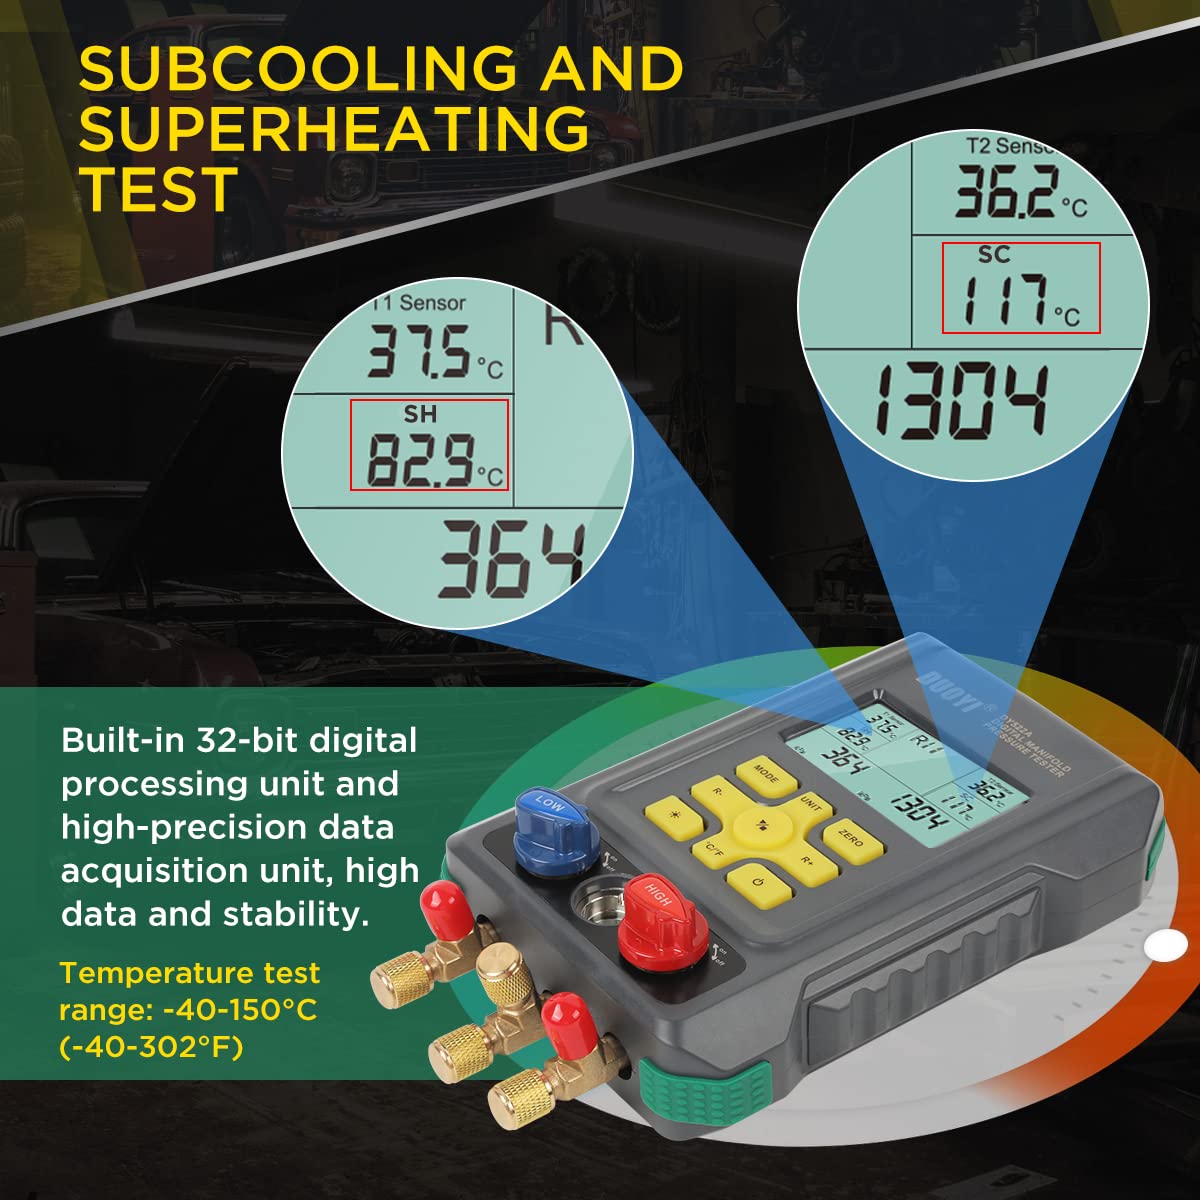
- -40 to 150°C Temp
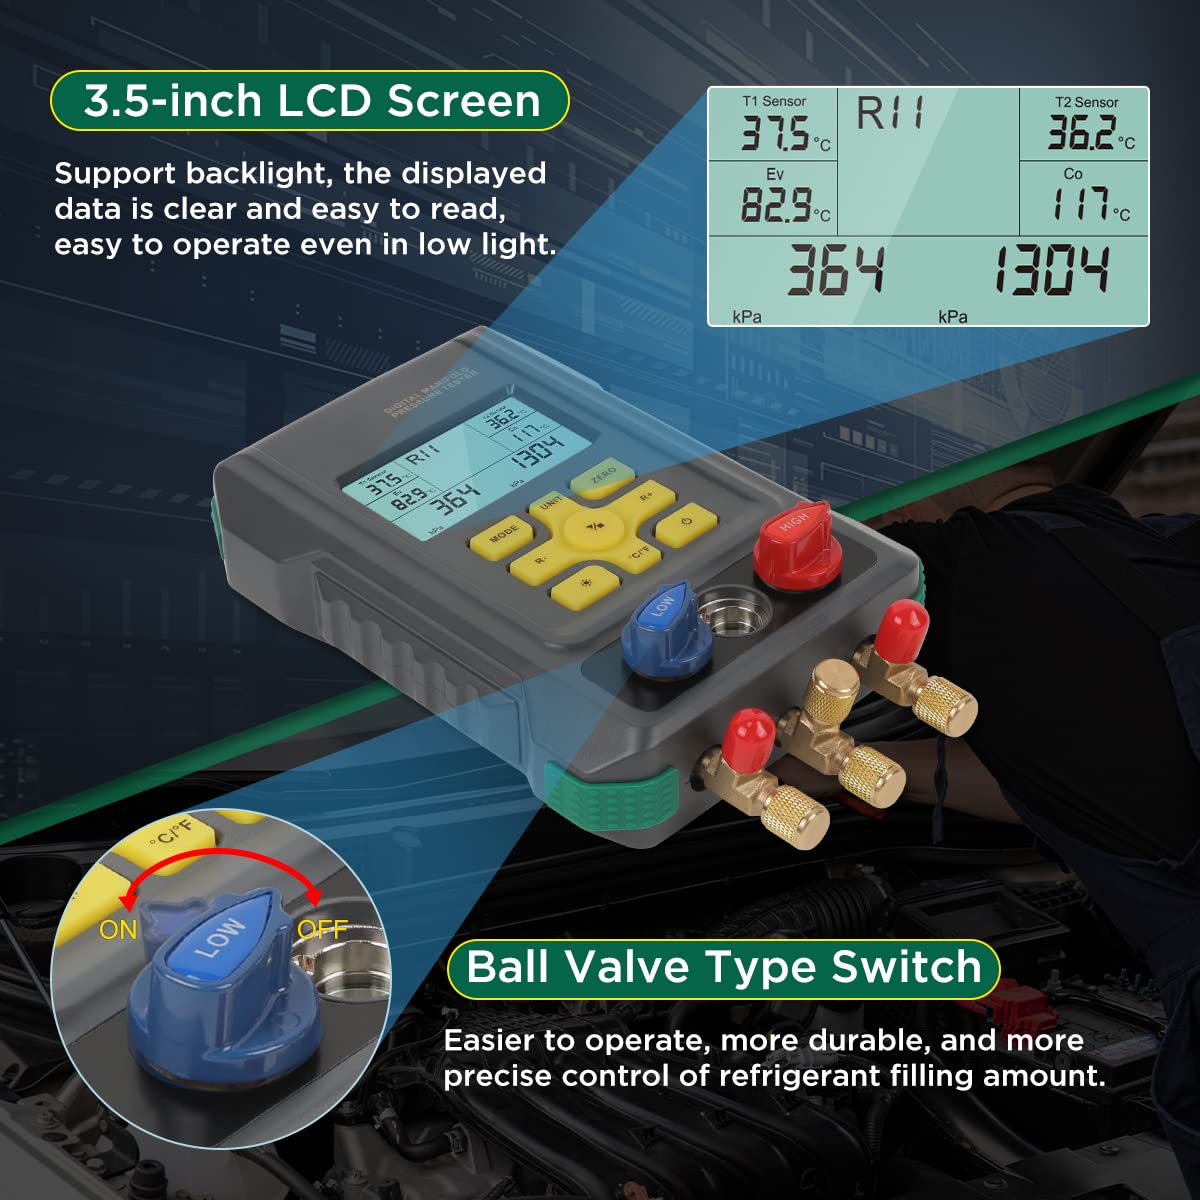
- Ball Valves
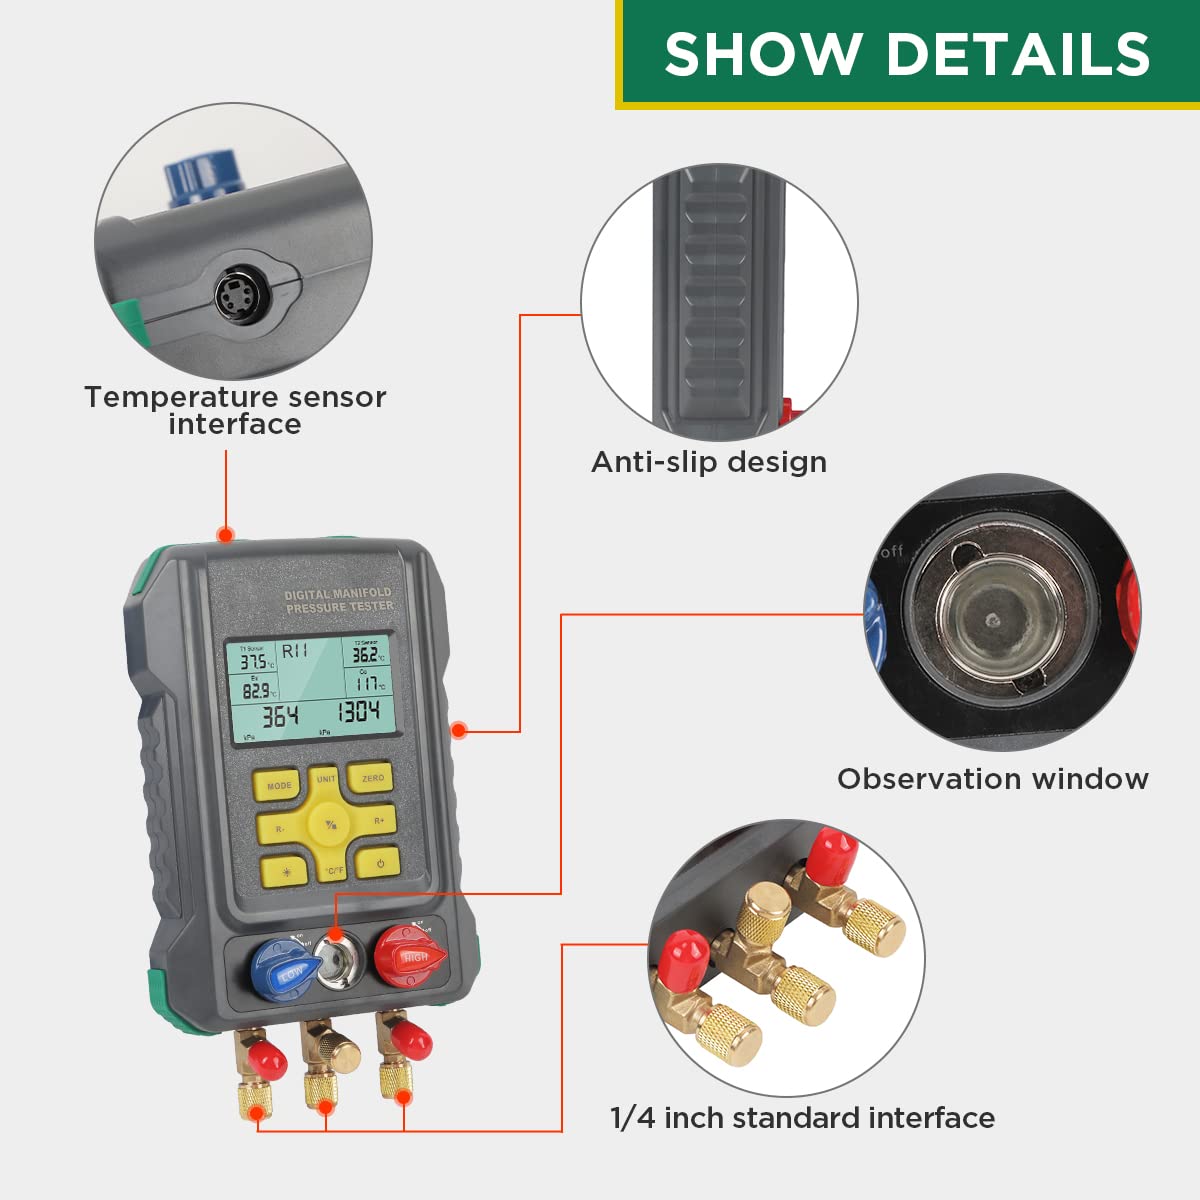
- 1/4 in Ports
- Backlit LCD
Key Features
-
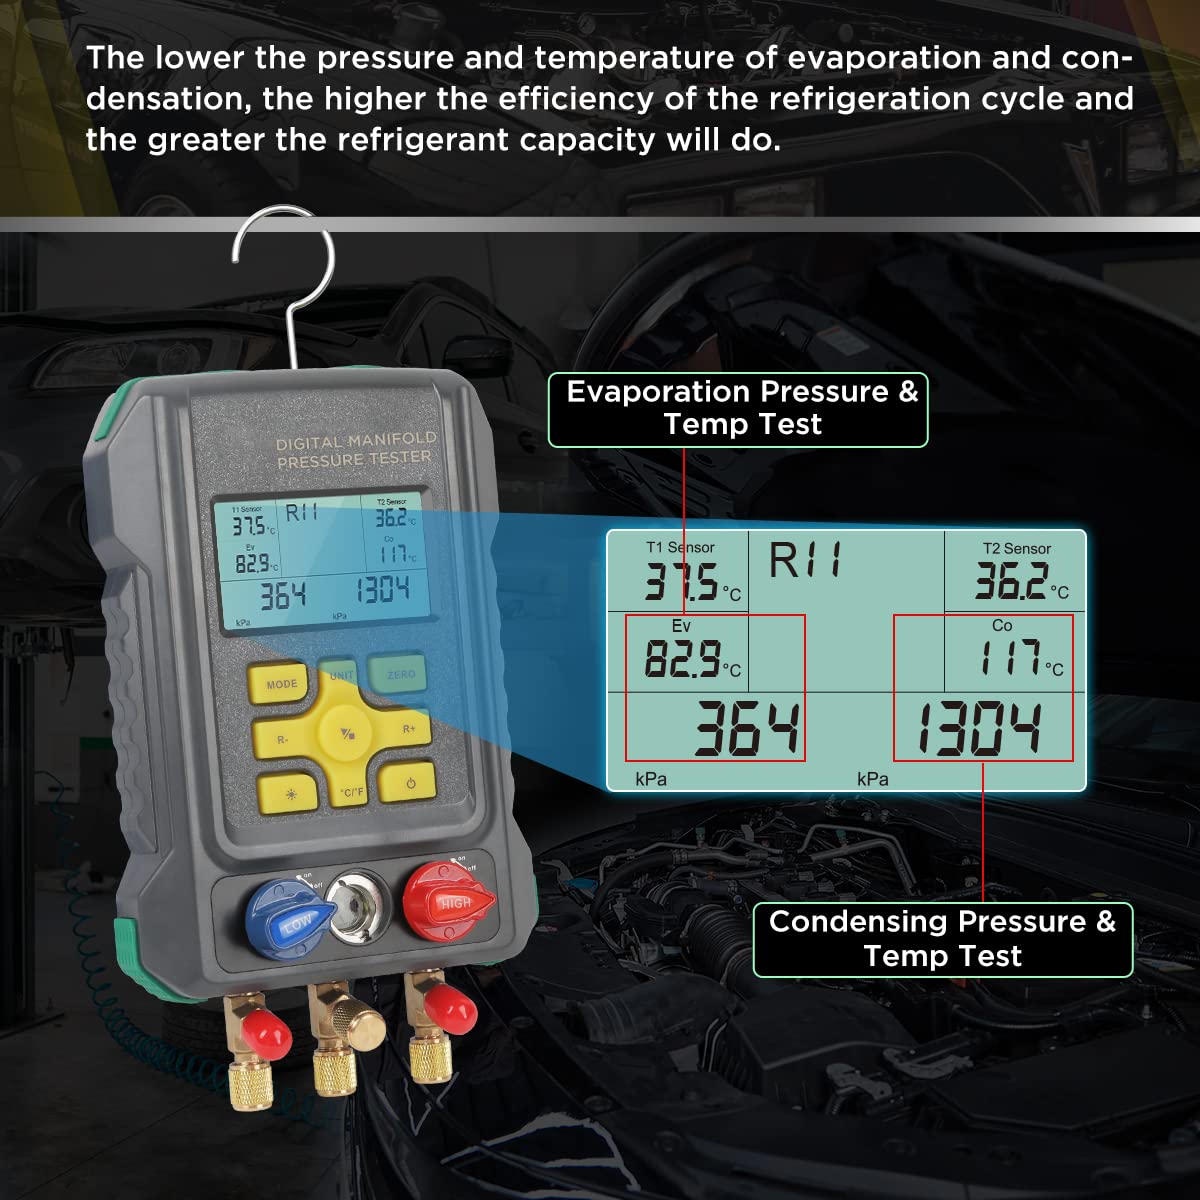
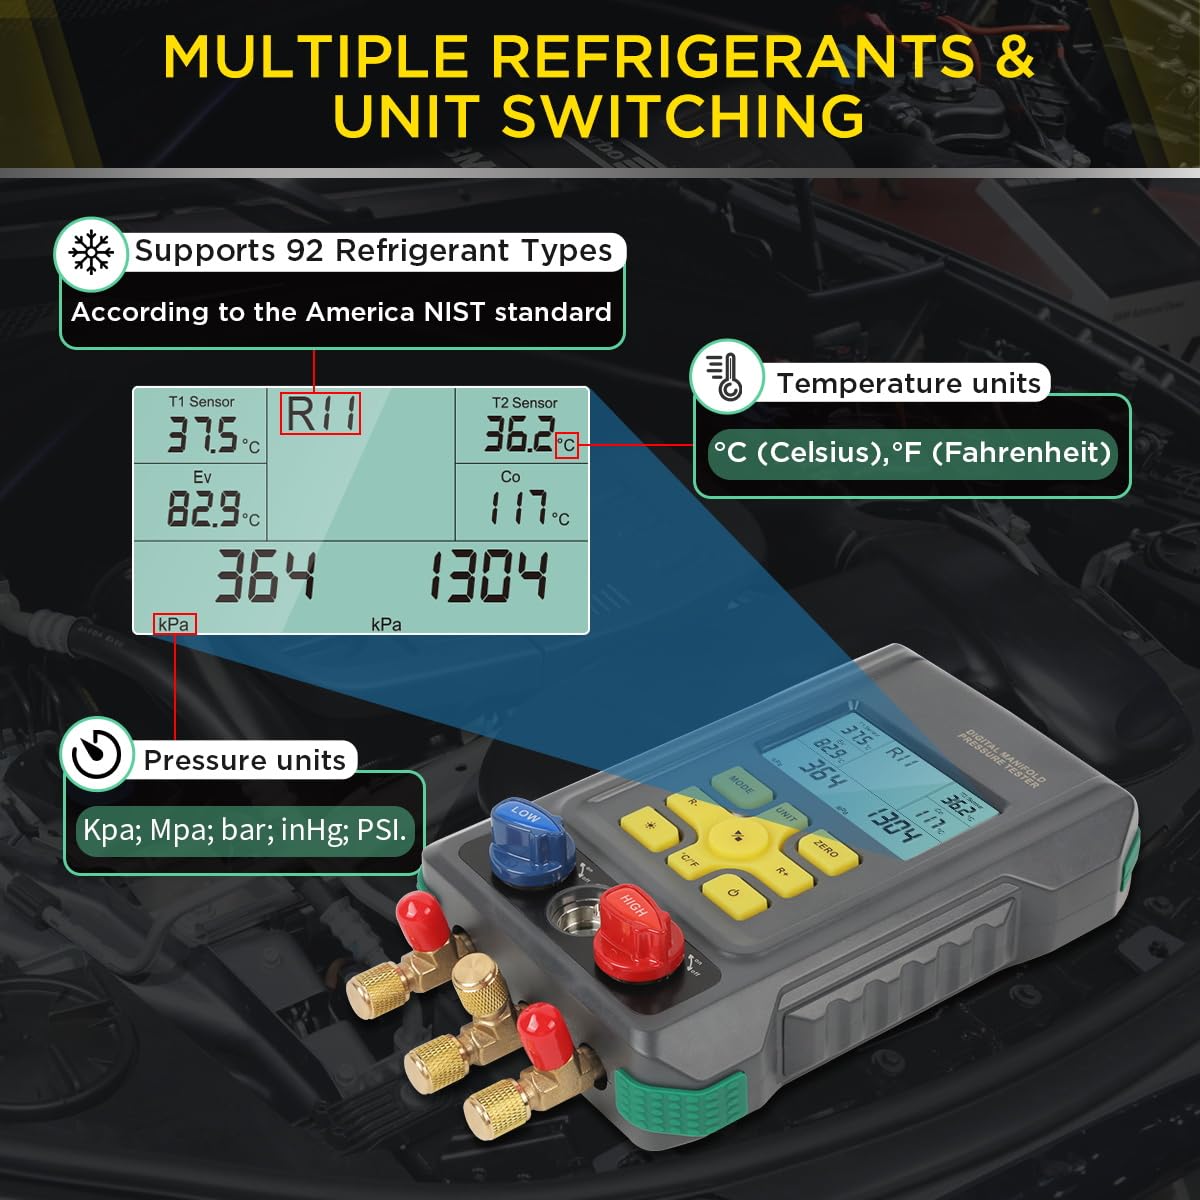
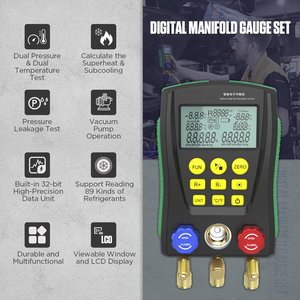
Dual Pressure, Dual Temperature
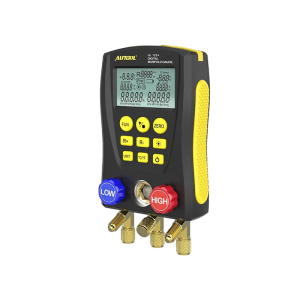
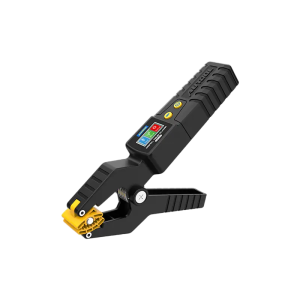
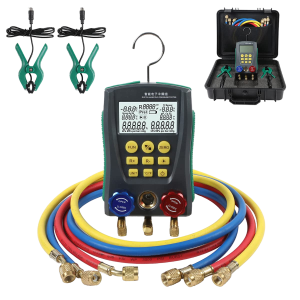
Reads both sides of the system and two clamp temperatures at once, with kPa, MPa, bar, inHg, PSI and °C/°F options.
-
Subcooling and Superheat
A 32-bit processor calculates subcooling and superheat for direct reading during service.
-
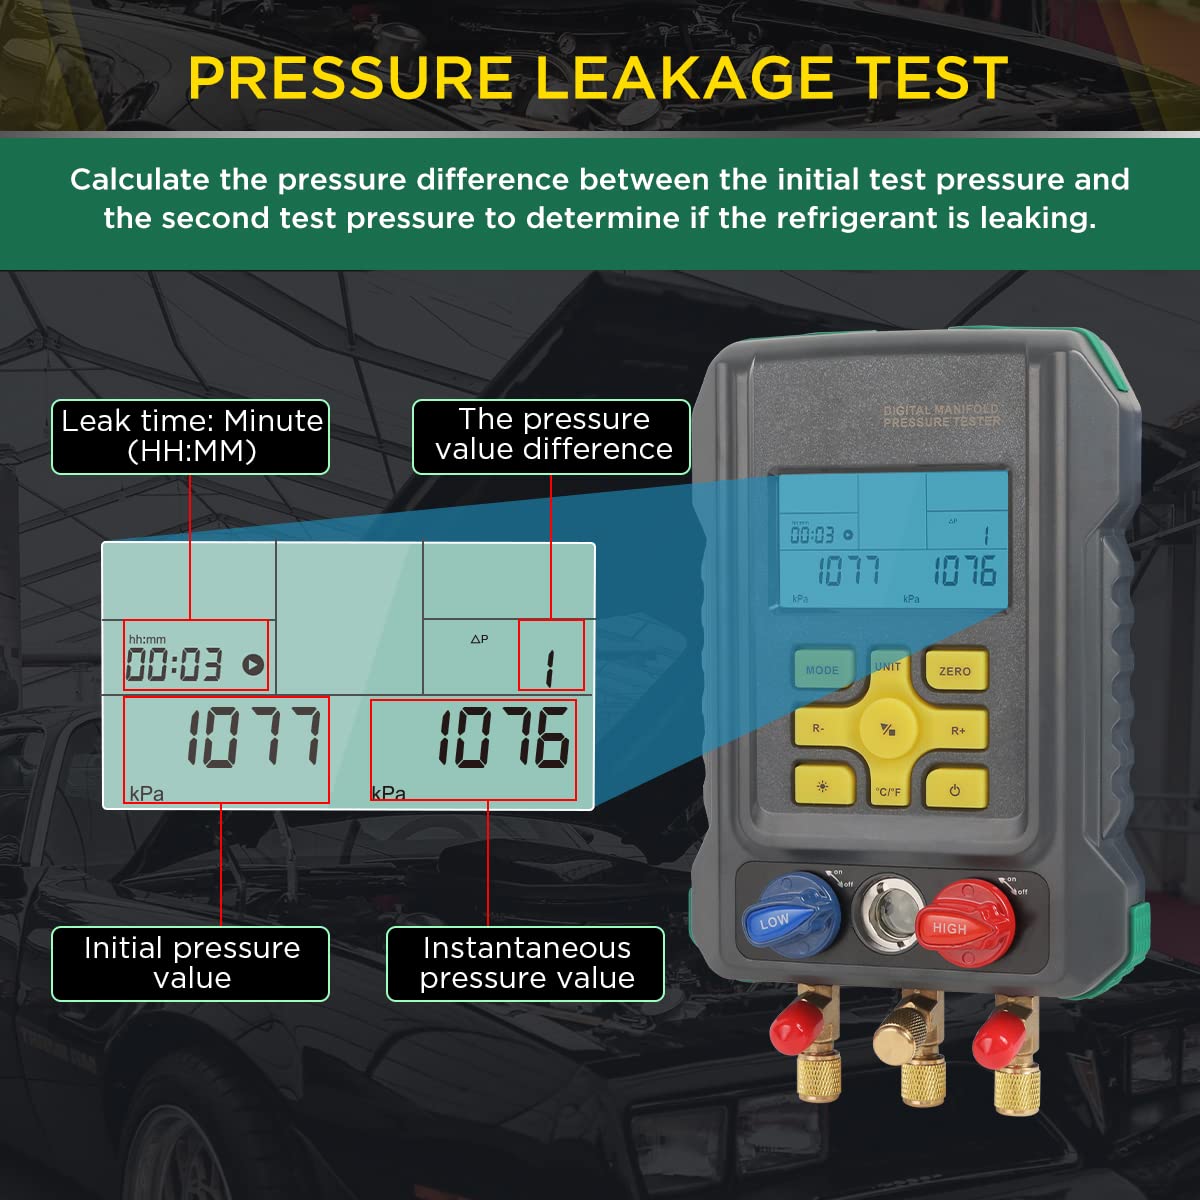
Vacuum and Leak Modes
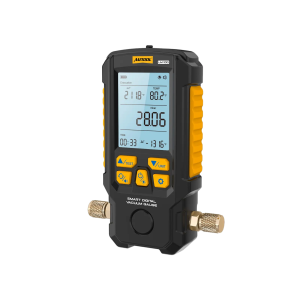
Shows vacuum percentage during evacuation, then compares pressures over time and records leak time and rate.
-
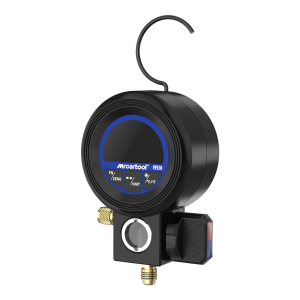
Sight Window
Lets you watch the refrigerant while charging.
-
Ball Valve Control
Ball valves give finer control and longer service life; the anti-skid body has a hanging hook.
More Specifications
| Pressure display | 0–6000 kPa, 1 kPa resolution (no negative values in pressure mode) |
|---|---|
| Pressure accuracy | ±0.5% FS + 5 digits |
| Overload limit | 10000 kPa (10 MPa / 100 bar) |
| Vacuum range | -101 to 0 kPa, 1 kPa resolution |
| Temperature resolution | 0.1°C below 100°C; 1°C from 100 to 150°C |
| Temperature accuracy | ±0.5°C + 2 digits (±0.9°F + 2 digits) |
| Power | 4 × 1.5V AA (LR6) |
How to Use
- Set up for vacuumClose the red and blue valves, power on and select vacuum mode; if stray digits show, hold the zero button until the readings return to zero.
- Connect and evacuateConnect to the system in the direction of refrigerant flow, open both valves and start the vacuum pump.
- Close and check for leaksClose both valves, switch off the pump and use leak test mode to confirm the system holds.
- Select refrigerantIn pressure mode, choose the refrigerant with R+/R- and set the units.
- Purge the hosesOpen the refrigerant cylinder valve and briefly press the pressure release valve to vent air from the hoses.
- ChargeWith the system off, add some refrigerant through the red valve and close it; then run the system and charge through the blue valve.
- Disconnect safelyClose all valves and wait for high-side pressure to fall to a safe level before removing that hose.
Charging procedures differ by equipment and refrigerant; follow the equipment maker’s requirements.
Good to Know
Caution
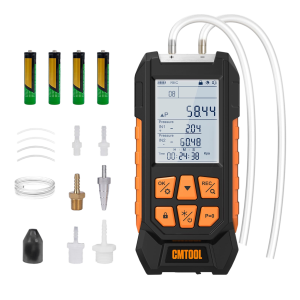
- Batteries (4 × AA) are not included.









 English
  German
  Spanish