
Heated Ultrasonic Cleaning for Small, Intricate Parts
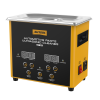
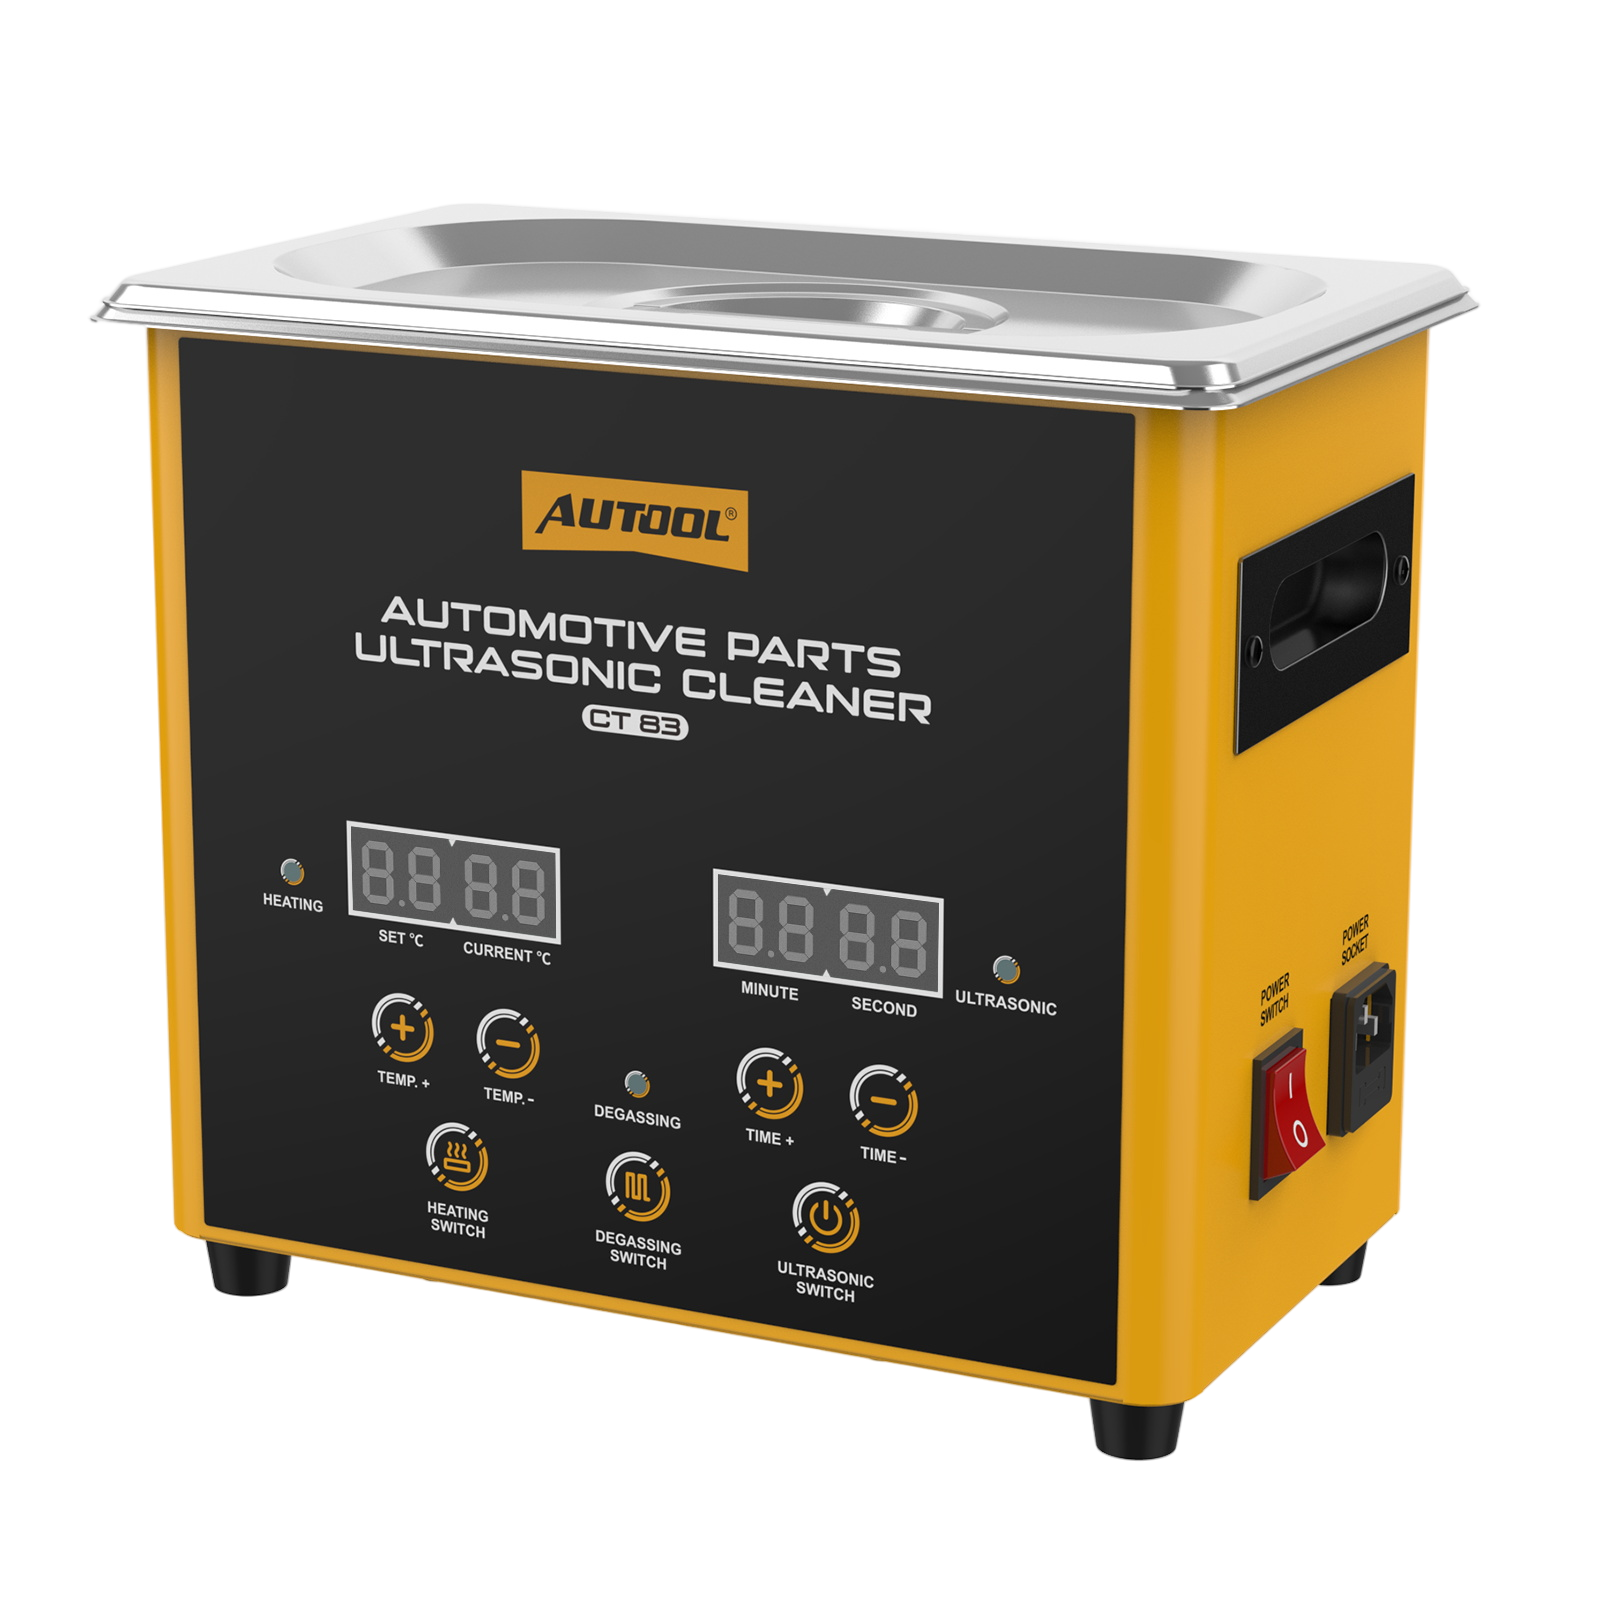
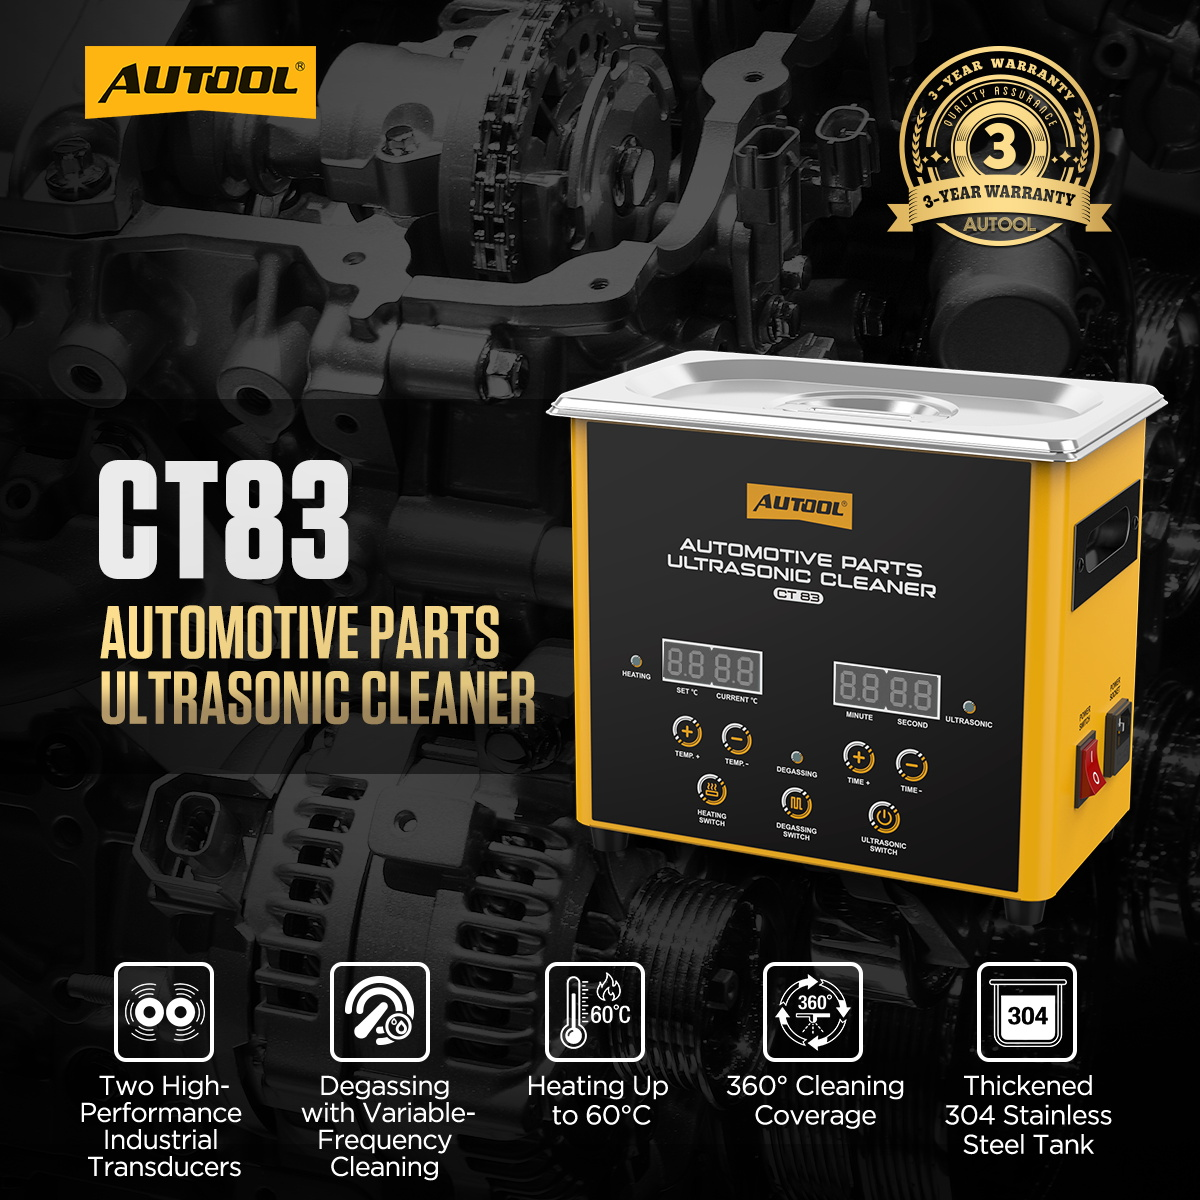
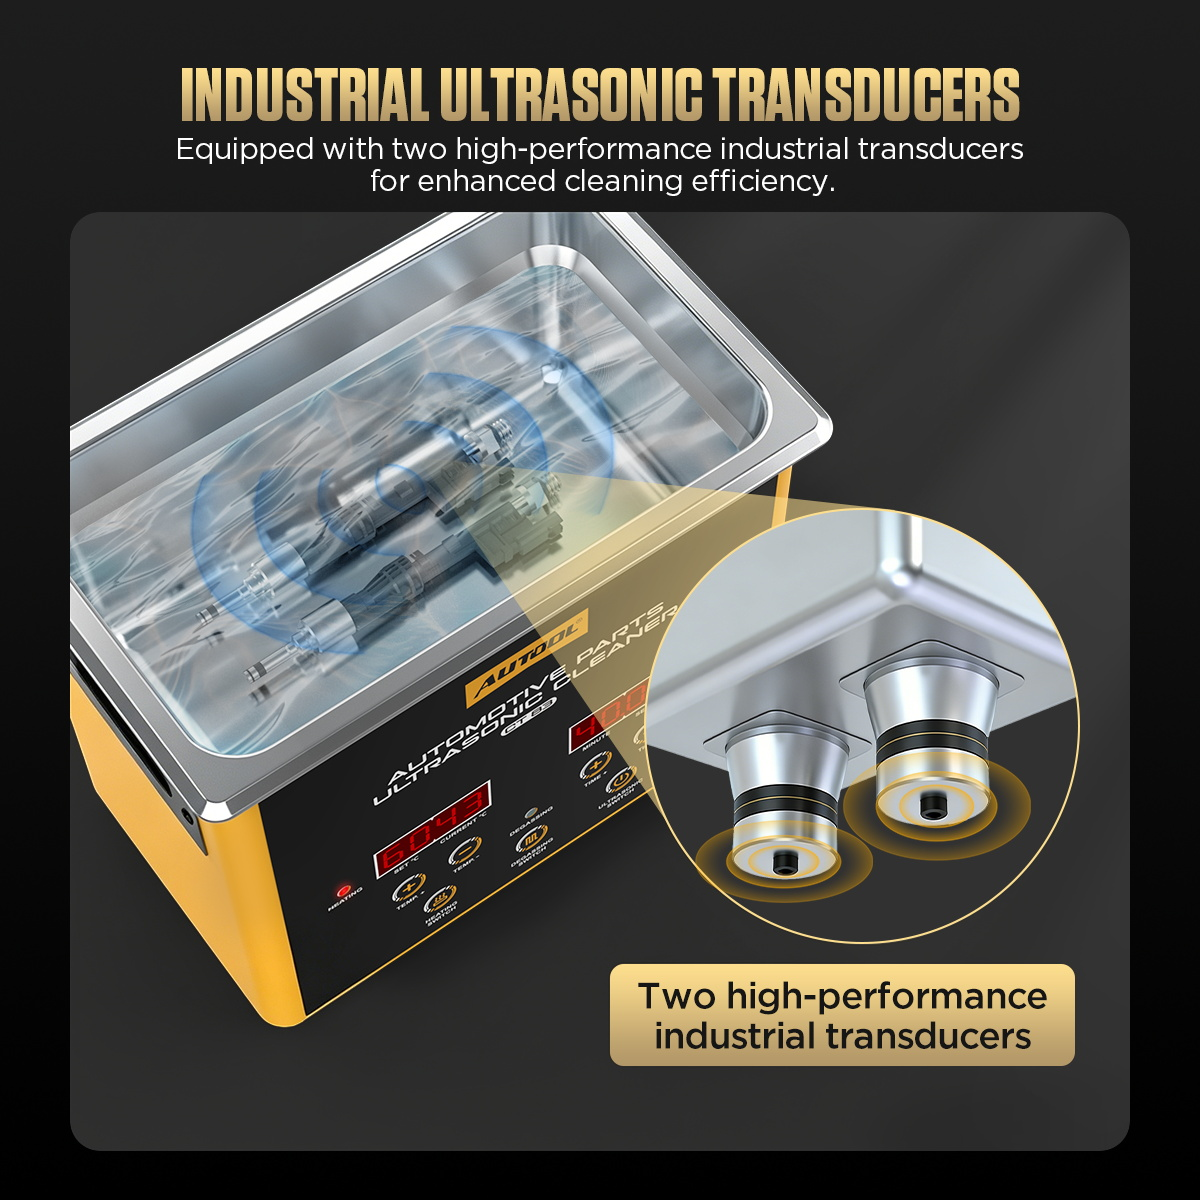
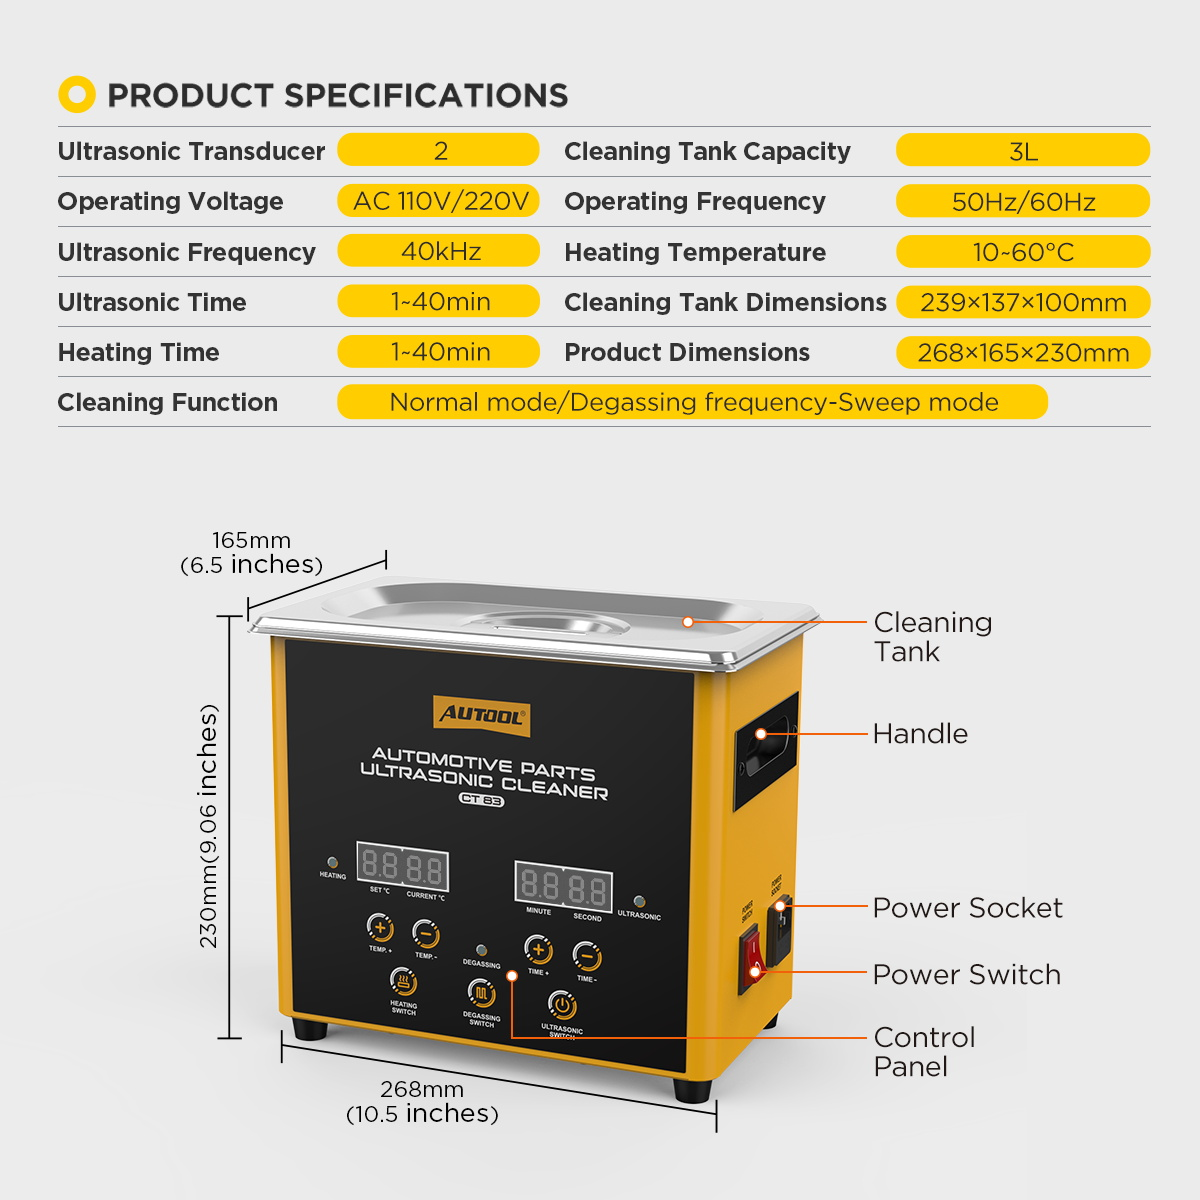
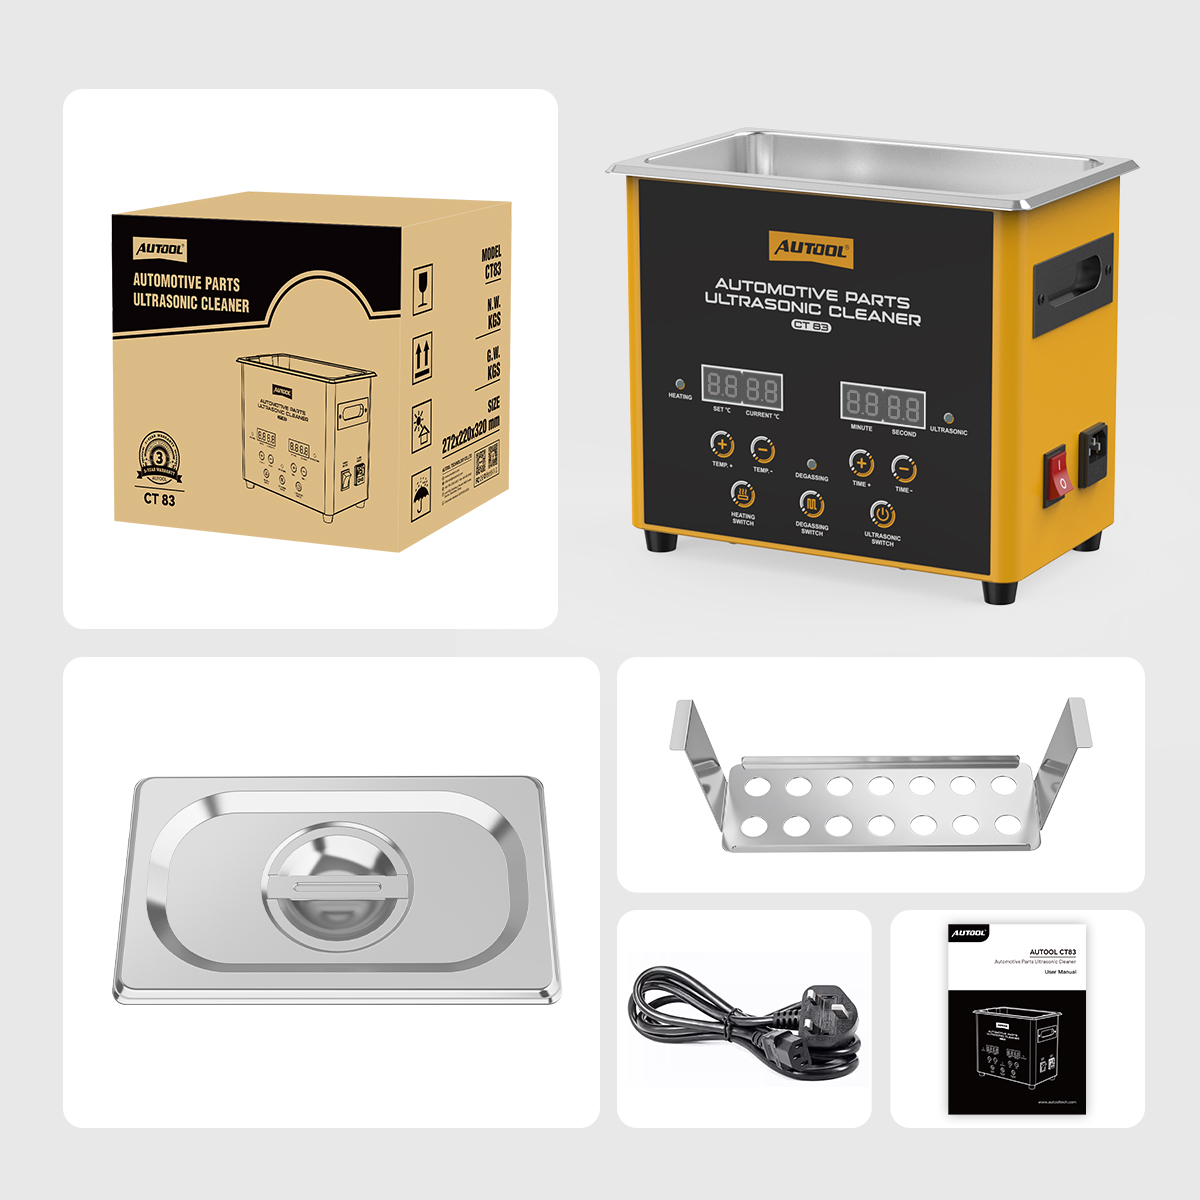
The CT83 cleans small immersible parts such as injector components, sensors and valves in a heated stainless steel bath, with two ultrasonic transducers and a degassing mode for complex surfaces. It cleans but does not test injectors.
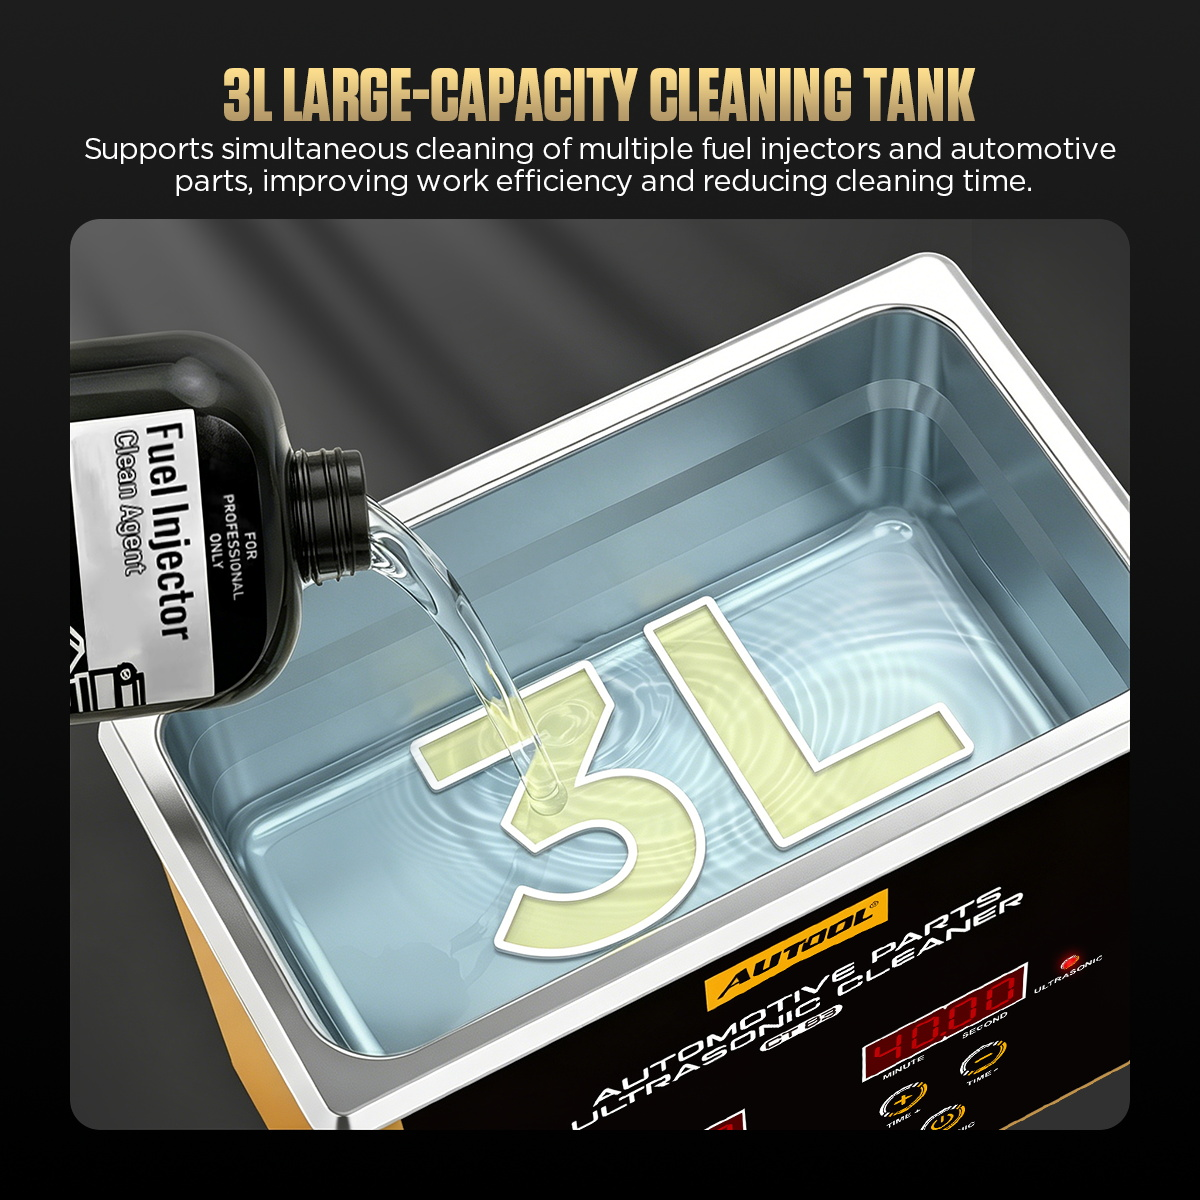
- 3 L Tank + Basket
- 2 × 40 kHz Transducers
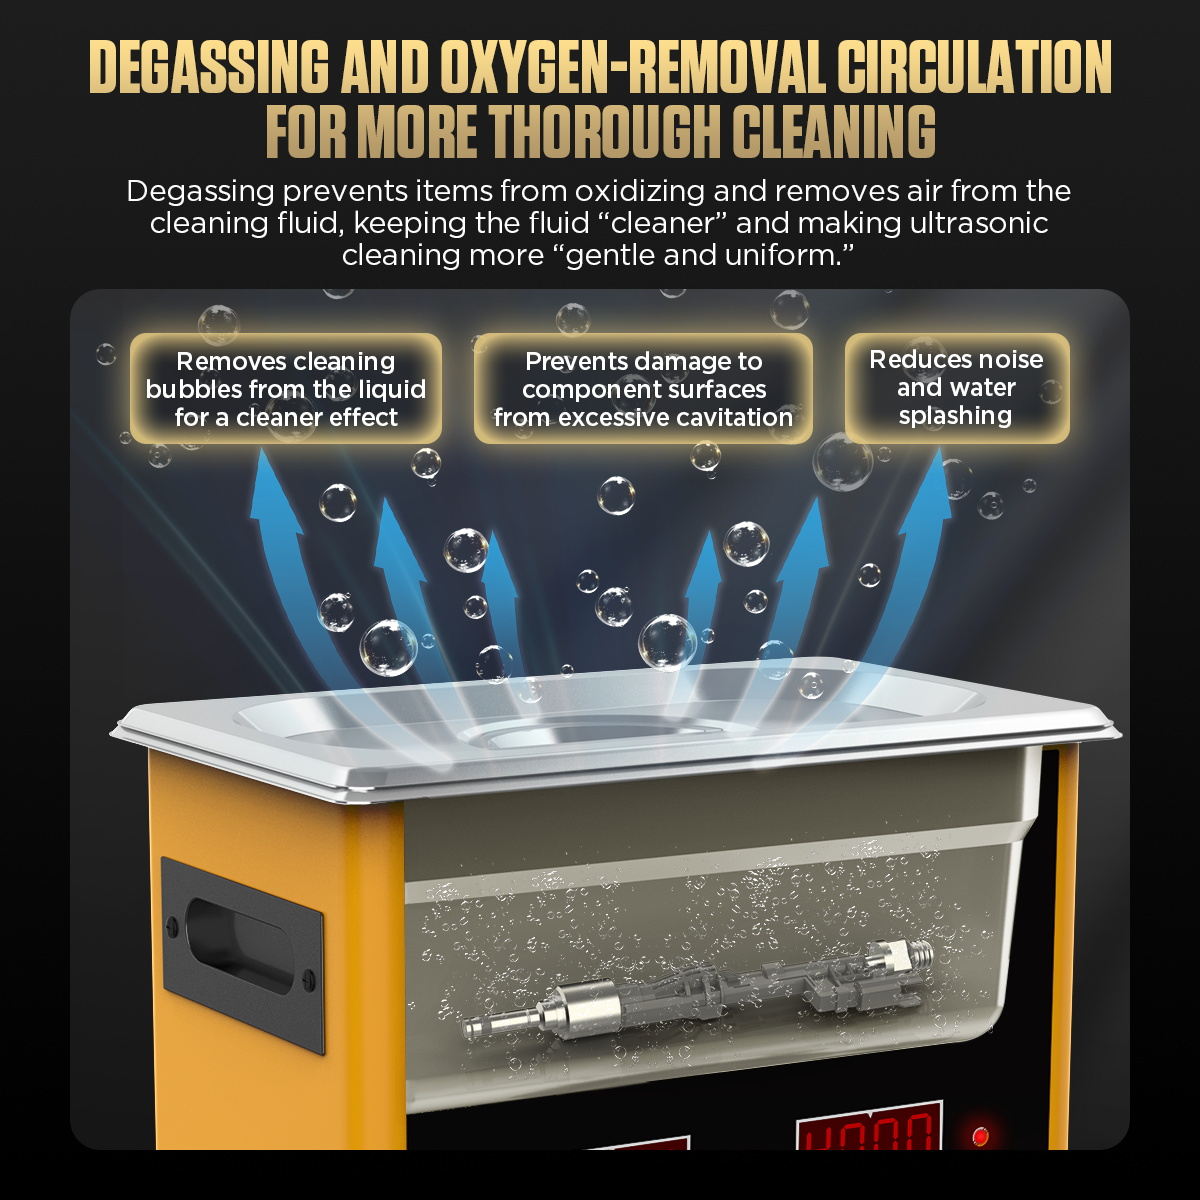
- Normal / Degassing Modes
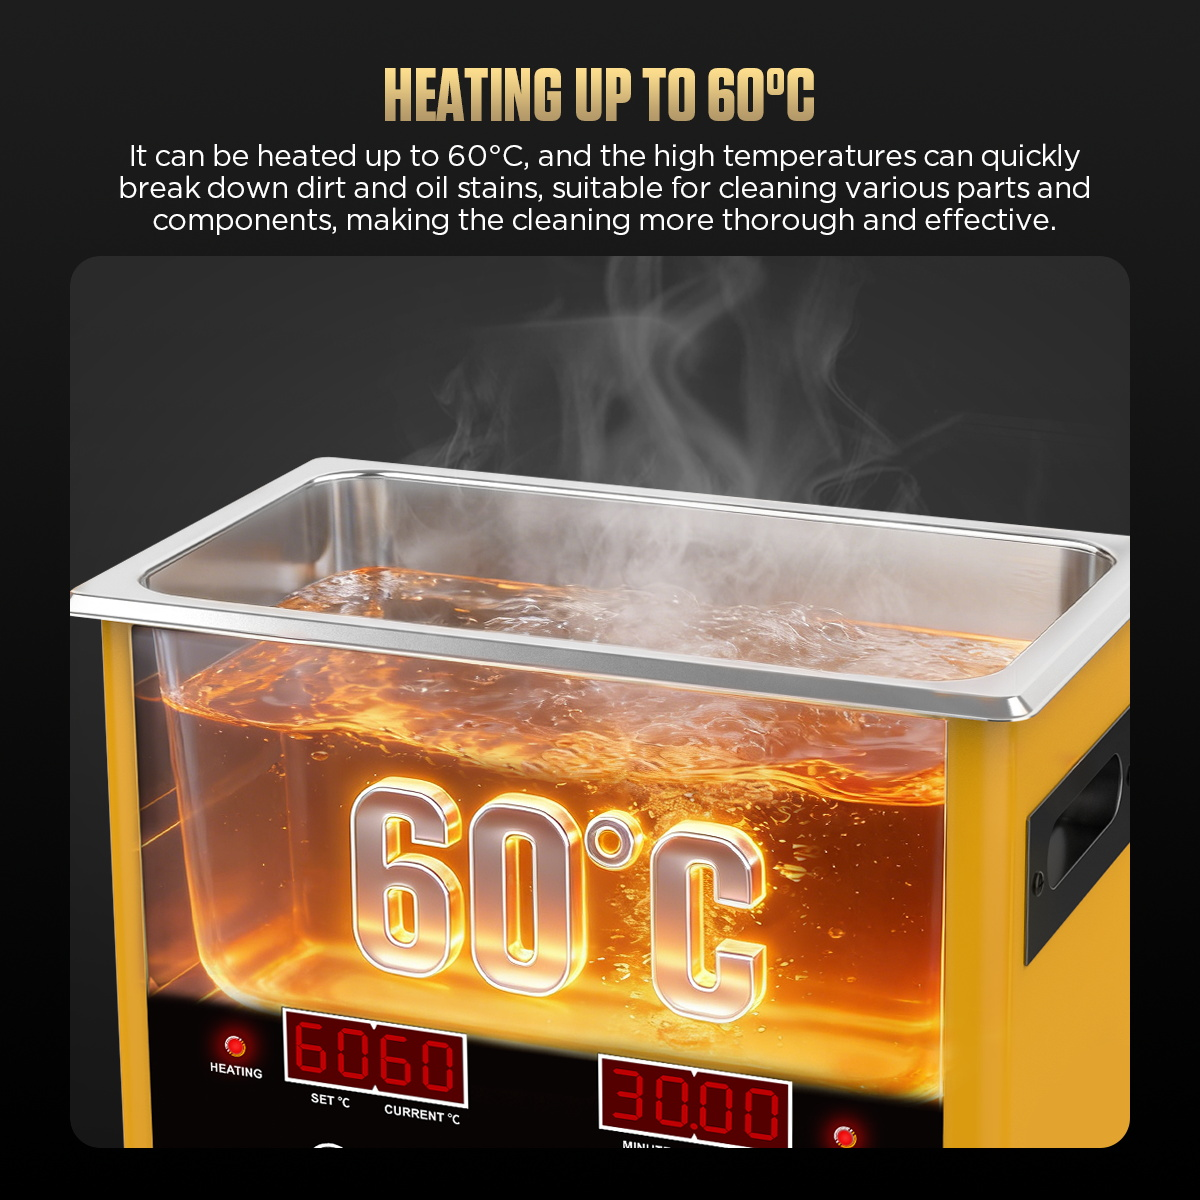
- 10–60°C Heating
- Separate 1–40 min Timers
Key Features
-
Two Ultrasonic Transducers
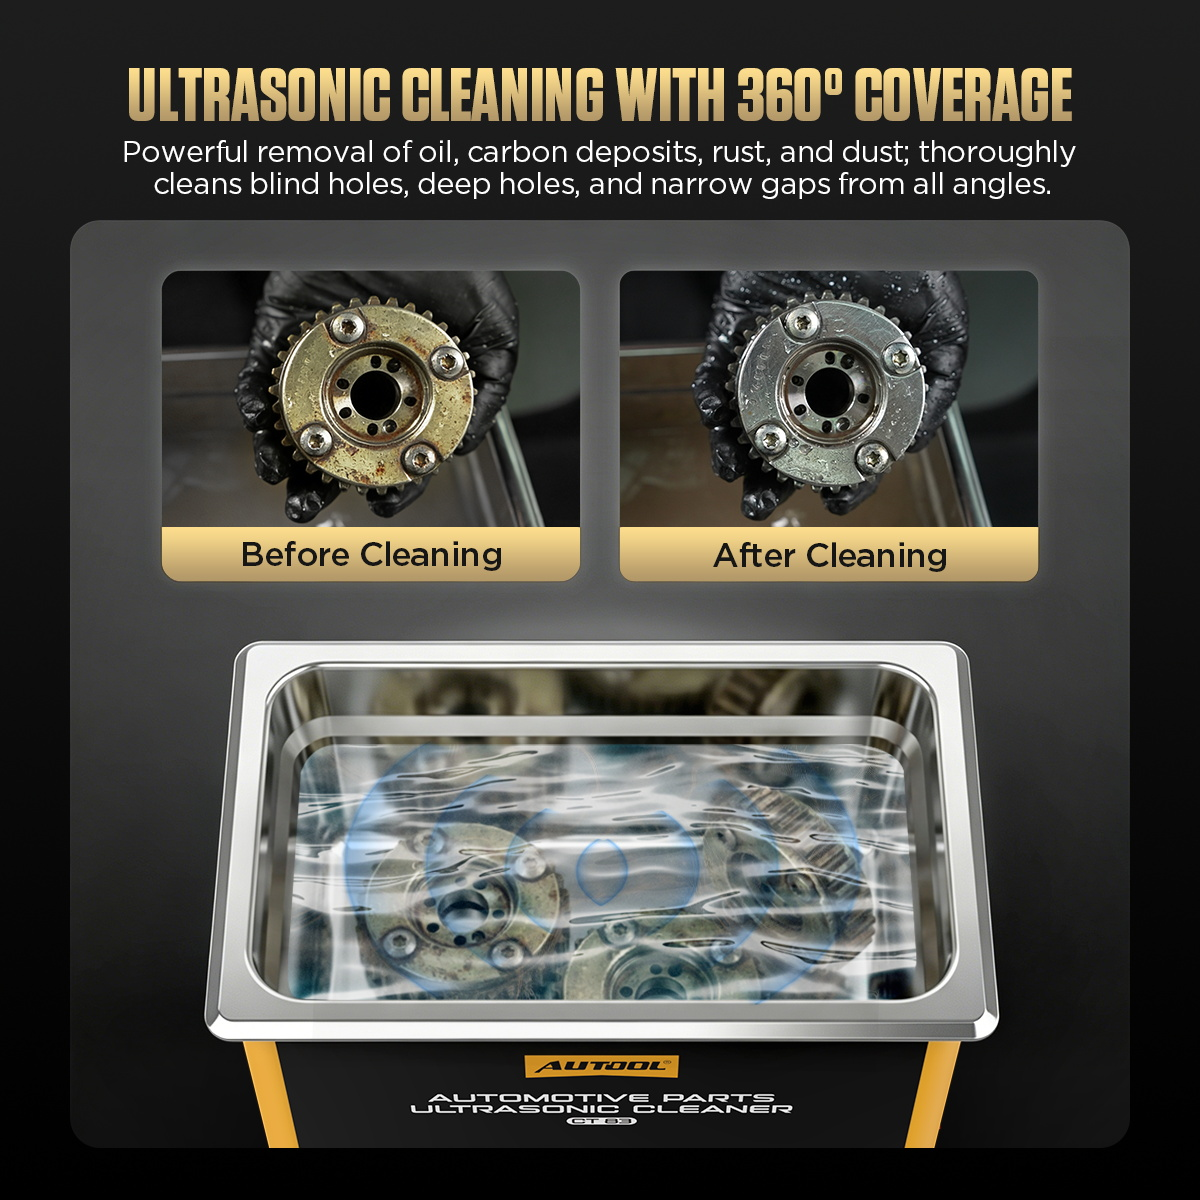
Cavitation bubbles in the fluid collapse against immersed surfaces, loosening dirt, grease, carbon and residue when the fluid and cycle suit the material.
-
Normal and Degassing Modes
The unit starts in Normal Mode; Degassing & Variable-Frequency Mode helps release trapped air from the fluid and supports cavitation around complex shapes.
-
Adjustable Heating
Set the temperature to suit the fluid and part; a buzzer sounds when the set temperature is reached.
-
Independent Timers, Auto Stop
Heating time and cleaning time are set separately; a signal marks the end of the cycle and the machine stops automatically.
-
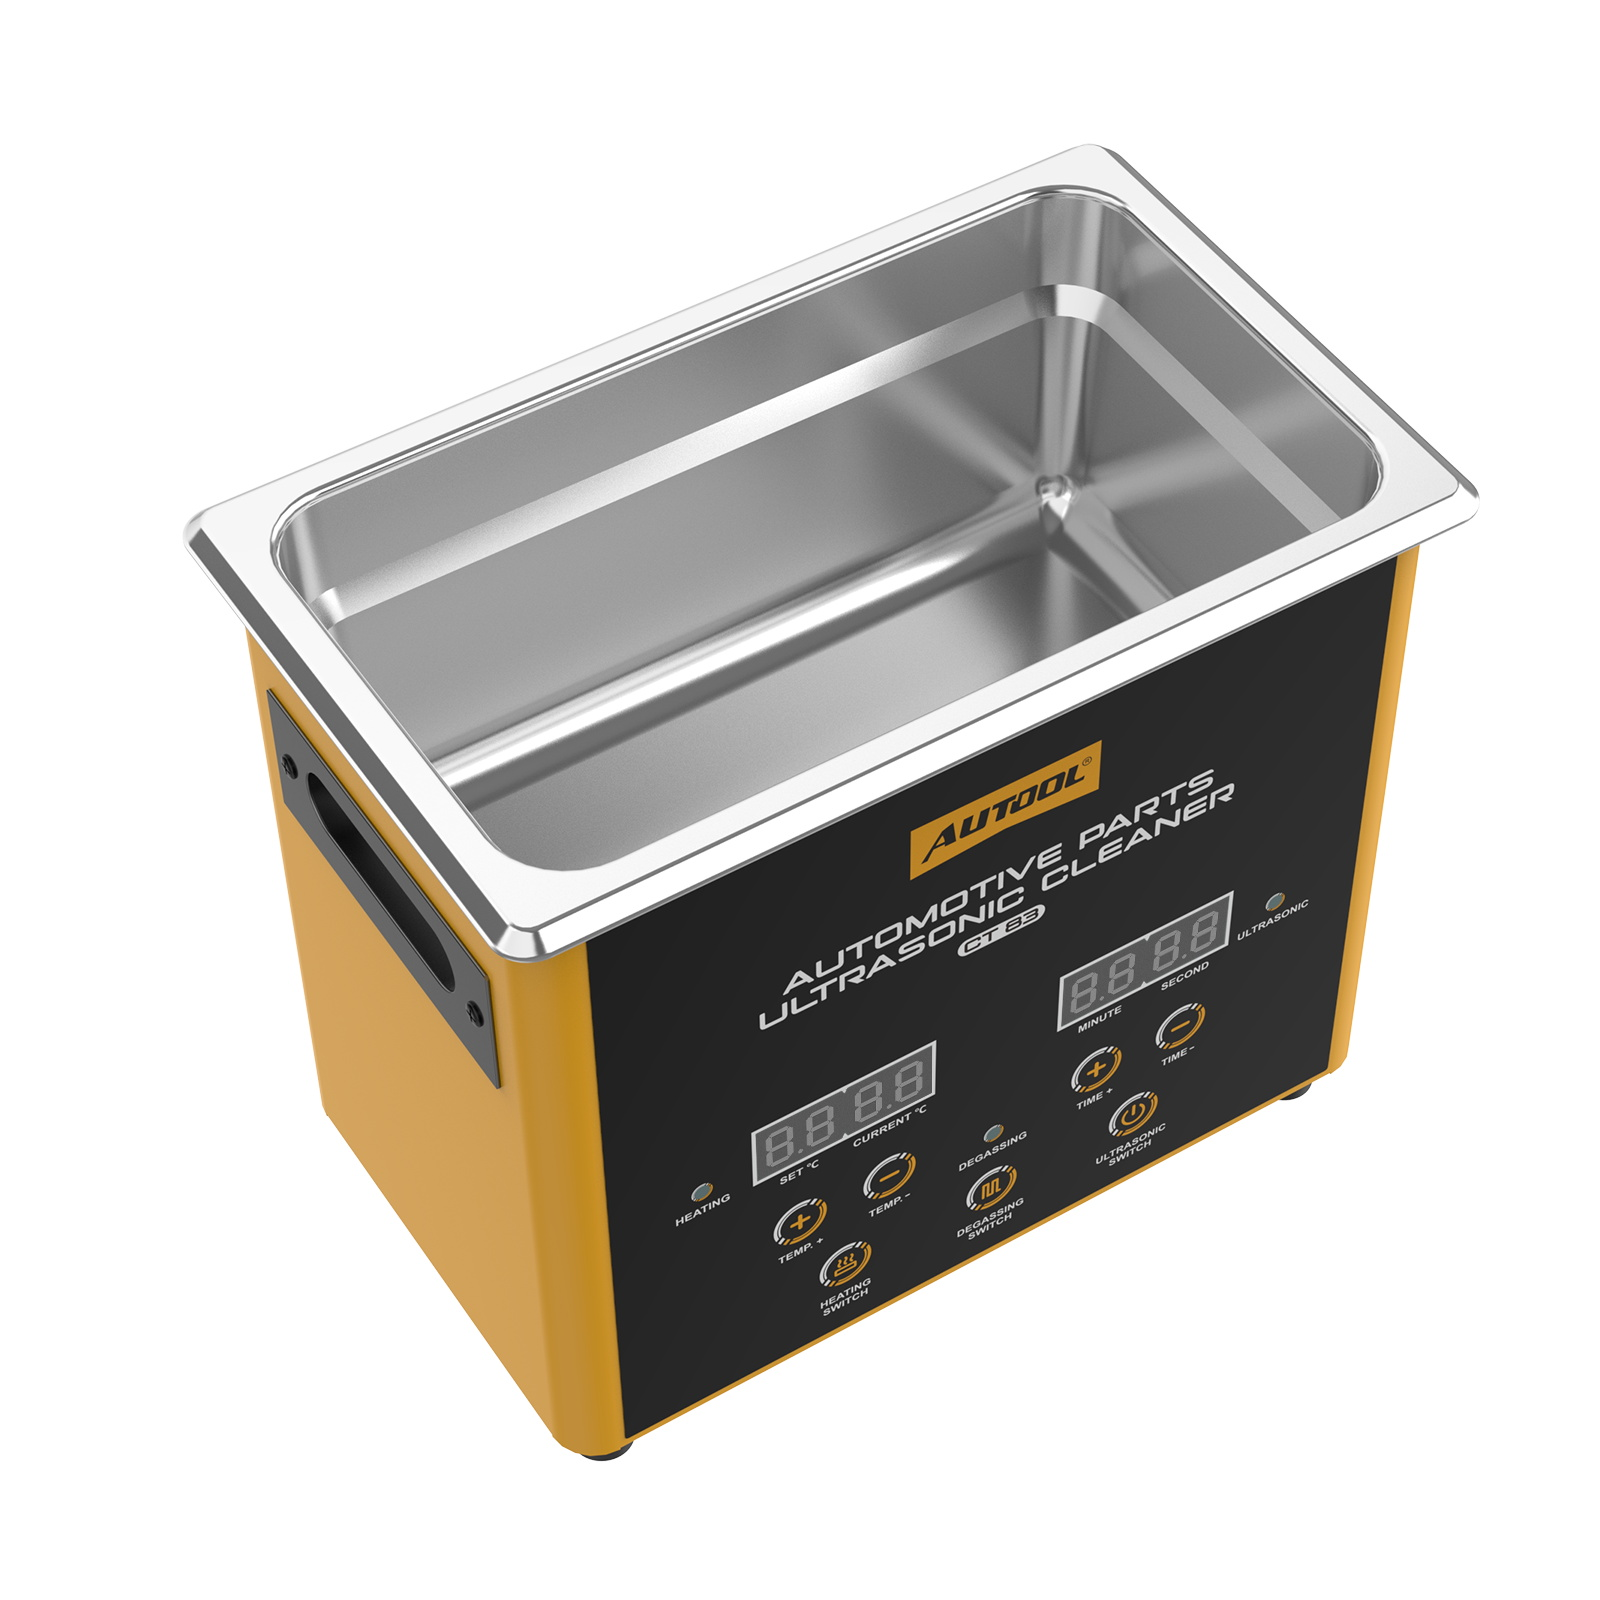
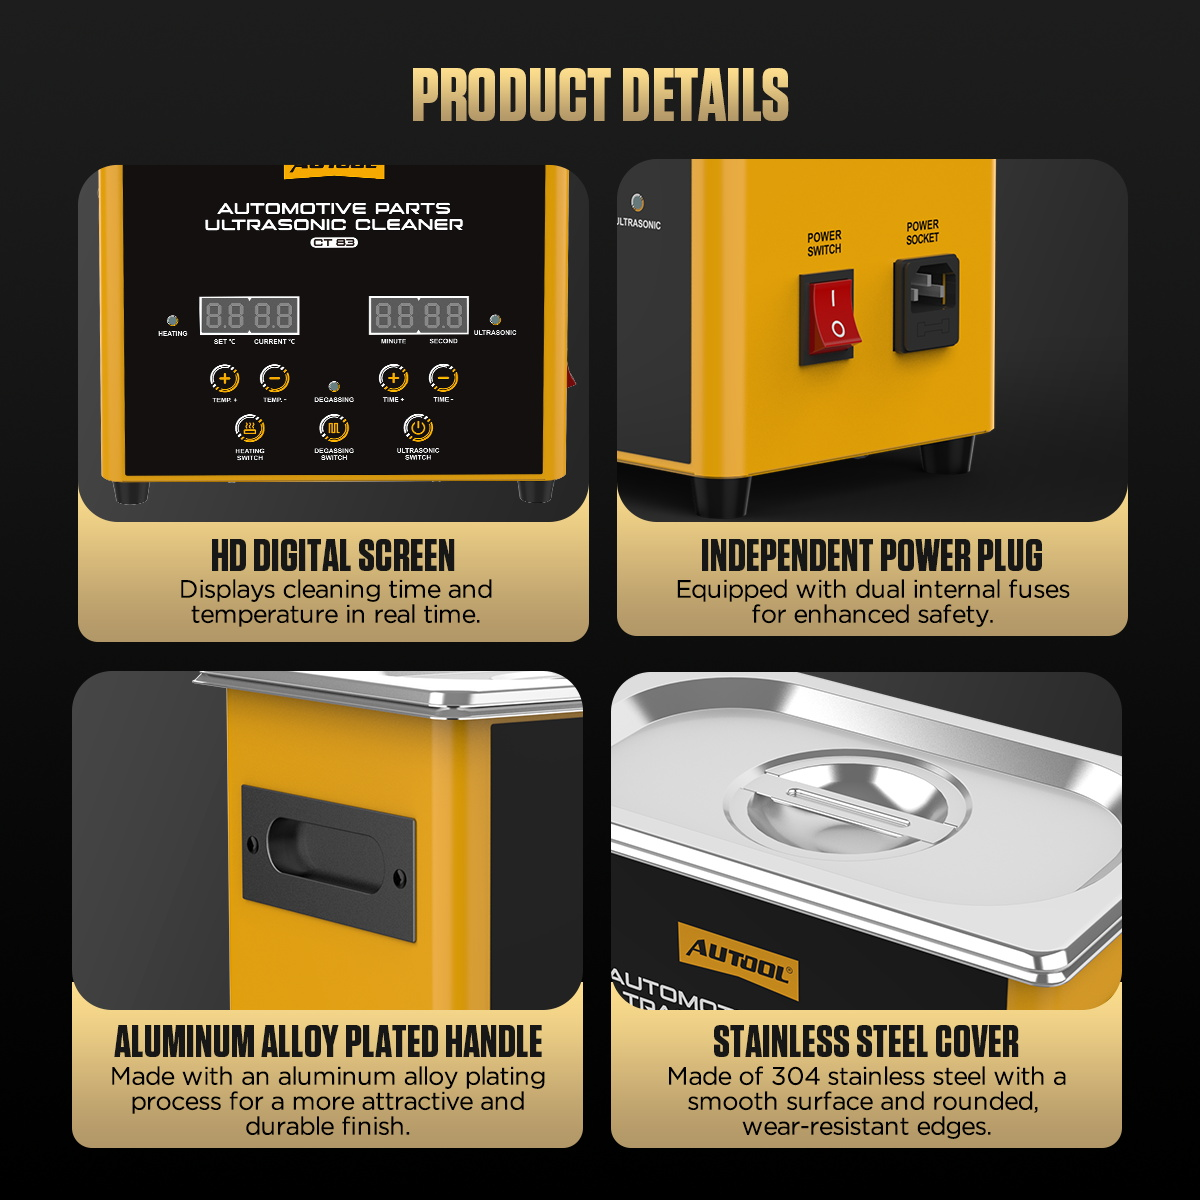
Dual Digital Display
Temperature and cleaning time stay visible together during operation.
-
Bench-Friendly Build
Aluminum electroplated handles for carrying and non-slip rubber feet for stability on the bench.
-
Switch and Fuse Protection
An independent power switch and dual built-in fuses add electrical control and protection.
Model Comparison
| CT83 | CT80 | CT85 | |
|---|---|---|---|
| Tank capacity | 3 L | 1600 mL | 10 L |
| Modes | Normal / Degassing & sweep | Normal | Normal / Degassing & sweep |
| Heating | 10–60°C | Up to 50°C | 10–60°C |
| Cleaning time | 1–40 min | 0–40 min | 1–40 min |
| Part support | Cleaning basket | Cleaning stand | Cleaning basket |
What’s in the Box
- CT83 ultrasonic cleaner
- Stainless steel tank lid
- Cleaning basket
- Power cord for the ordered voltage and plug version
- User manual
Cleaning fluid is not listed in the package contents.
How to Use
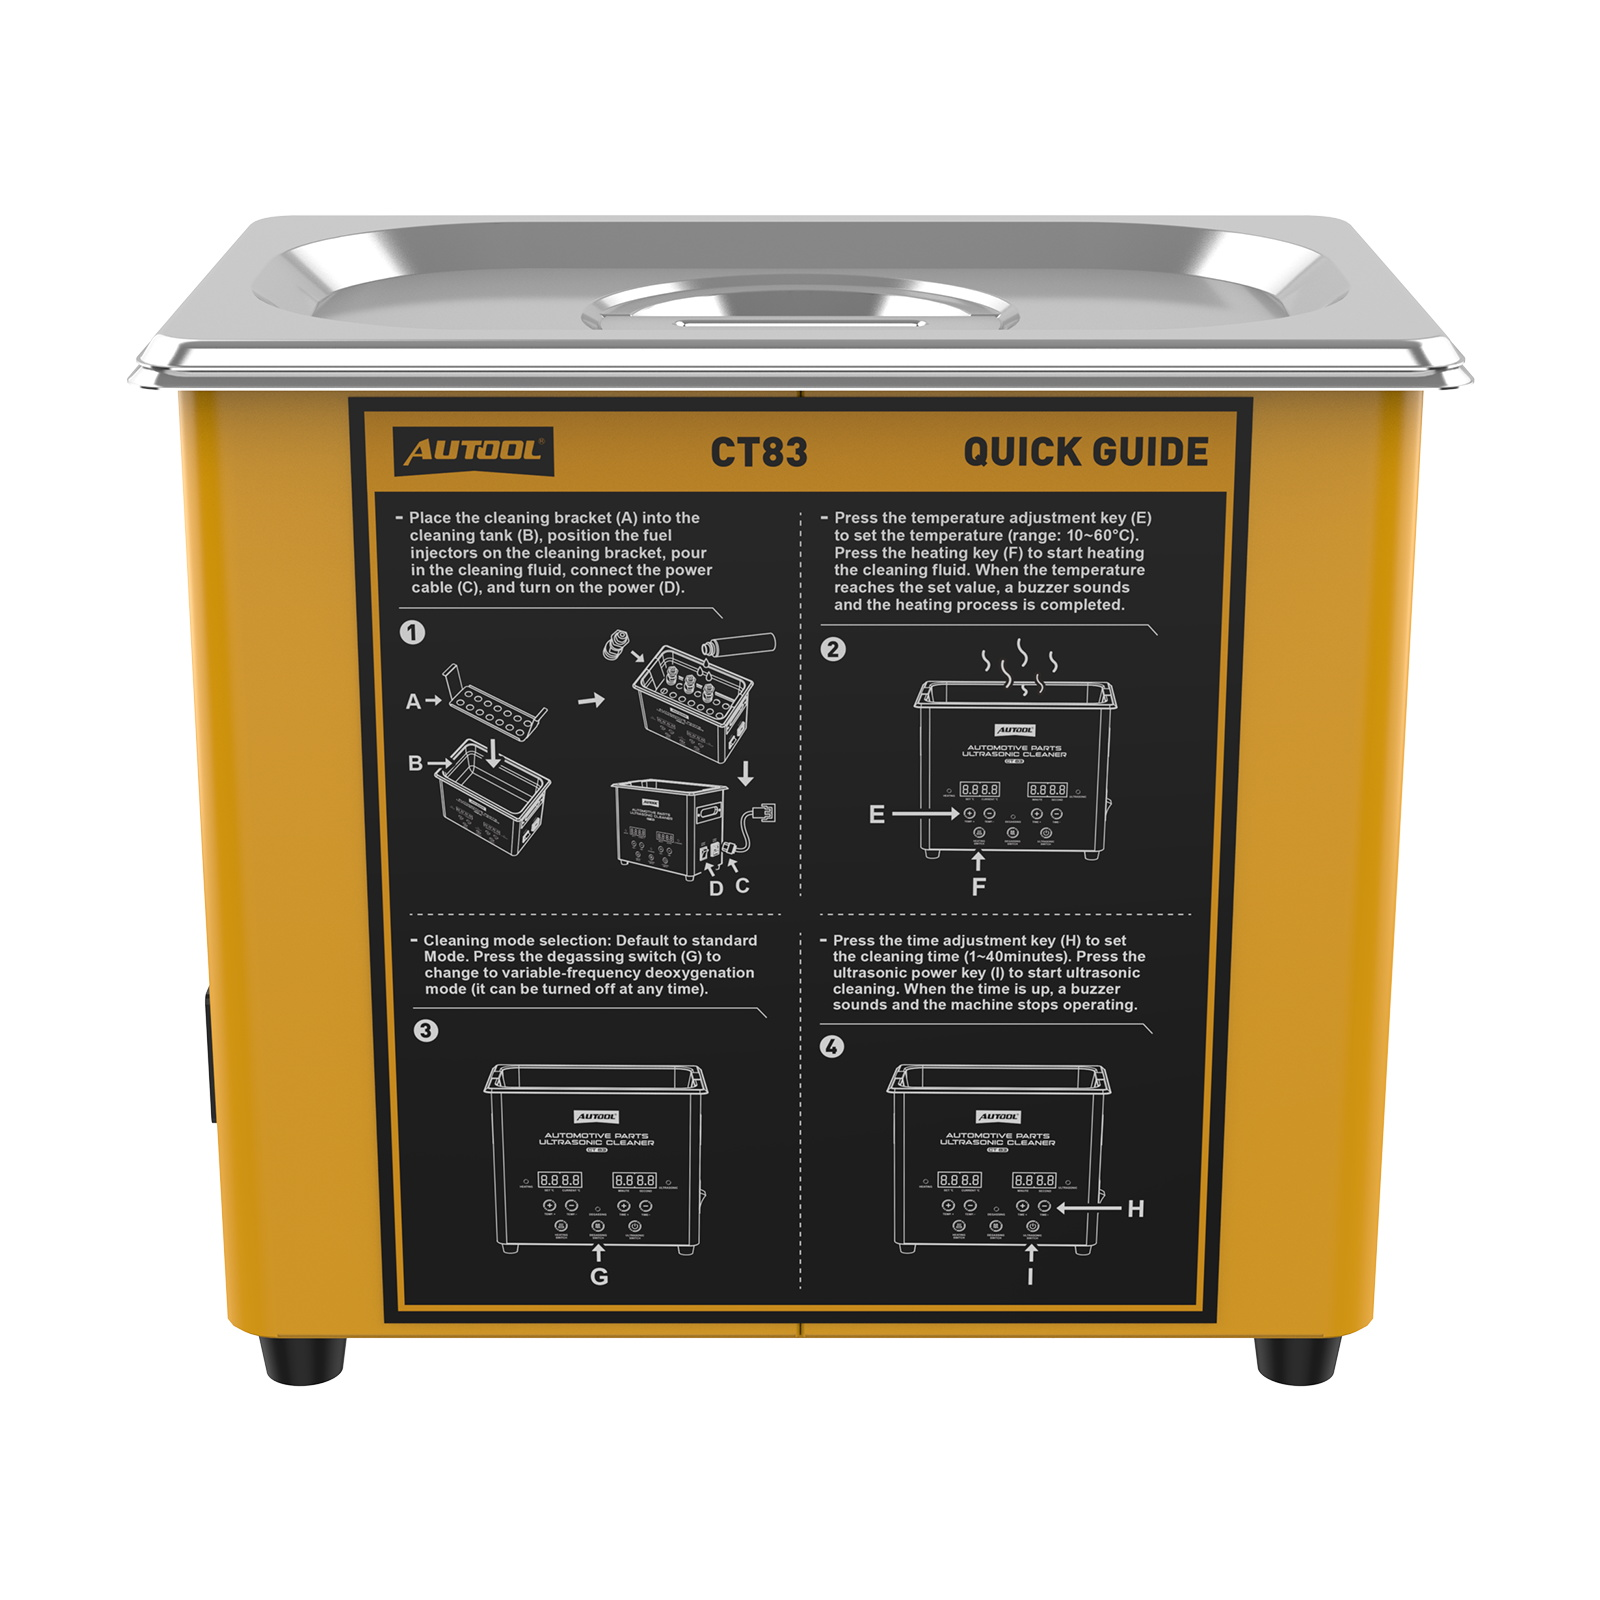
- Load and fillPlace the basket in the tank, arrange parts without crowding, add a suitable cleaning fluid, connect power and switch on.
- Set heatSelect the temperature and press the heating key only when the part and fluid permit that temperature.
- Choose the modeStay in Normal Mode or press the mode key to switch Degassing & Variable-Frequency Mode on or off.
- Set time and startSet the cleaning time and press the ultrasonic start key; the buzzer sounds and the unit stops at the end of the cycle.
- Inspect and finishInspect the parts, then rinse and dry them according to their instructions.
Good to Know
Caution
- Never start ultrasonic cleaning with a dry tank.
- Check seals, coatings, adhesives, electronics and finishes before immersion, ultrasonic action or heating; circuit boards, jewelry and coated parts need item-specific confirmation.
- Order the AC 110V or 220V version that matches your location.
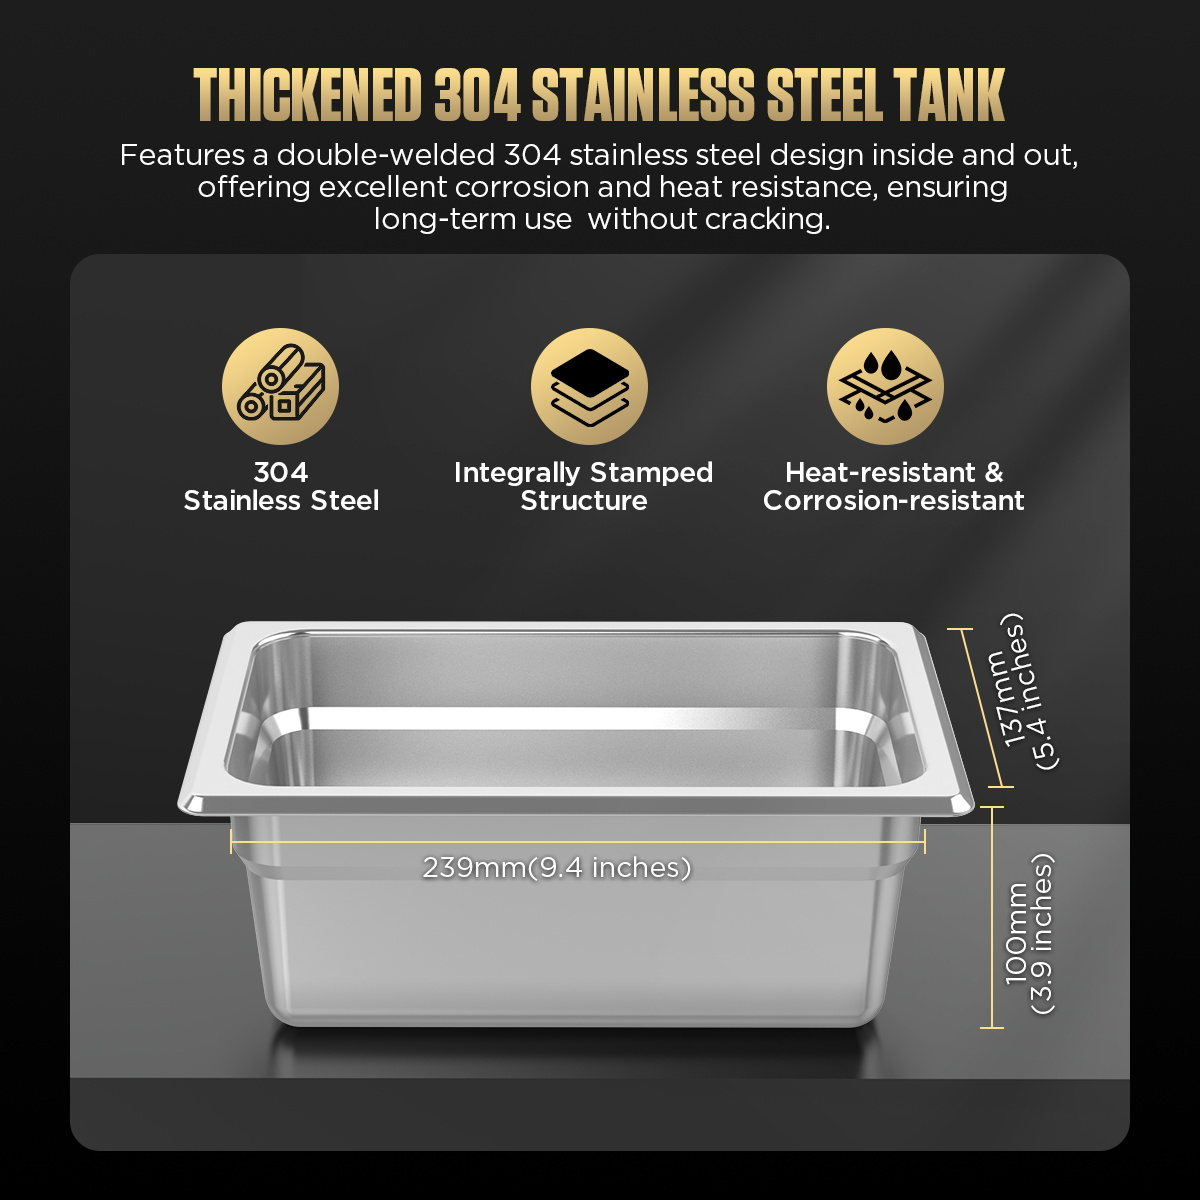
- The 3 L rating is total tank capacity, not a guaranteed usable load; check the part against the tank and basket clearance.
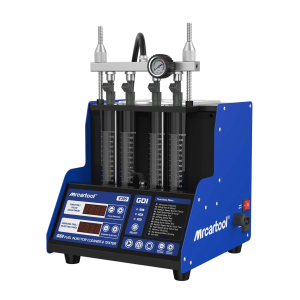
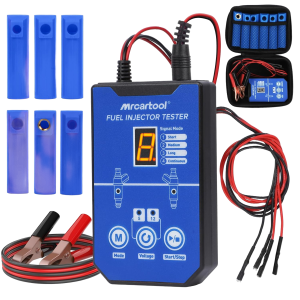
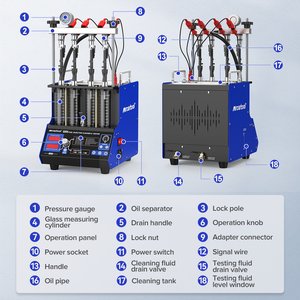
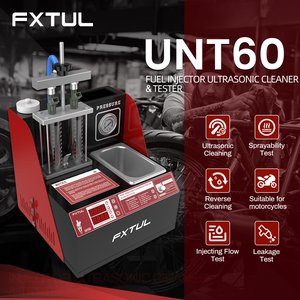
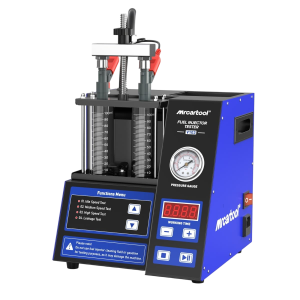
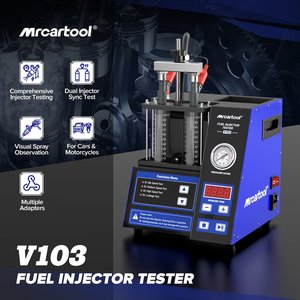
- Injector spray pattern, leakage, flow and pressure checks need a separate injector test bench.
Care
- Follow the fluid and part instructions for concentration, temperature, rinsing and disposal.
- Stop using the machine if a fuse operates or the unit behaves abnormally, and check the instructions before restarting.







 English
  German
  Spanish