

3D Wheel Alignment From a Fixed Camera Column
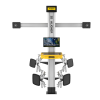
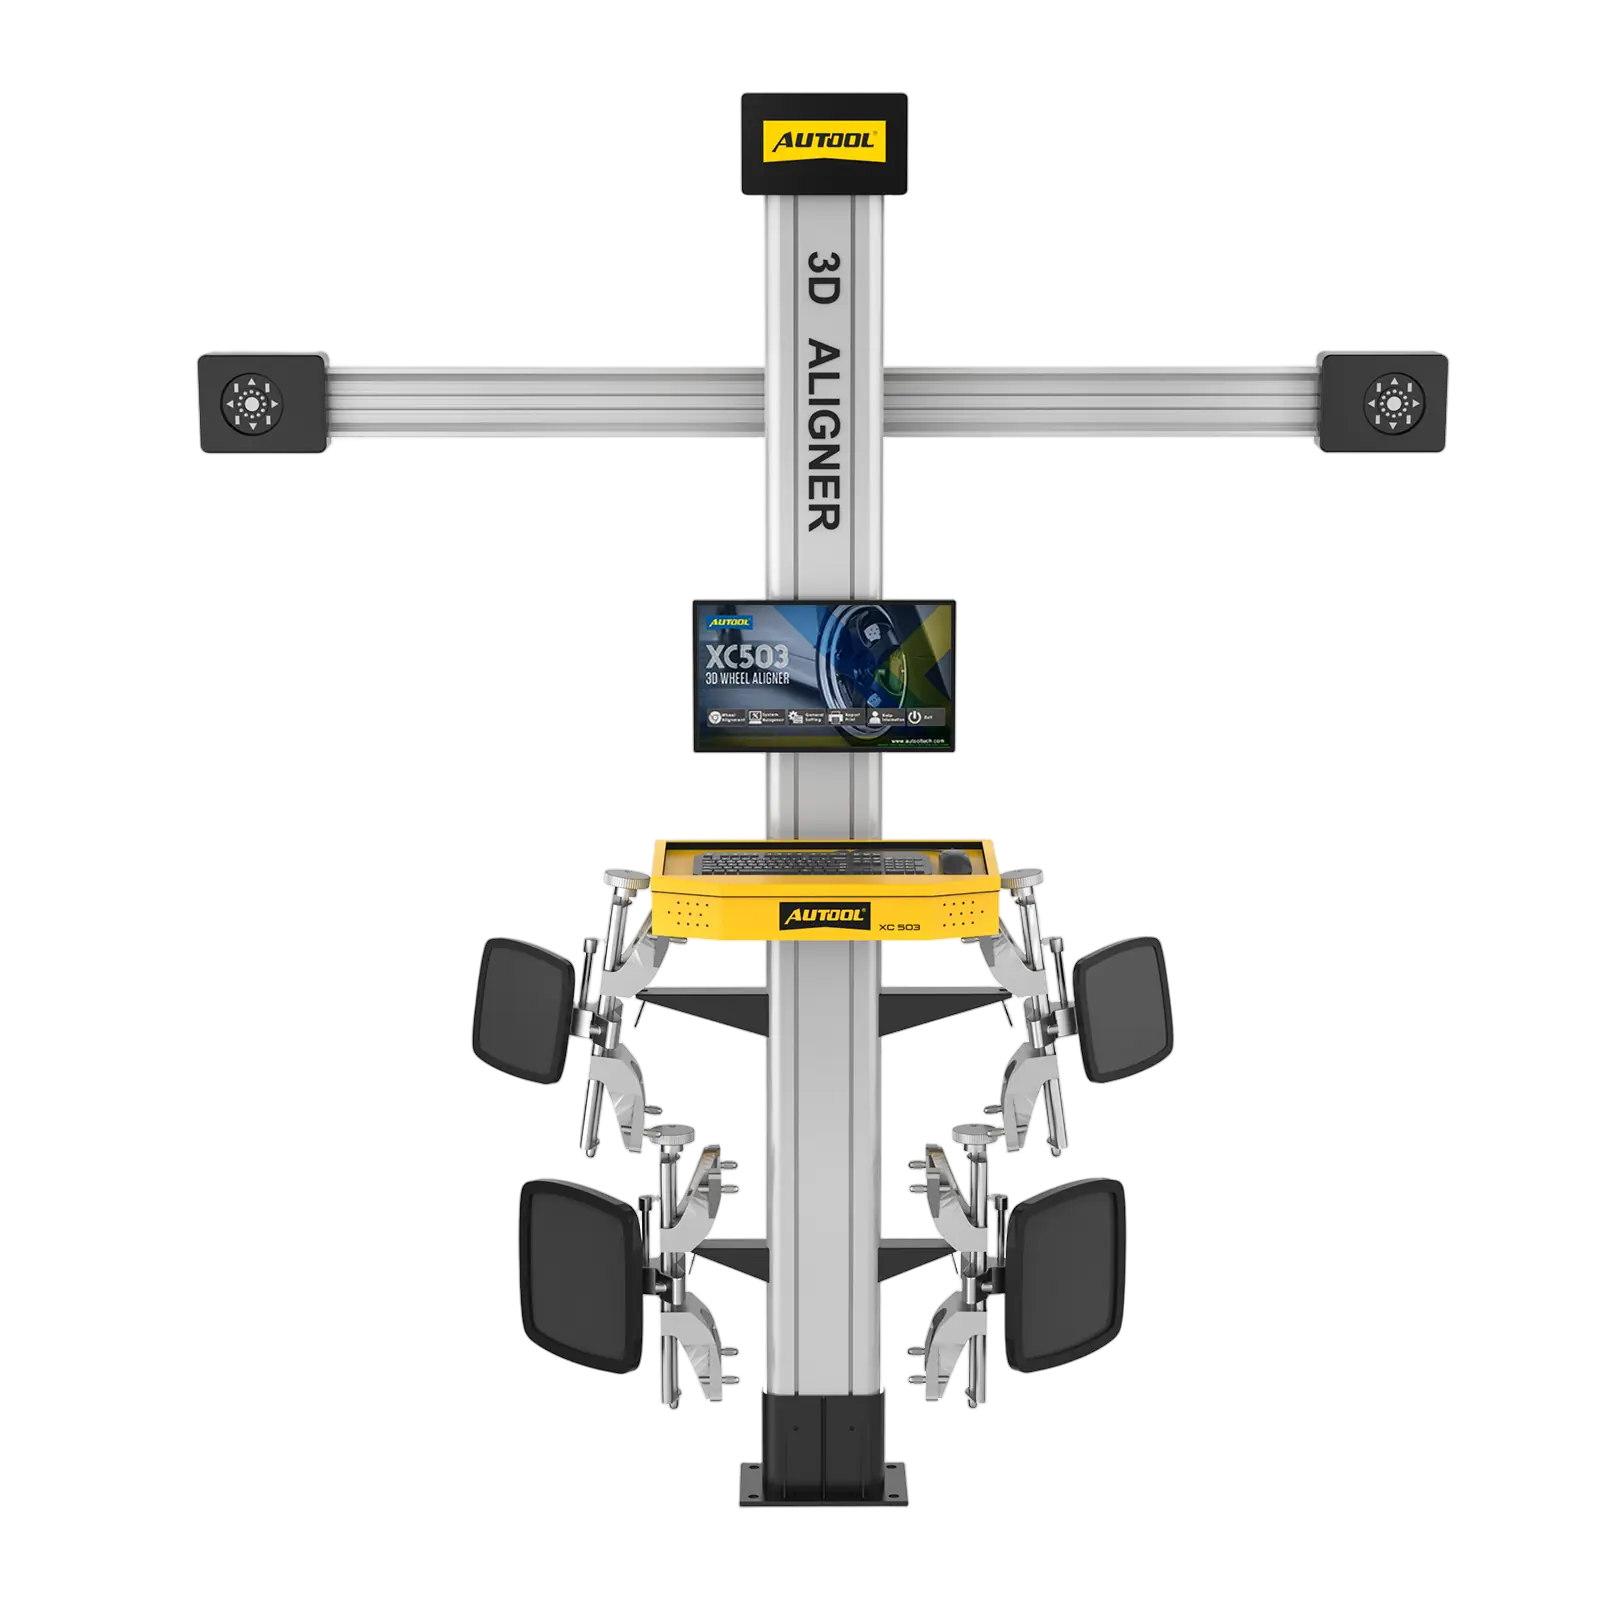
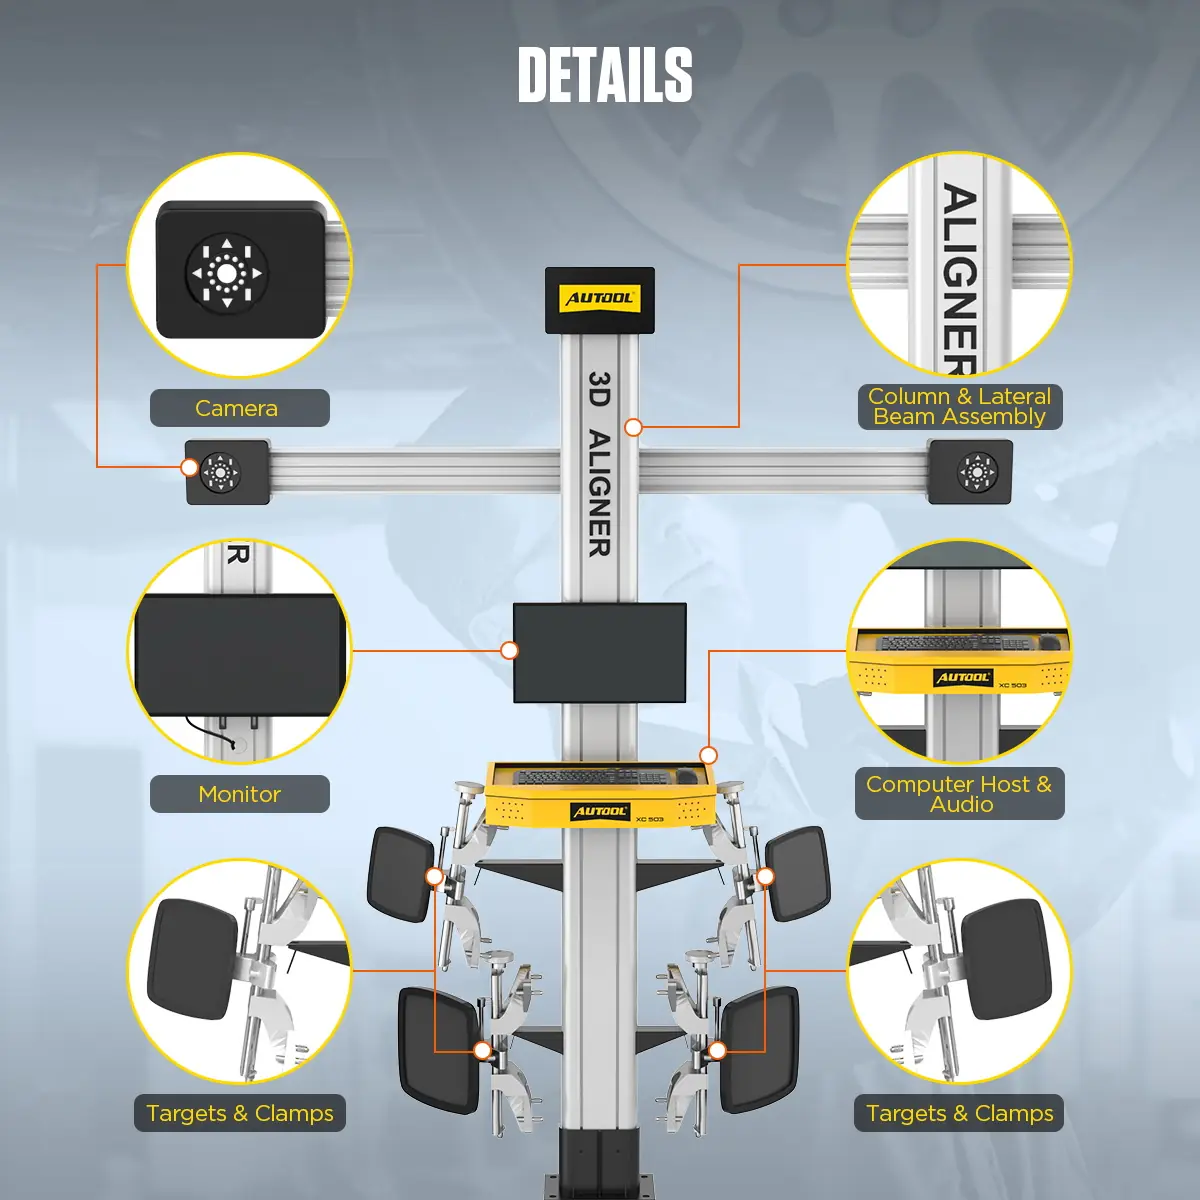
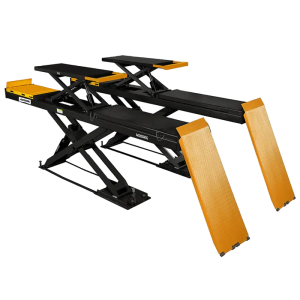
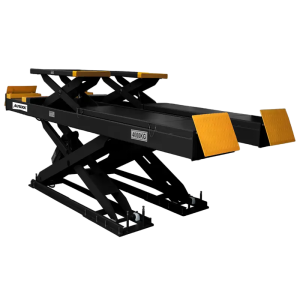
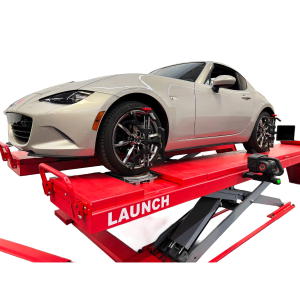
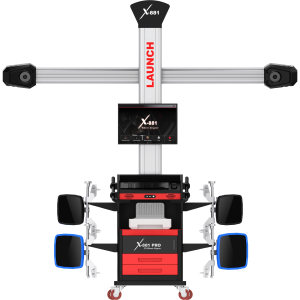
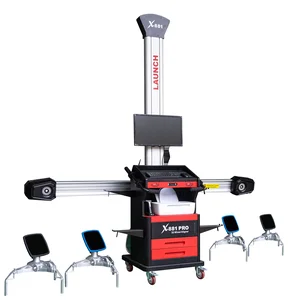
The XC503 reads passive wheel targets with HD cameras on a fixed column and calculates wheel and body geometry for the selected vehicle. Voice and LED prompts guide target setup, short rolling compensation and measurement, and stored history and reports document each job. A level alignment bay and lift are required.
- Fixed-Column 3D Cameras
- Passive Targets
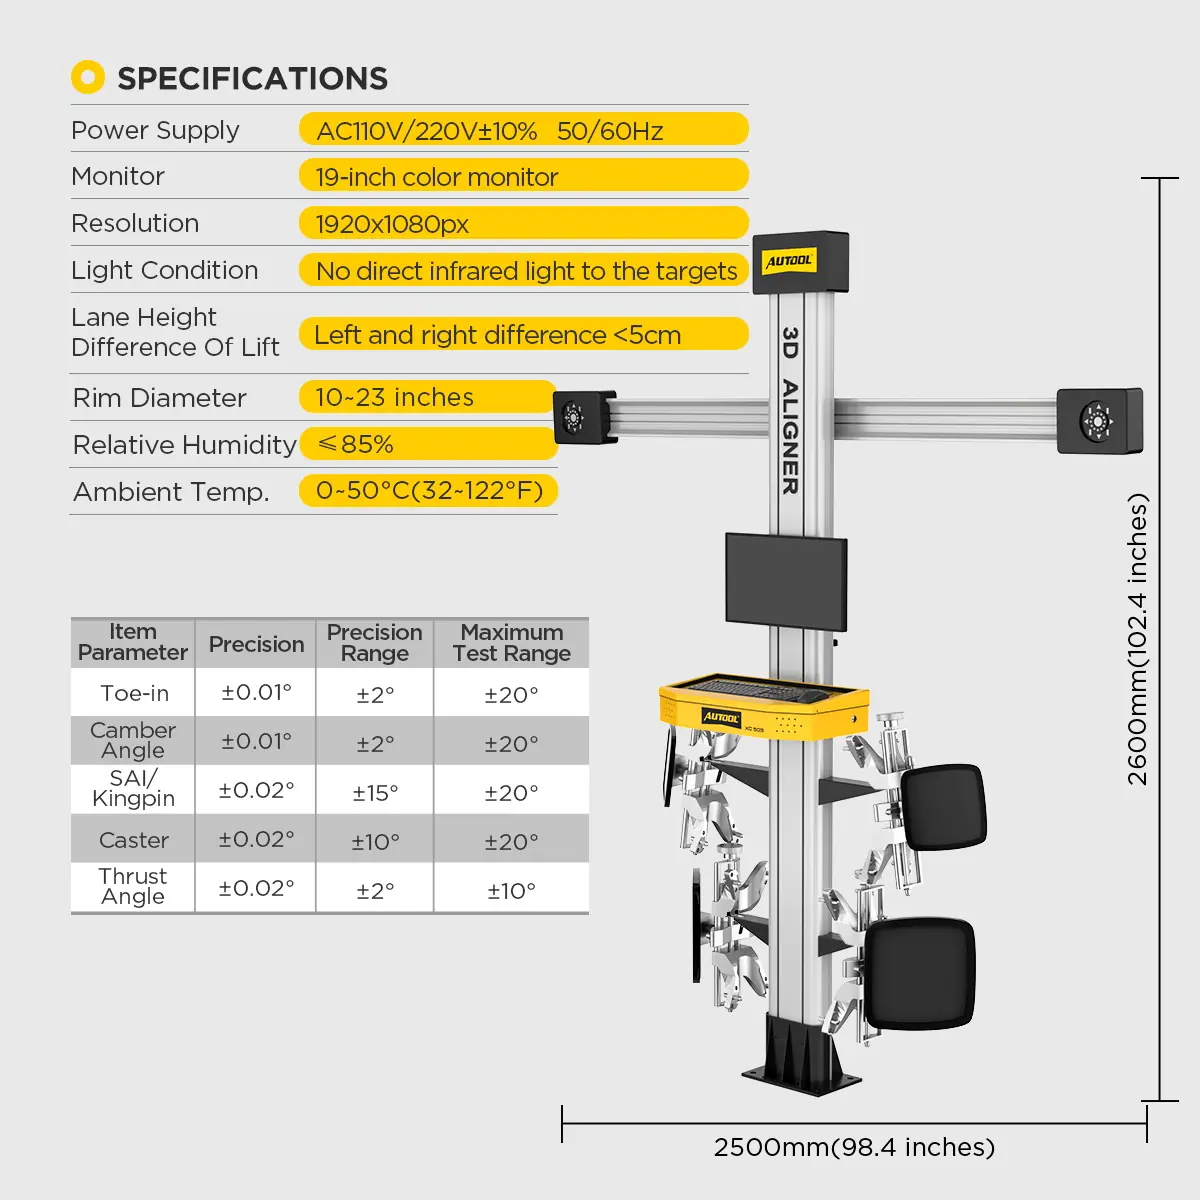
- Toe/Camber 0.01°
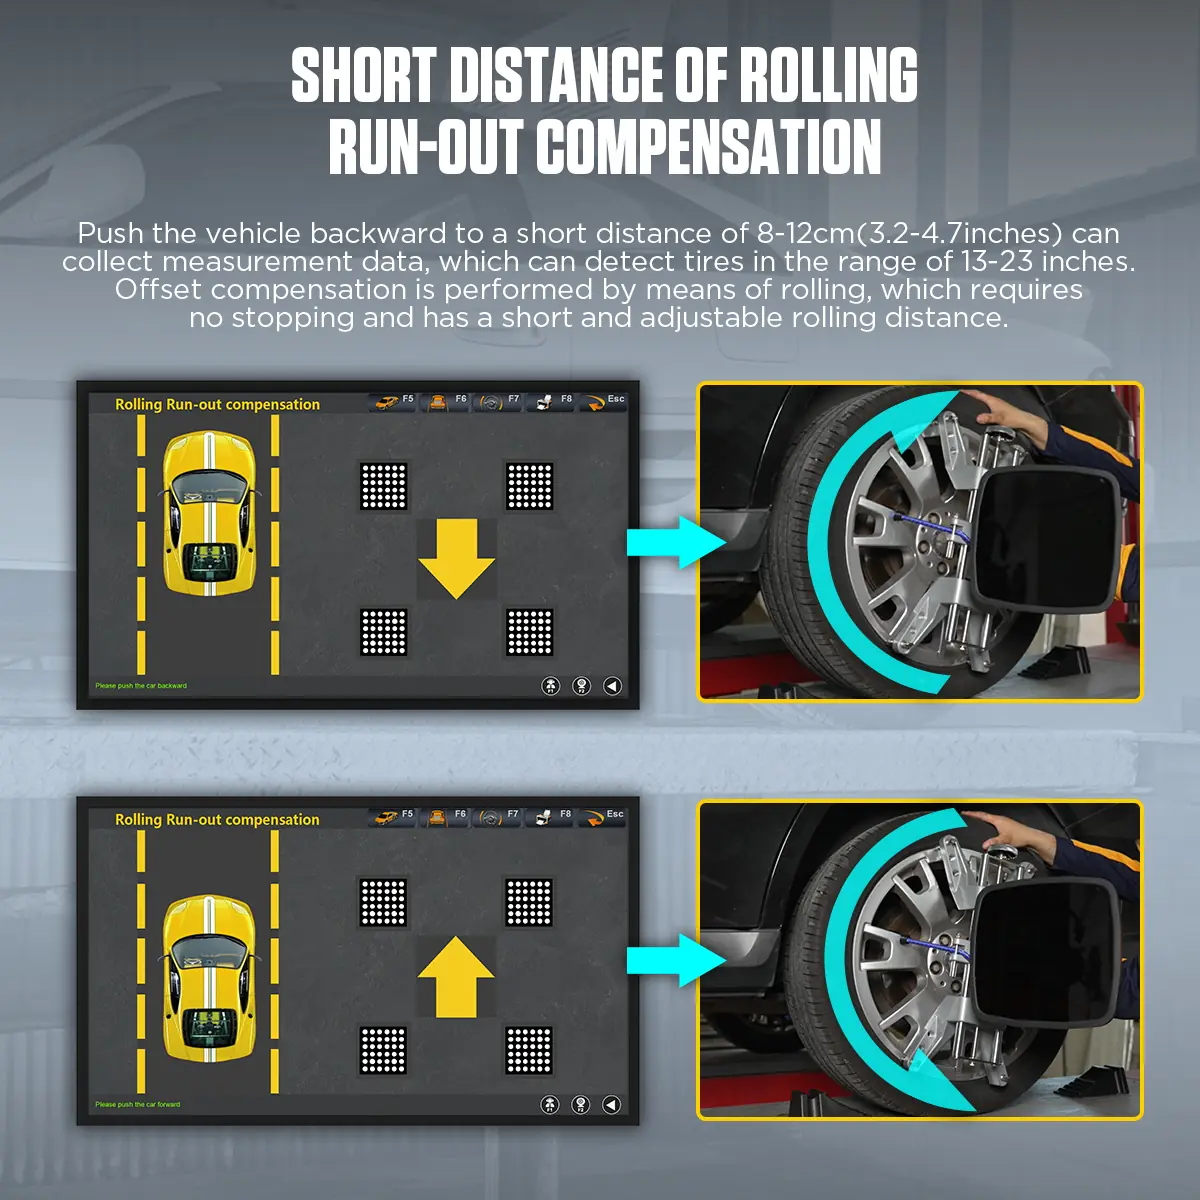
- 8–12 cm Rolling Compensation
- 13 Languages
Key Features
-
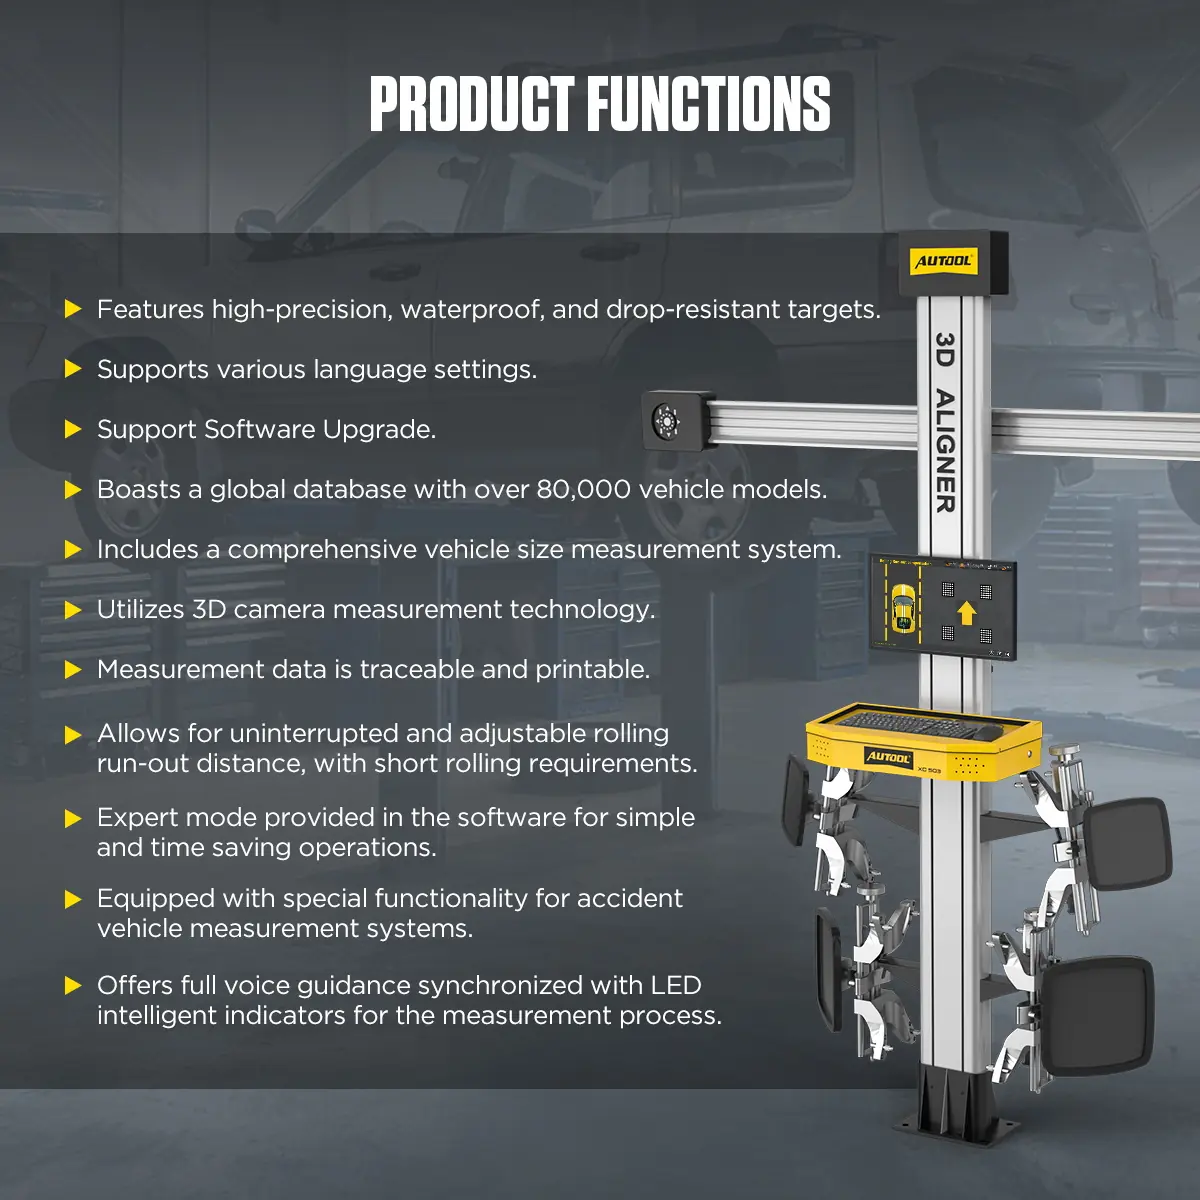
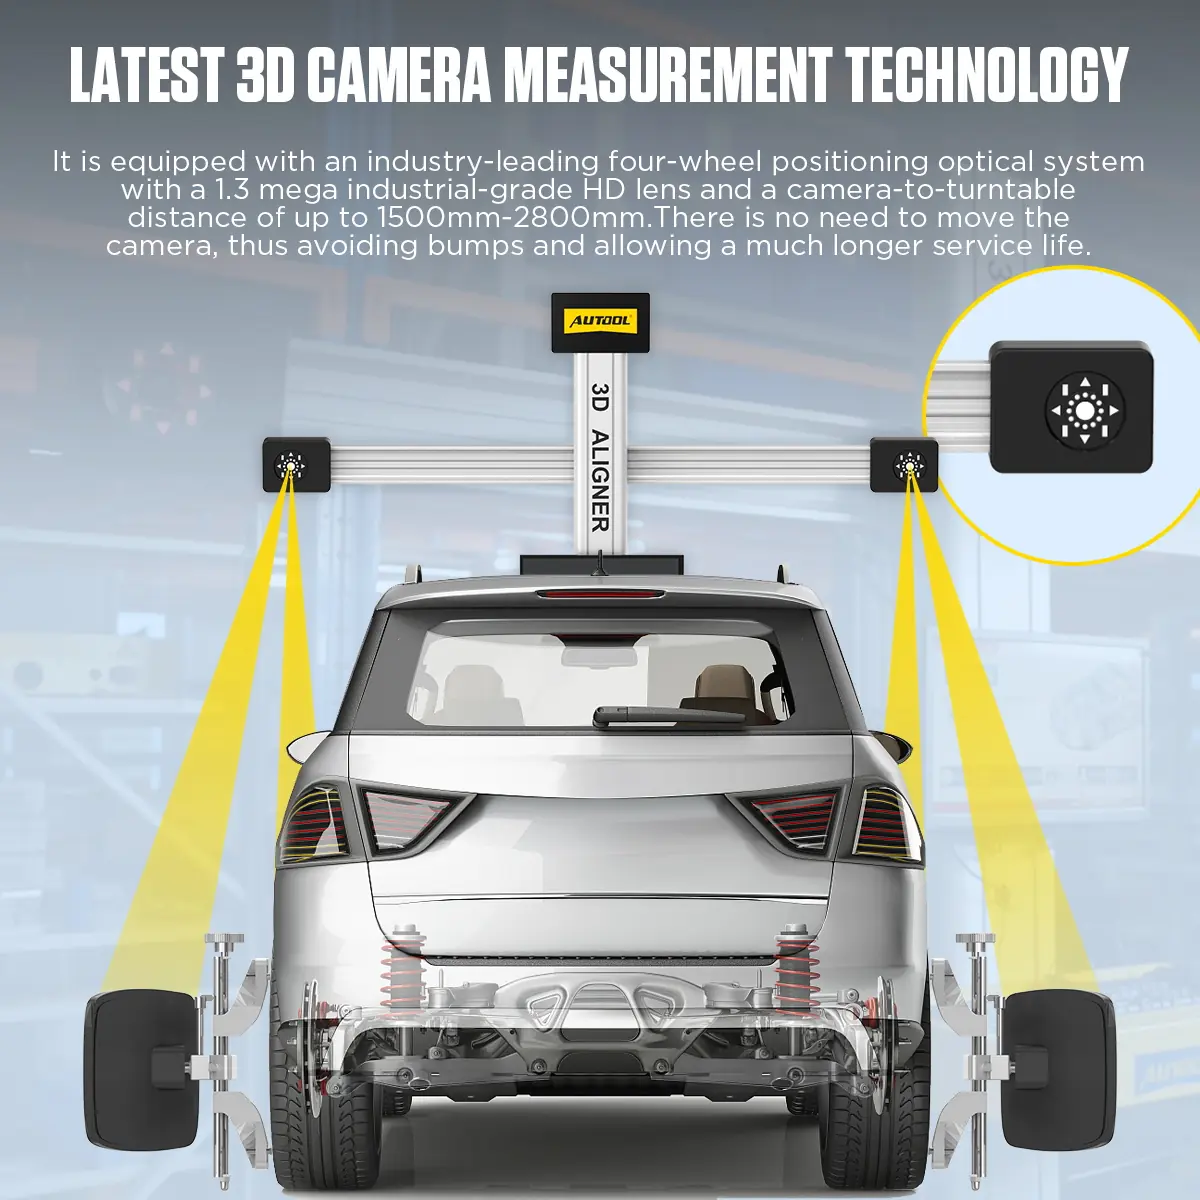
3D Camera Measurement
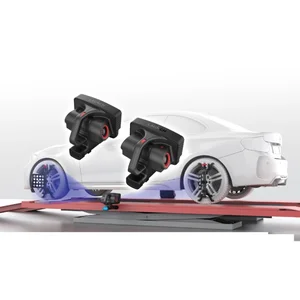
Industrial-grade HD cameras capture the target images and calculate four-wheel alignment data optically.
-
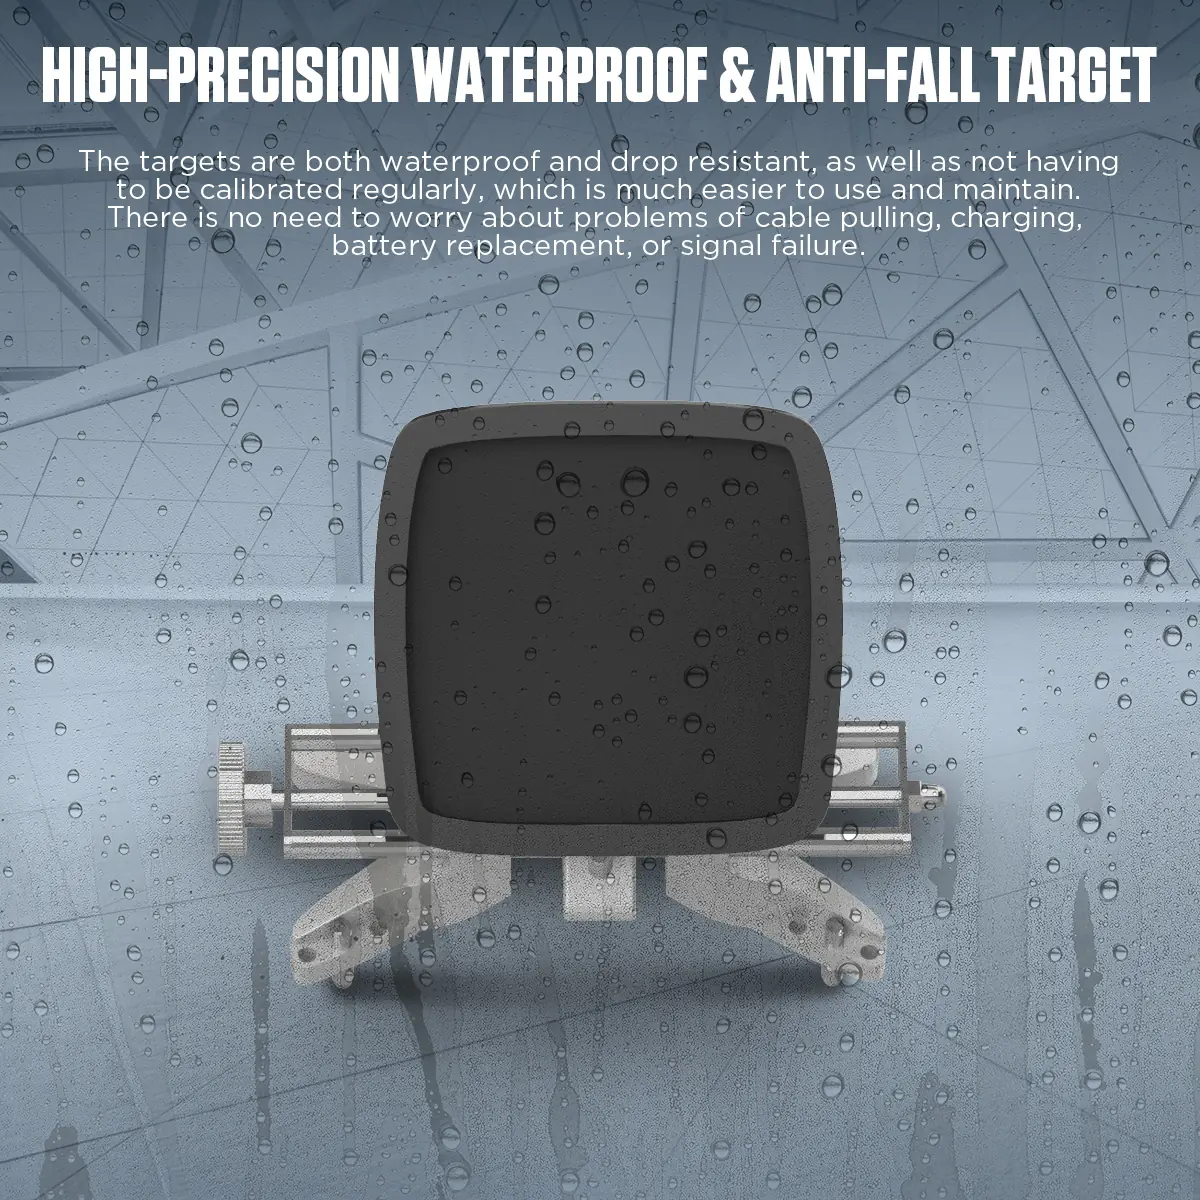
Passive, Waterproof Targets
Drop-resistant targets with no cables to drag, nothing to charge and no batteries to replace.
-
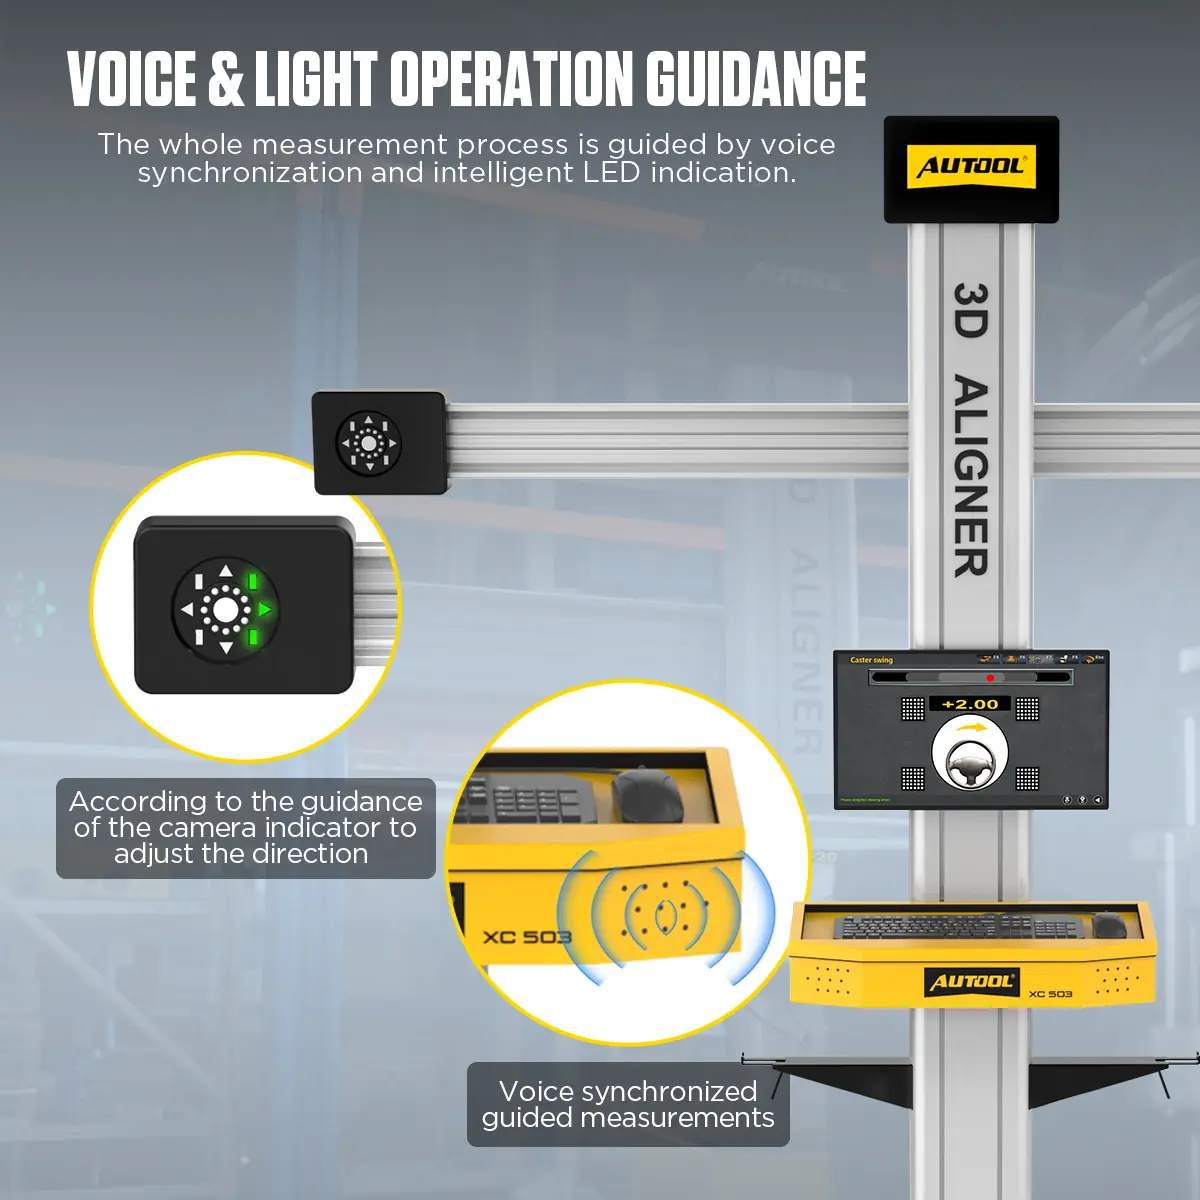
Voice and LED Guidance
Synchronized voice prompts and LED indicators guide each step, so you do not have to watch the monitor during every adjustment.
-
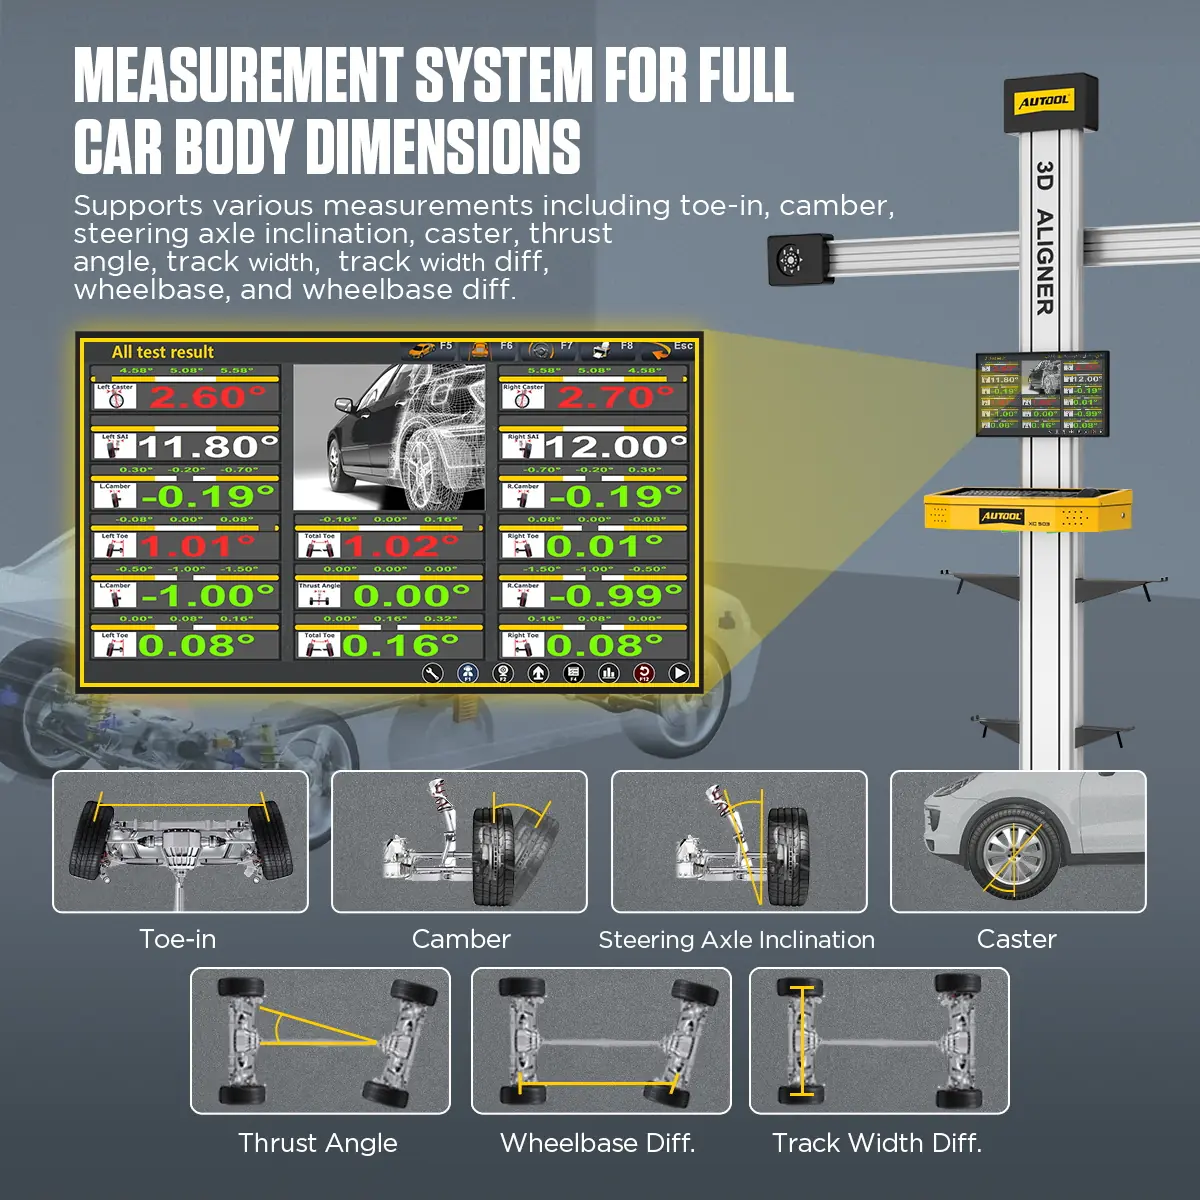
Wheel and Body Geometry
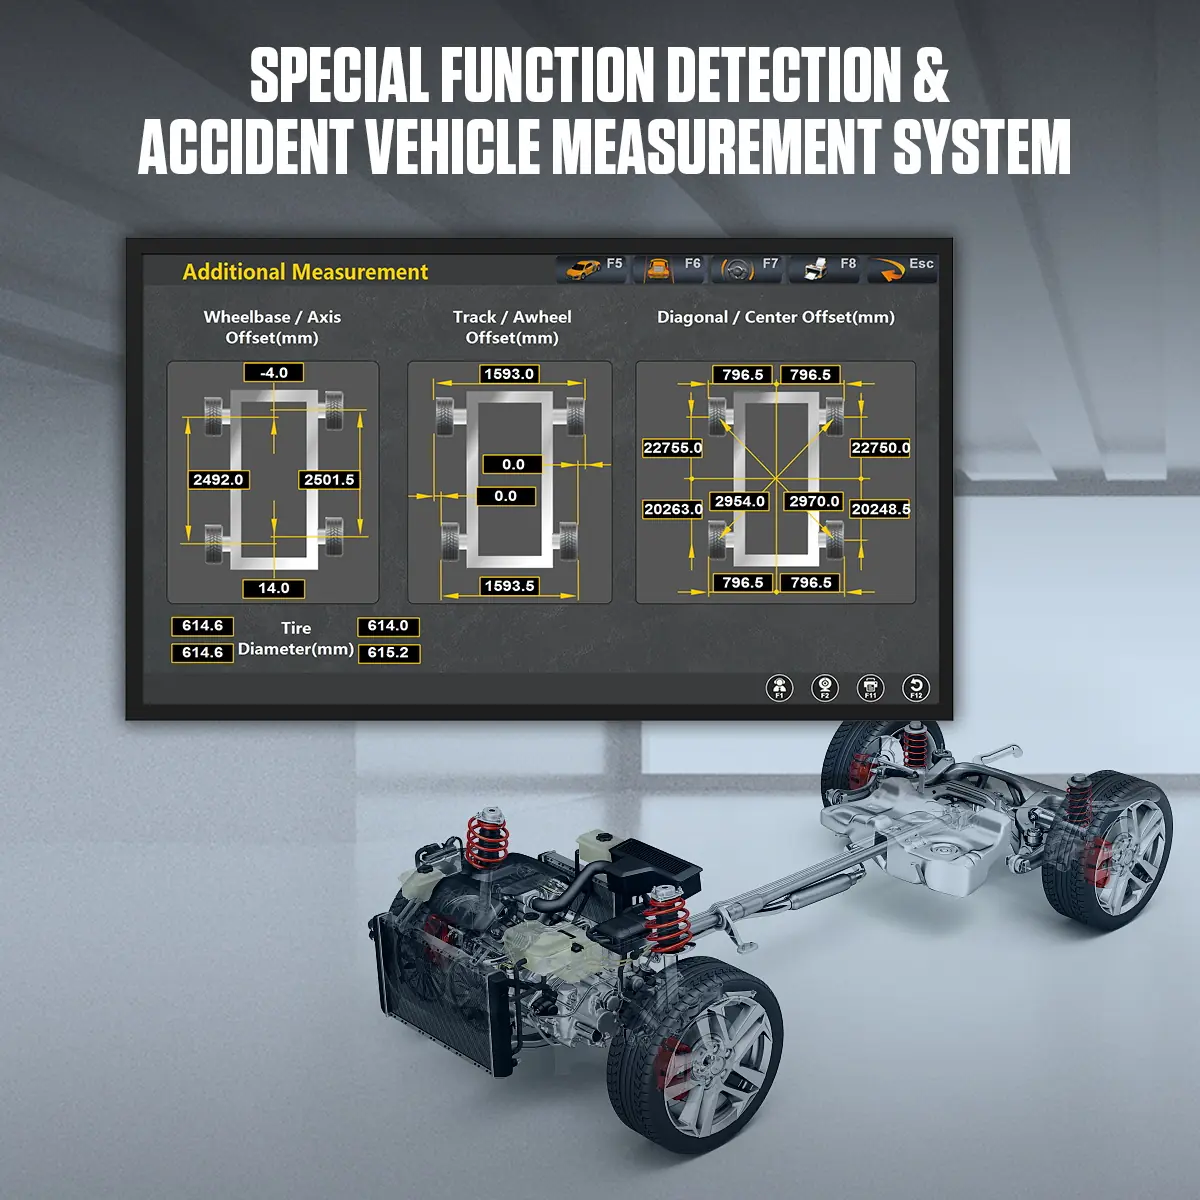
Toe, camber, caster and thrust alongside wheelbase, track width and diagonal body dimensions.
-
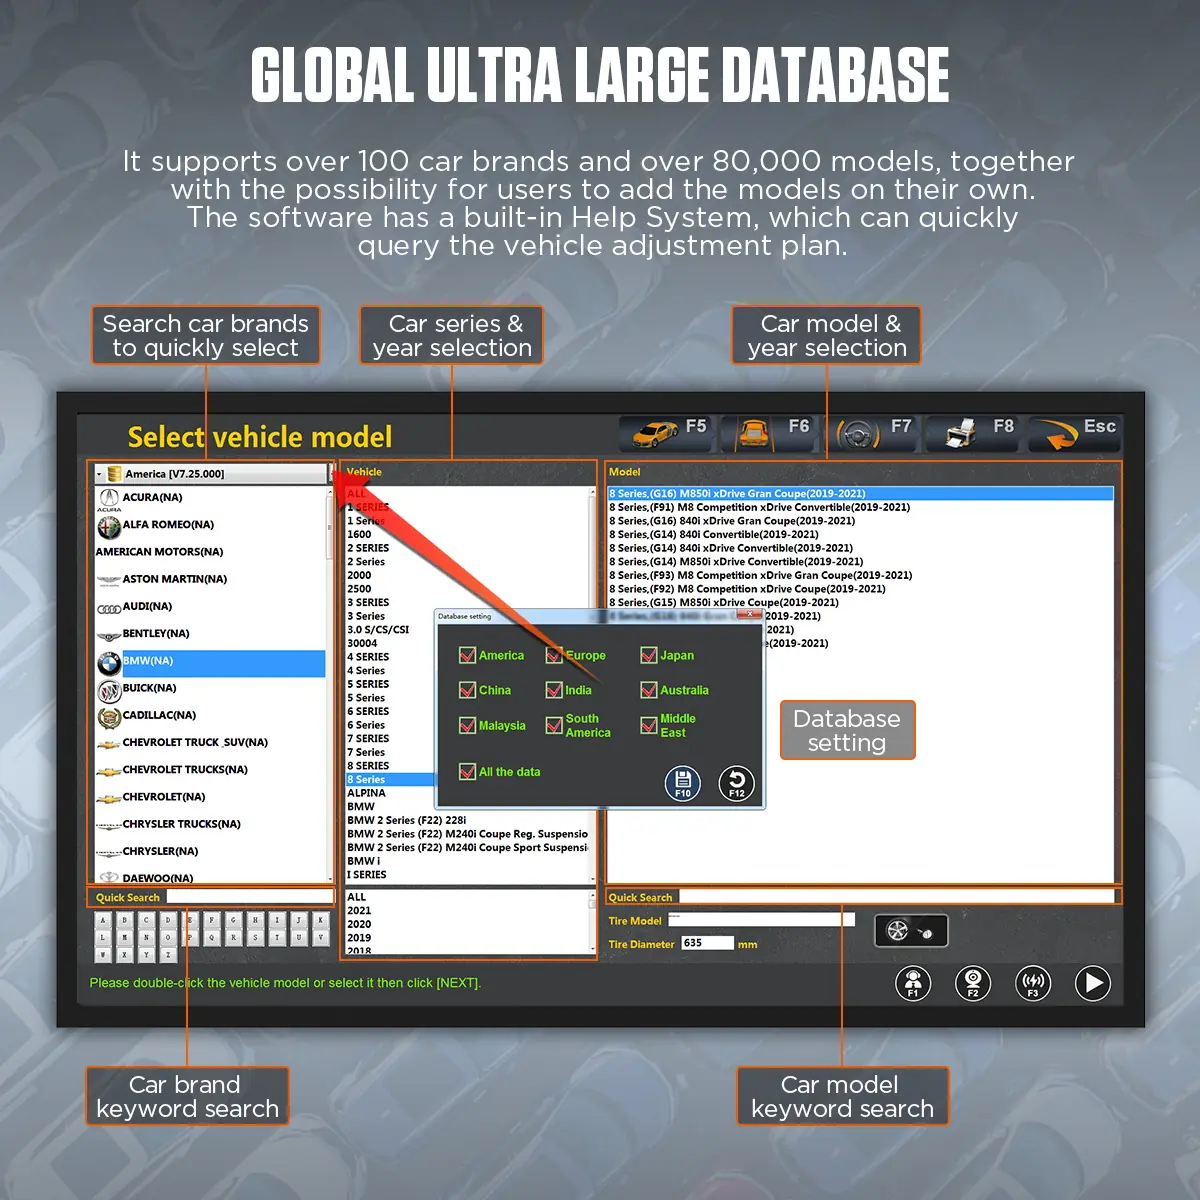
Searchable Vehicle Database
Select brand, series, model and year, search by keyword, or add your own vehicle models.
-
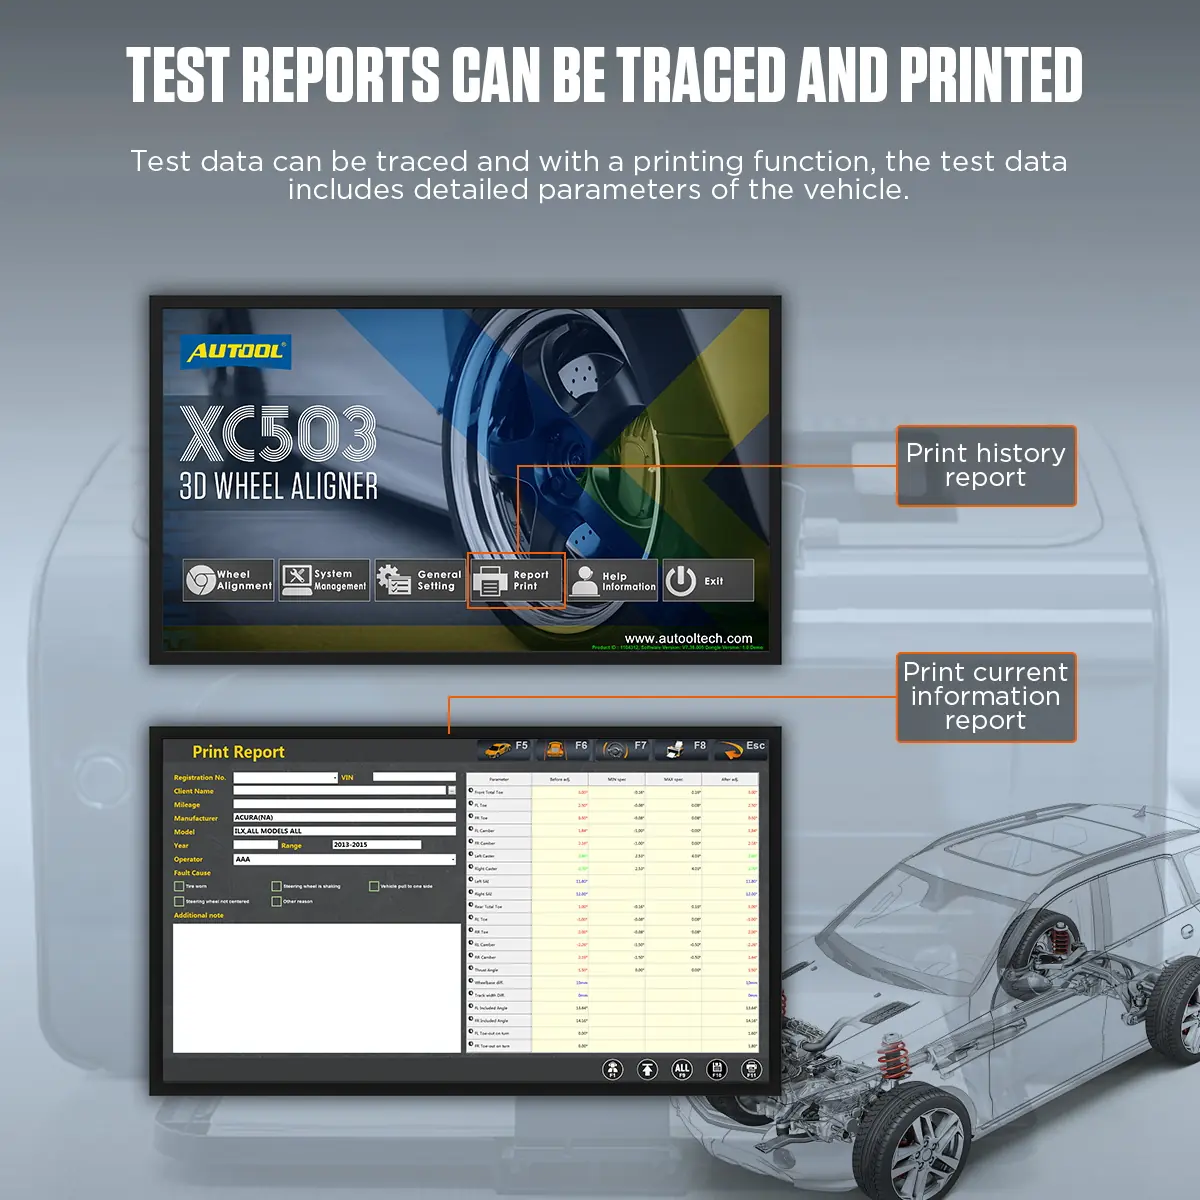
Traceable Reports
Review historical data, save reports and print the current vehicle report through a connected printer.
-
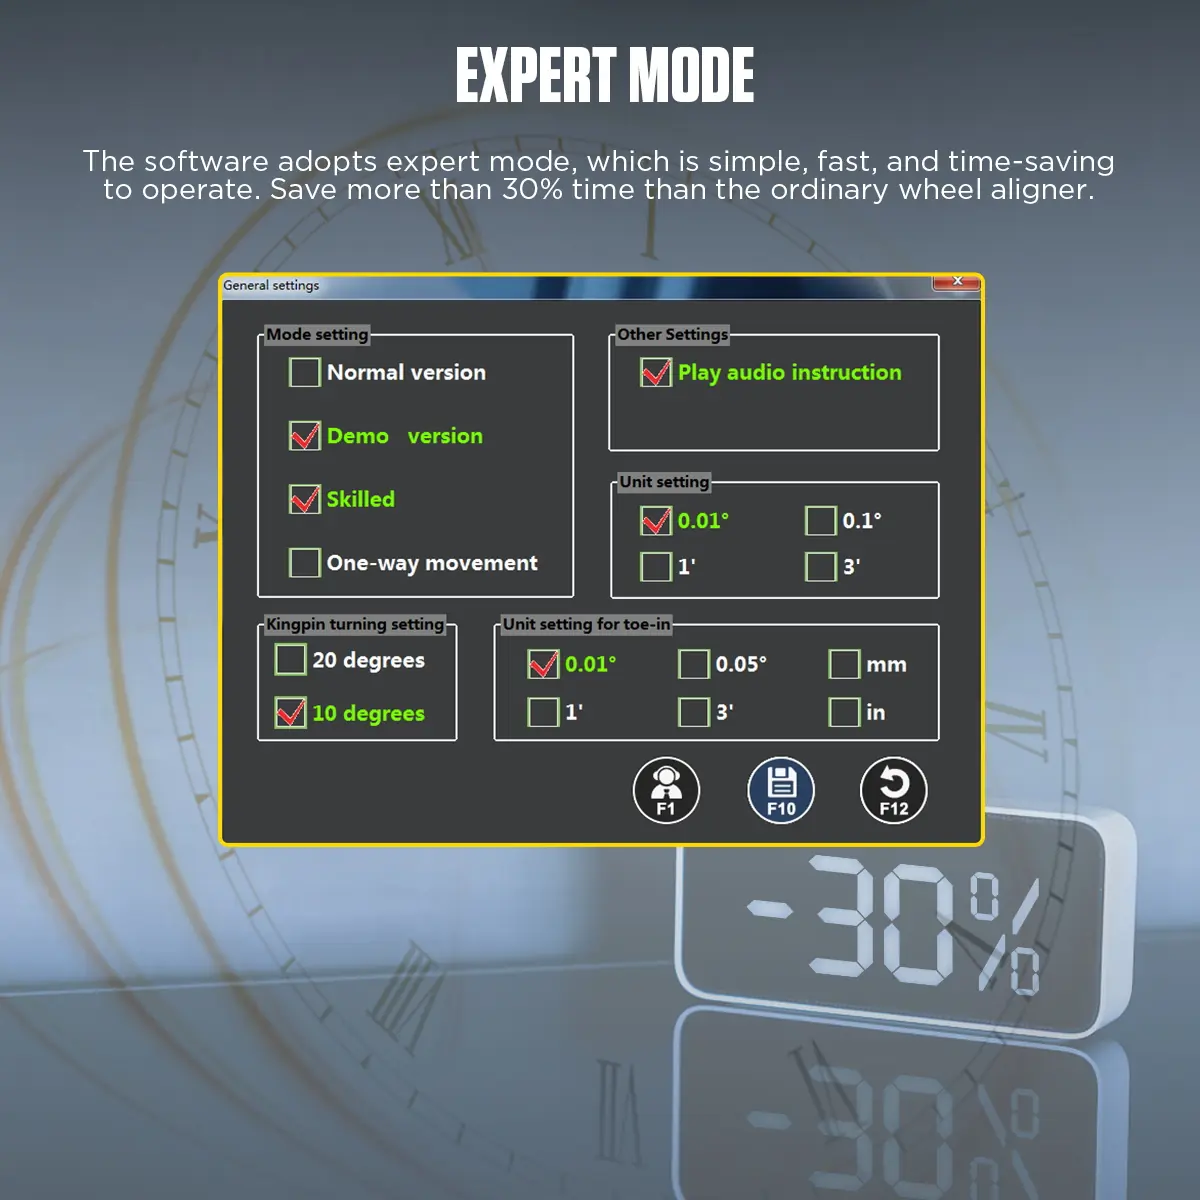
Expert Mode
An alternative software workflow for trained technicians who want a faster routine.
Model Comparison
| XC503 | XC505 | XC508 | |
|---|---|---|---|
| Camera mount | Fixed column | Mobile cabinet | Automatic lift-height tracking |
| Displays | 1 | 1 | 2 |
| Built-in printer | No | No | Yes |
| Drawer | No | Yes | Yes |
What’s in the Box
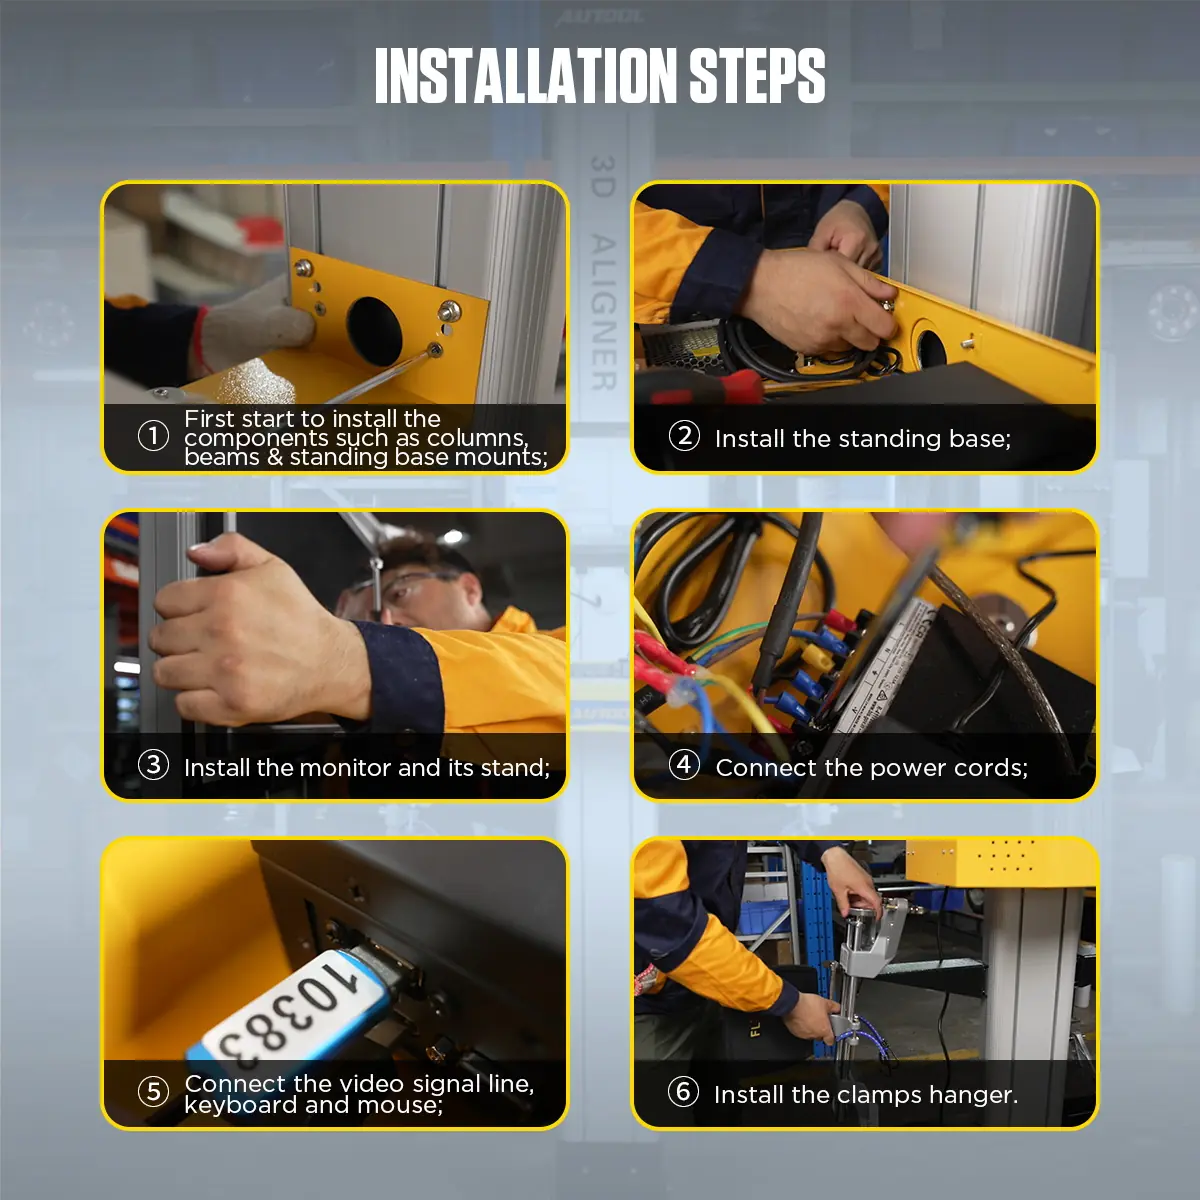
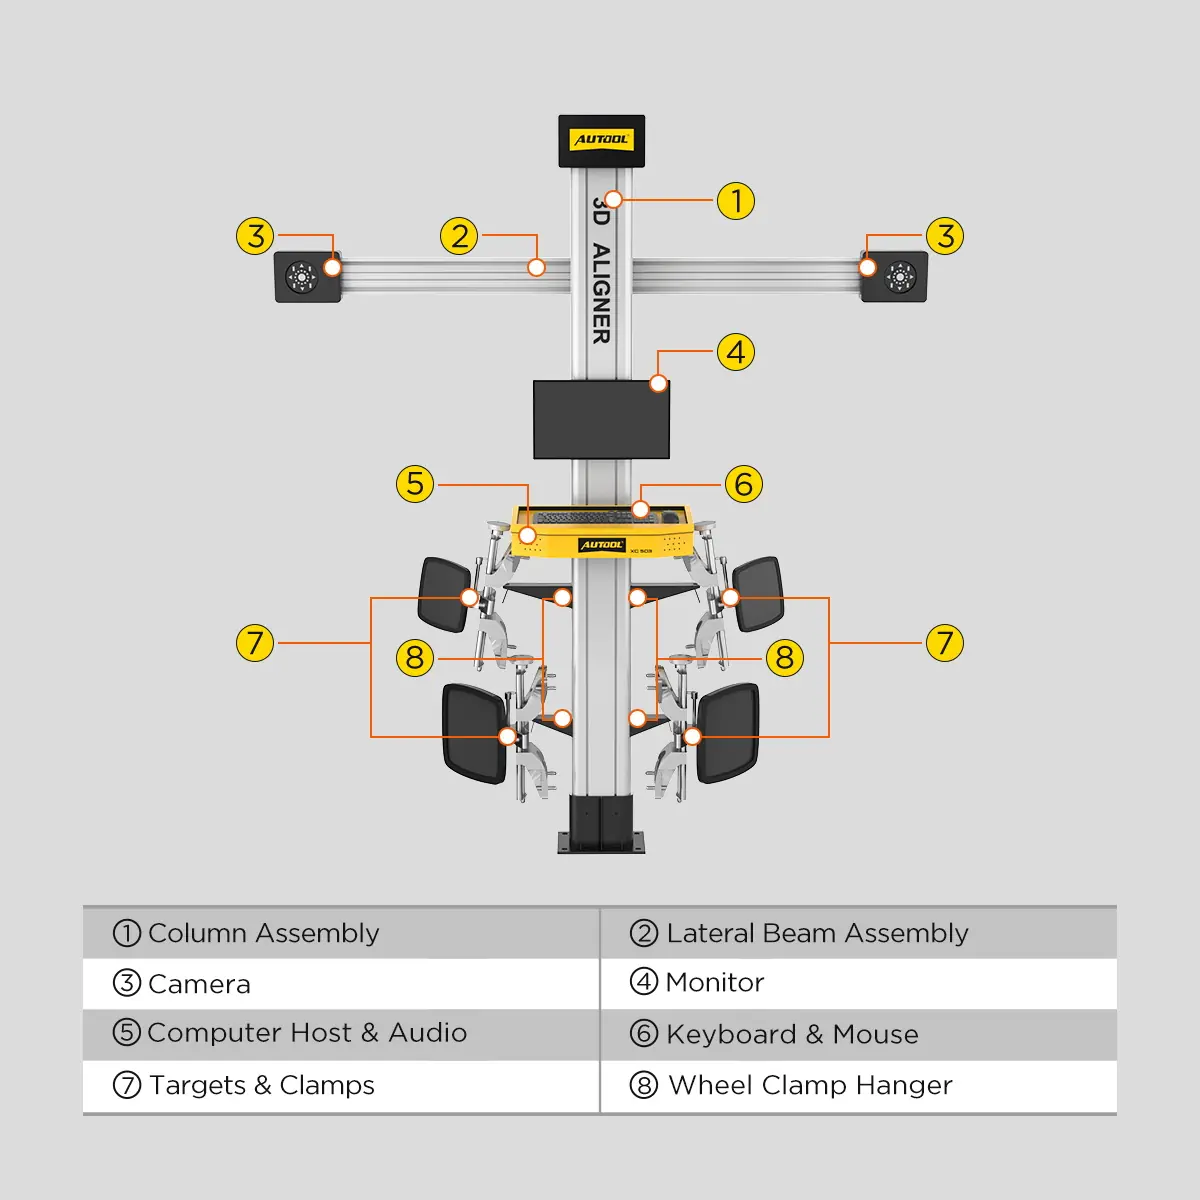
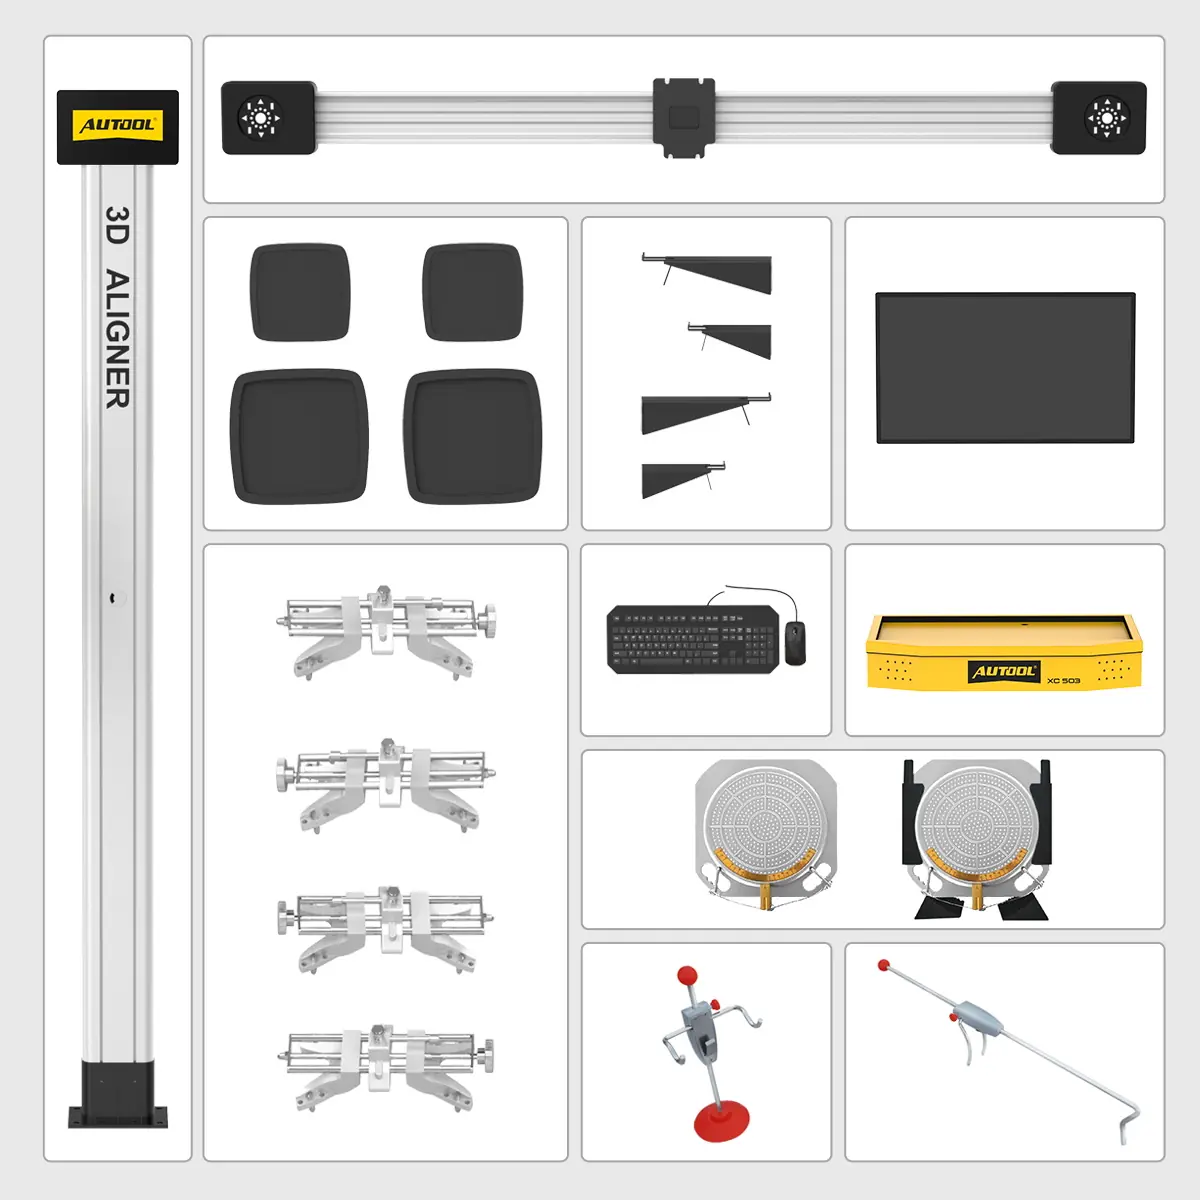
- Column assembly and lateral camera beam with cameras
- Monitor and XC503 computer host / audio unit
- Keyboard and mouse
- Wheel alignment targets, clamps and clamp hangers
- Turntables
- Brake pedal depressor and steering wheel holder
How to Use
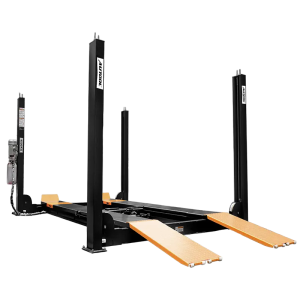
- Qualify the bayConfirm lift or pit geometry, turn and slip plates, rolling space, target sightline, power, lighting and installation dimensions.
- Inspect and identifyCheck tires, pressures, suspension, ride height and load, then select the exact vehicle, year and specification.
- Mount clamps and targetsCenter and secure them on clean wheel surfaces and keep every target visible to the cameras.
- CompensateRoll the vehicle forward or backward to complete run-out compensation.
- Measure and interpretRead the applicable angles and body measurements, and separate adjustable geometry from damaged or non-adjustable parts.
- AdjustMake permitted mechanical adjustments, then complete any vehicle-specific electronic procedures.
- Remeasure and reportRepeat the measurement, check steering-wheel position and save or print the before-and-after report.
Target setup, compensation, measurement and troubleshooting: XC503 user manual (PDF).
Good to Know
Caution
- Requires a stable, level alignment bay and a suitable lift with enough clearance around it; software cannot compensate for an unsuitable surface.
- Keep direct sunlight, direct infrared light and strong reflections off the targets and cameras.
- SAS, EPAS or ADAS calibration after alignment needs separate diagnostic or calibration equipment.
- Do not plan 24-inch wheel work unless the supplied clamp is explicitly rated for it.
- Choose the 110 V or 220 V version to match your local power.
Care
- Check clamp contact, target condition and mounting before every measurement.
- Follow the verification or calibration requirements after installation, moving, impact or repair.
- Do not place the aligner on a vibrating or sloped surface, and protect it from moisture and water splashes.
FAQ
Does the order of adjustment matter?
Yes. Start at the rear to establish the thrust line, then move forward. Incorrect thrust affects the other readings.
Do the cameras need adjusting after delivery?
No. The XC503 is calibrated before shipment and can be installed and used according to the manual without extra camera adjustment.
What should I check if the computer will not boot?
Check the computer power supply, press the power buttons on both the host and the monitor, look for a flashing indicator LED, and check the monitor brightness and contrast settings.








 English
  German
  Spanish