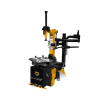
Tilt-Back Tire Changing With an Assist Arm for Stiff Run-Flat and Low-Profile Tires
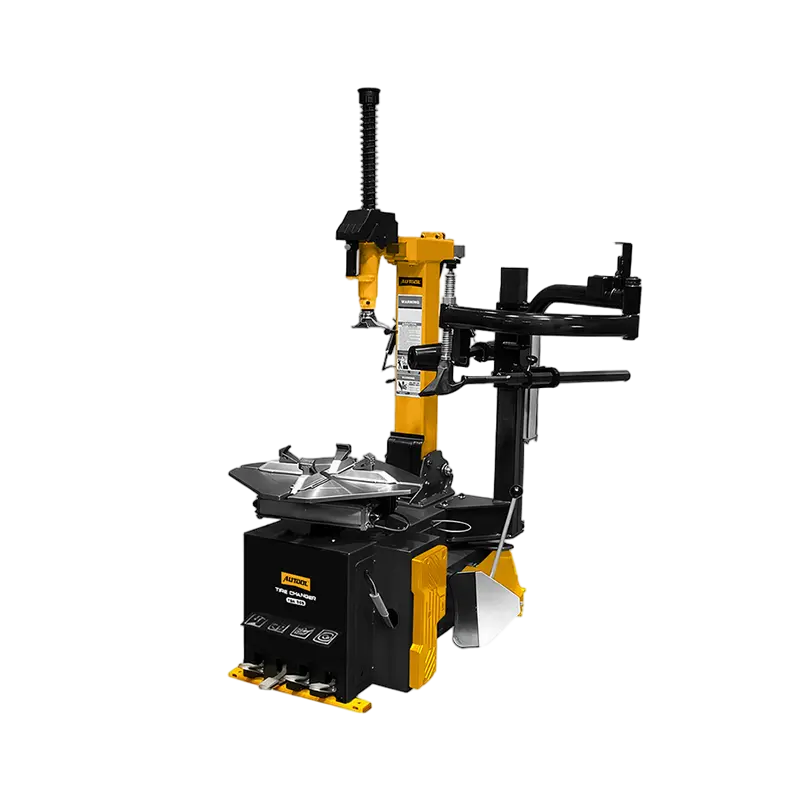
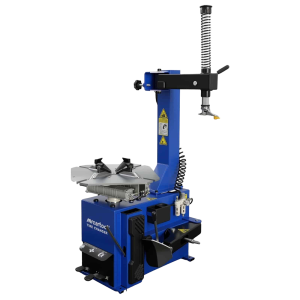
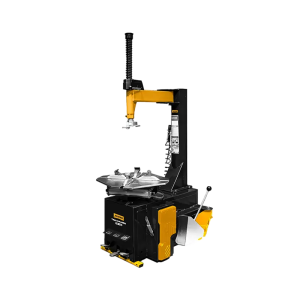
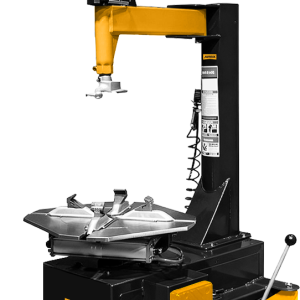
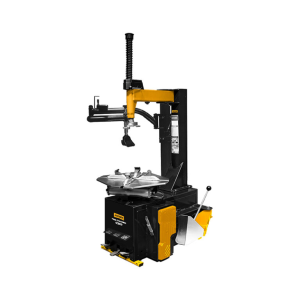
Both models pair a tilt-back column with a right-side auxiliary arm that supports and presses the tire during mounting and demounting. Choose the TCA506 when you also need an independent bead blaster for bead seating. Confirm the regional power version before ordering.
- 12–24 in Rims
- Right-Side Auxiliary Arm
- TCA506: Bead Blaster
- 8–10 bar Shop Air
Key Features
-
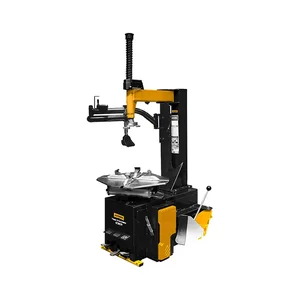
Right-Side Auxiliary Arm
Tire support and pressing functions make hard-to-install run-flat and low-profile tires easier to mount and demount.
-
Stronger Bead Breaking
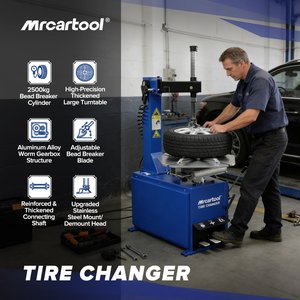
A bidirectional large cylinder with dual exhaust gives stronger bead breaking and faster return.
-
Rim-Friendly Clamping
Alloy steel jaws with quenched tips and protection sleeves, plus a stainless steel demount head with anti-scratch washers.
-
Serviceable Foot Valves
A pull-out foot valve assembly eases maintenance, and the reinforced composite housing reduces working-head vibration.
-
TCA506 Bead Blaster
An independent bead blaster system assists initial bead seating.
More Specifications
| Main-unit package size | 1150 × 950 × 980 mm |
|---|---|
| Auxiliary-arm package size | 1050 × 750 × 360 mm |
What’s in the Box
- Tilt-back tire changer main unit
- Right-side auxiliary arm (packed separately)
- Independent bead blaster (TCA506 only)
How to Use
- Check the wheelConfirm rim diameter and width, tire outside diameter and condition, and whether bead-blaster help is needed.
- Deflate fullyRemove the valve core and confirm zero pressure before bead breaking.
- Break the beadLubricate the bead and keep the breaker shoe clear of the rim and your hands outside the moving zone.
- Center and clampCenter the rim and confirm all jaws engage evenly.
- Set column and headPosition the tilt-back column and mounting head with rim clearance, protectors and tire lubricant.
- Use the auxiliary armKeep the bead in the drop center and let the arm support the sidewall.
- Seat and inflateFollow the tire and rim inflation procedure with the required restraint; stay out of the trajectory zone.
- InspectCheck bead seating, valve, rim contact and tire condition before removing the wheel.
Good to Know
Caution
- The 8–10 bar figure is the machine air supply, not a bead-seating or vehicle tire pressure.
- Keep hands and body clear of the bead breaker, jaws, turntable, mounting head and helper arms whenever controls are operated.
- Never exceed the tire and rim manufacturer’s pressure limits; never stand in the trajectory zone during inflation.
- Confirm the voltage and motor version for your region, and plan unloading for a heavy shipment.
Care
- Use approved lubricant, jaw and head protectors, and the vehicle procedure for TPMS-equipped wheels.

 English
  German
  Spanish