


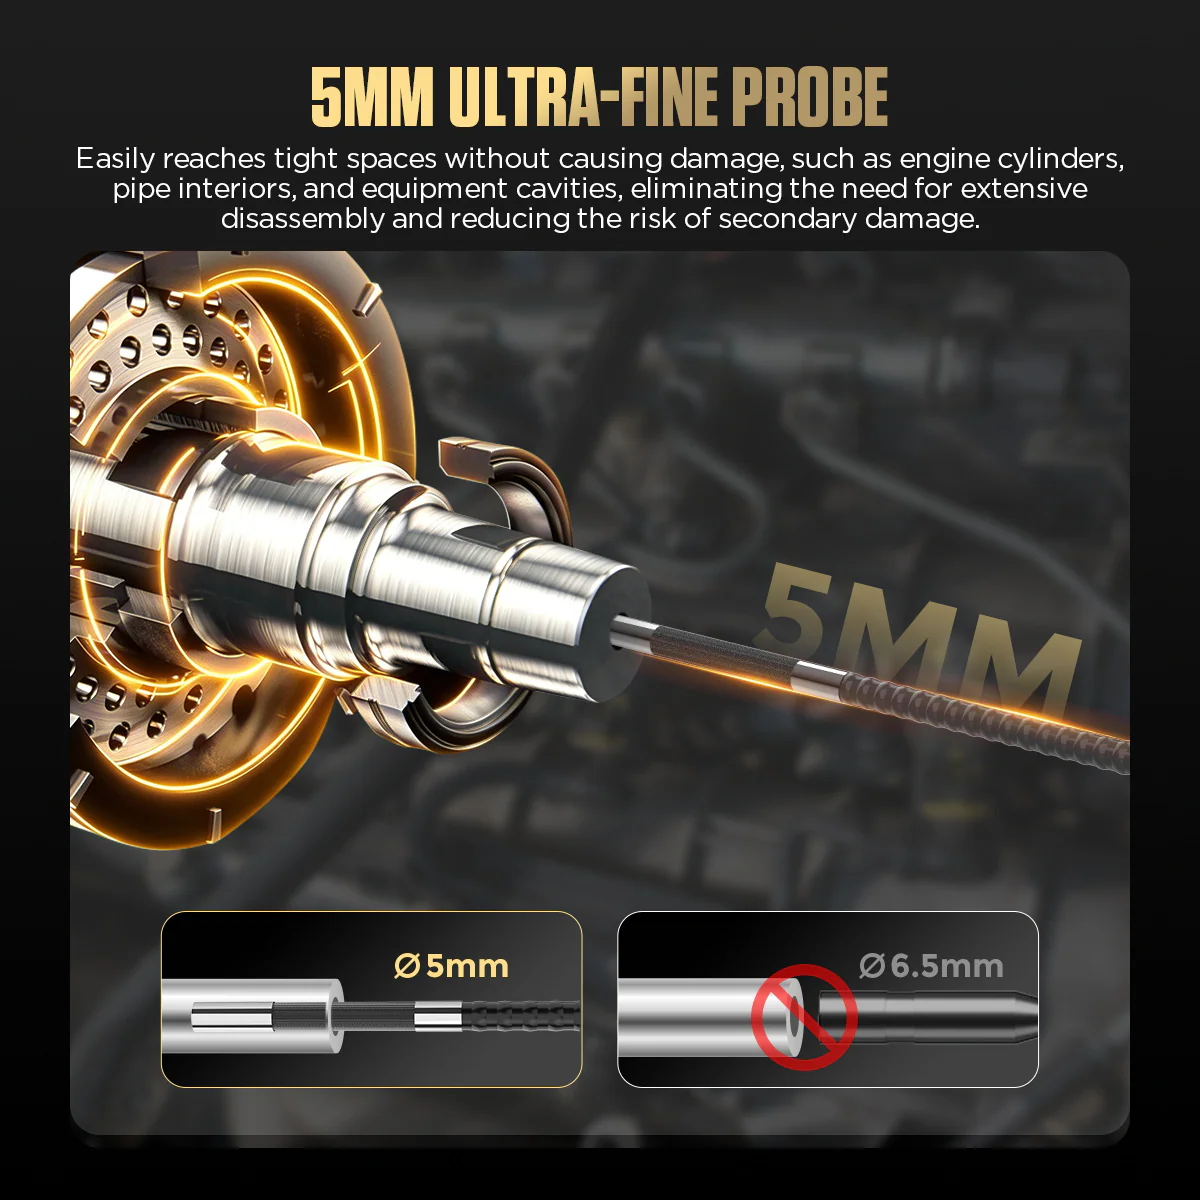
Orienter une caméra de 5 mm dans les ouvertures étroites du moteur
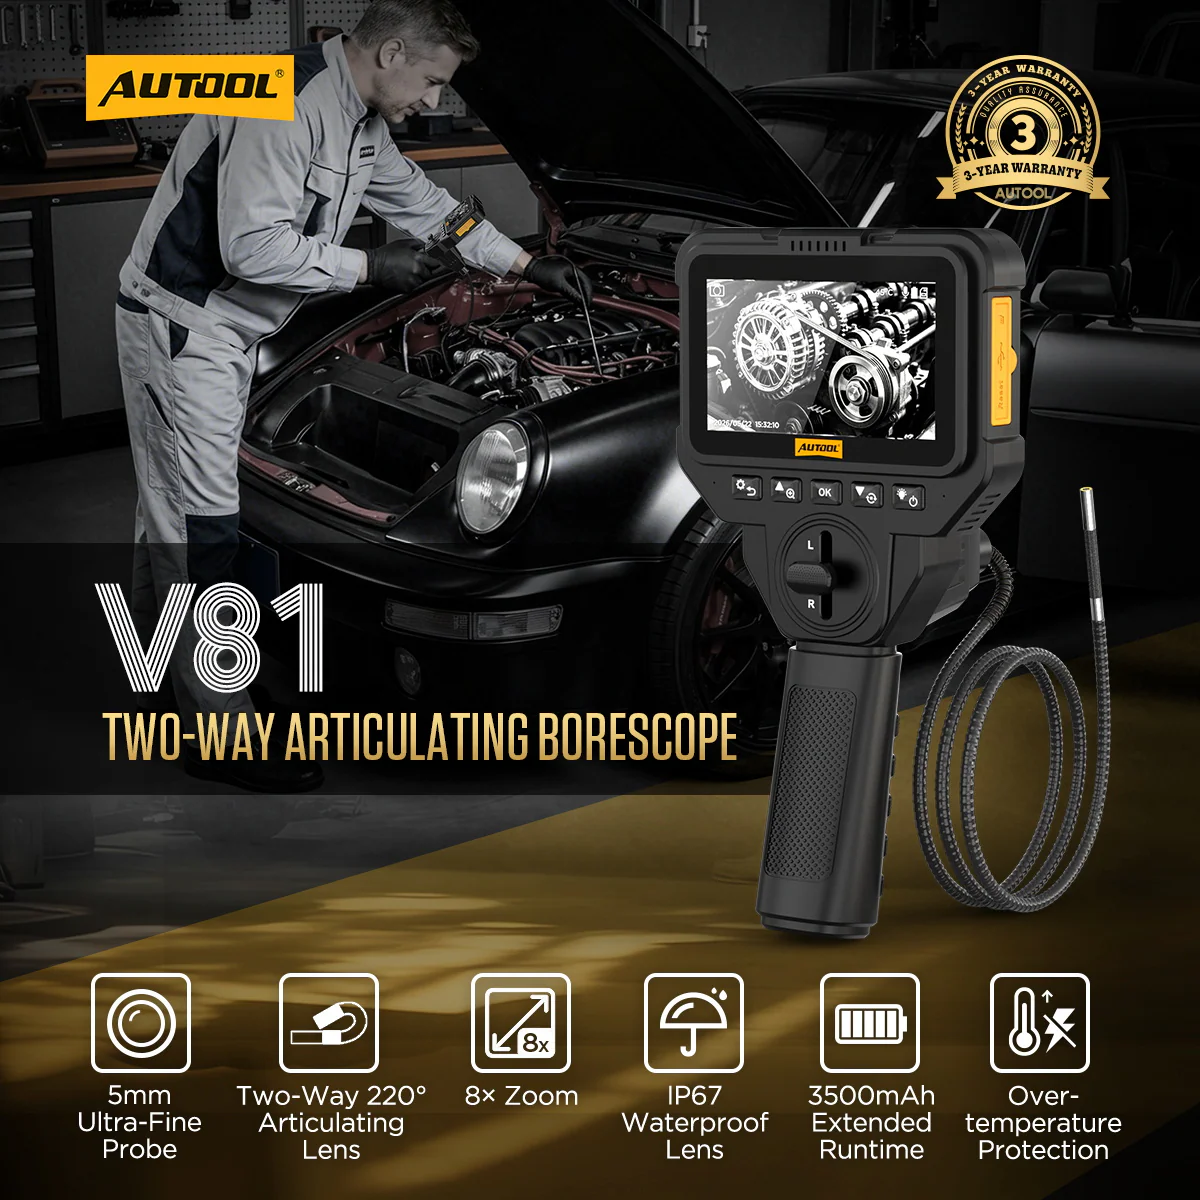
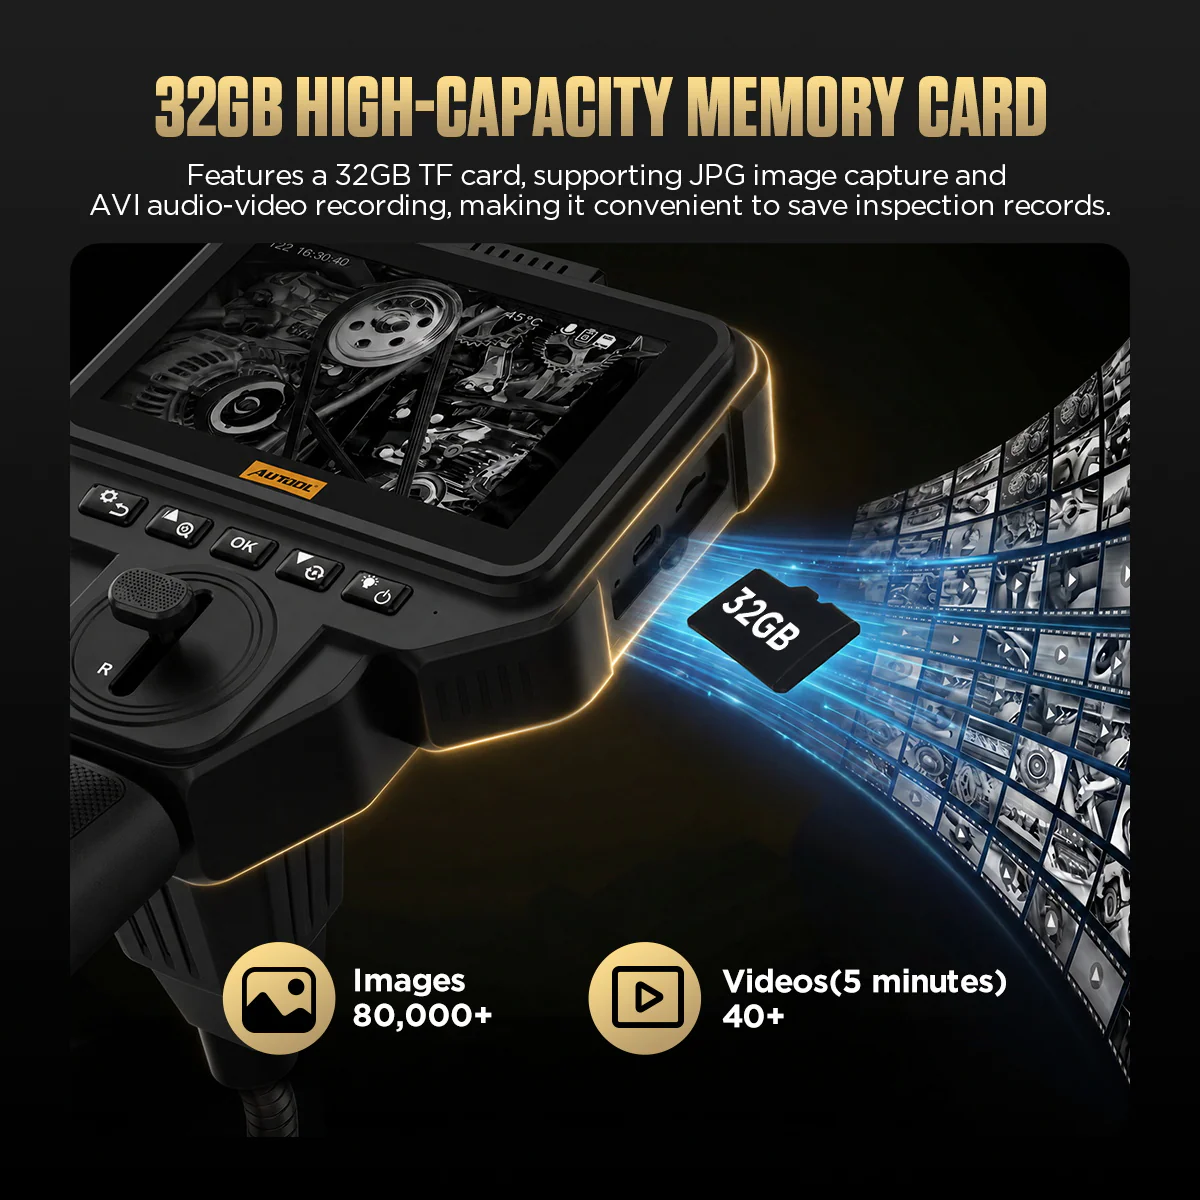
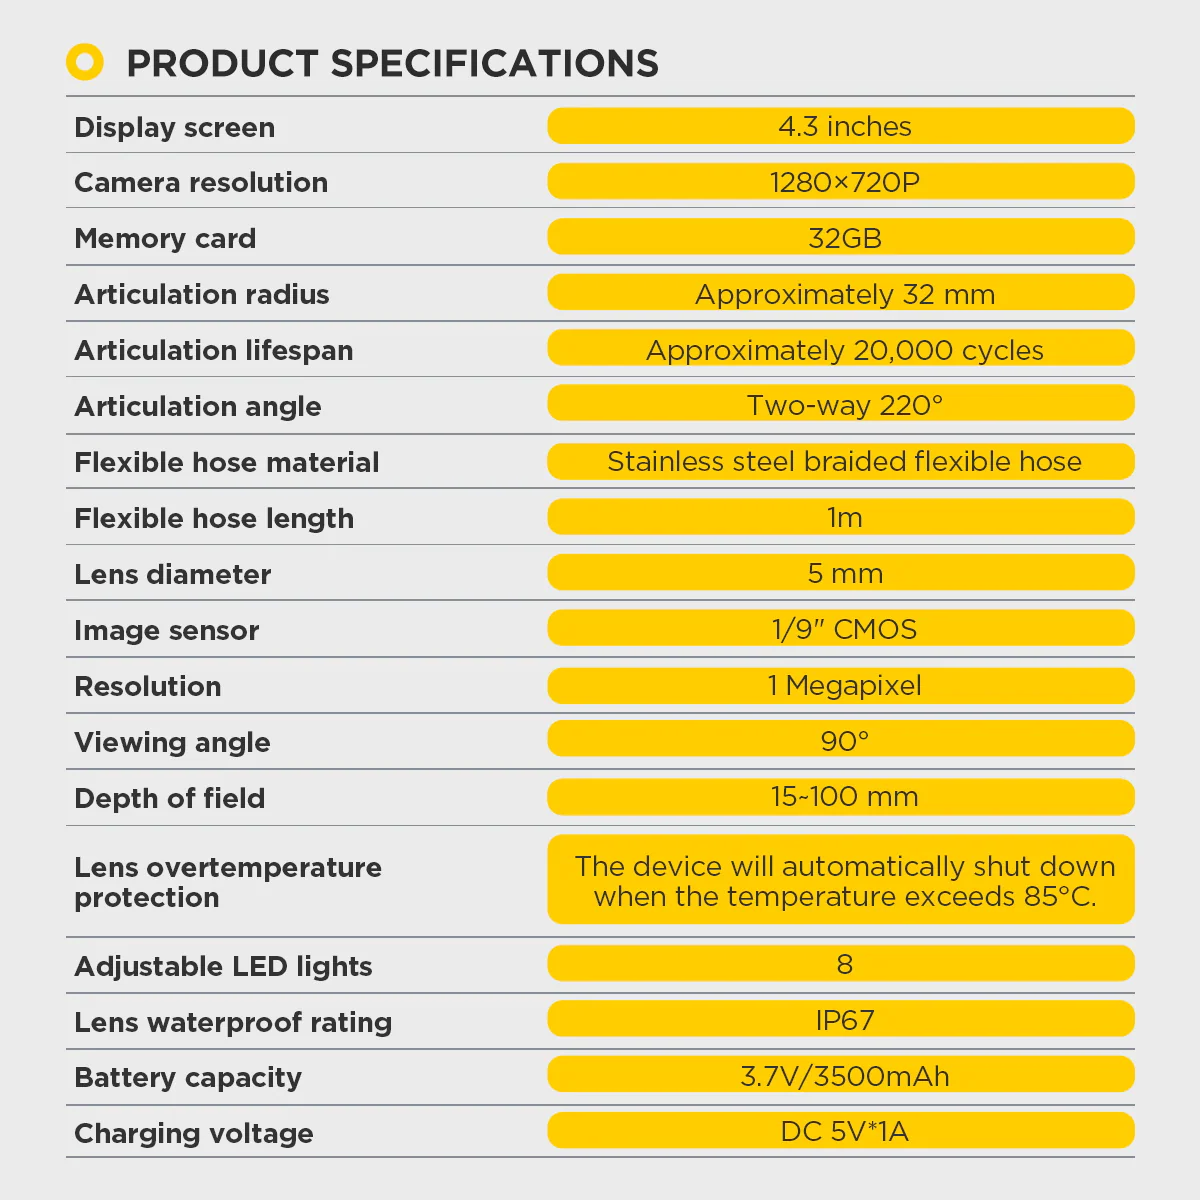
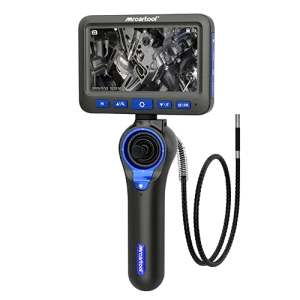
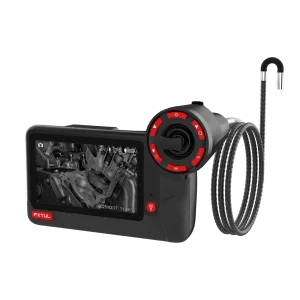
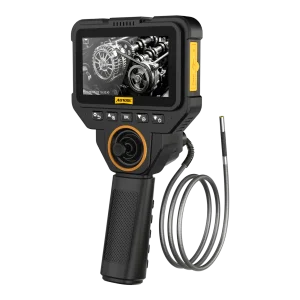
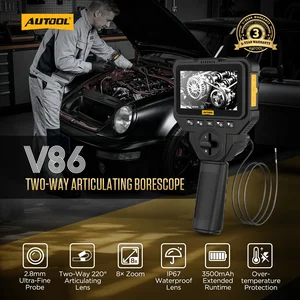
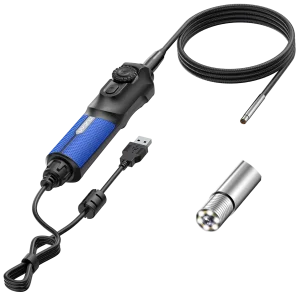
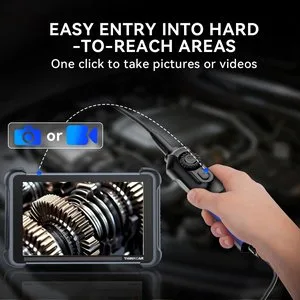
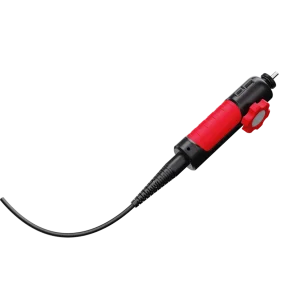
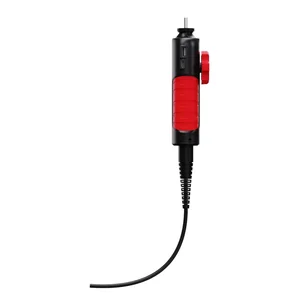
The V81 guides a 5 mm probe with two-way steering and shows the live image on its own 4.3-inch screen, no phone or app required. Save photos or video for review, and use the magnetic base to hold the unit during suitable inspections.
- Sonde orientable dans deux directions de 5 mm
- Imagerie 1280×720
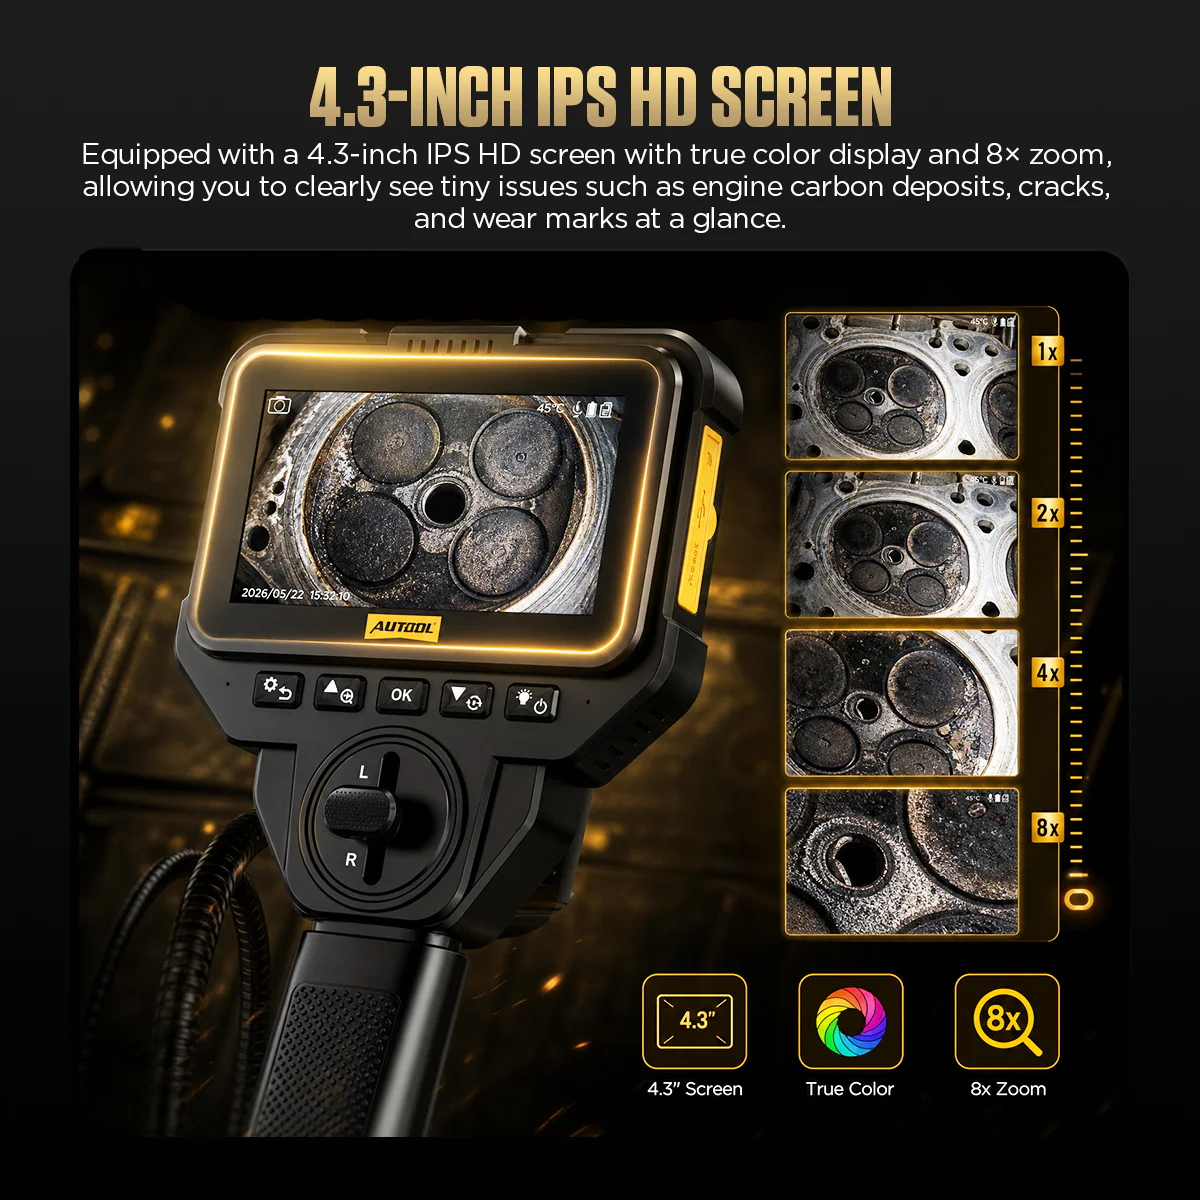
- Écran de 4.3 pouces
- Zoom numérique 8×
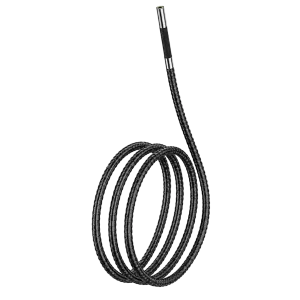
- Flexible tressé de 1 m
Caractéristiques principales
-
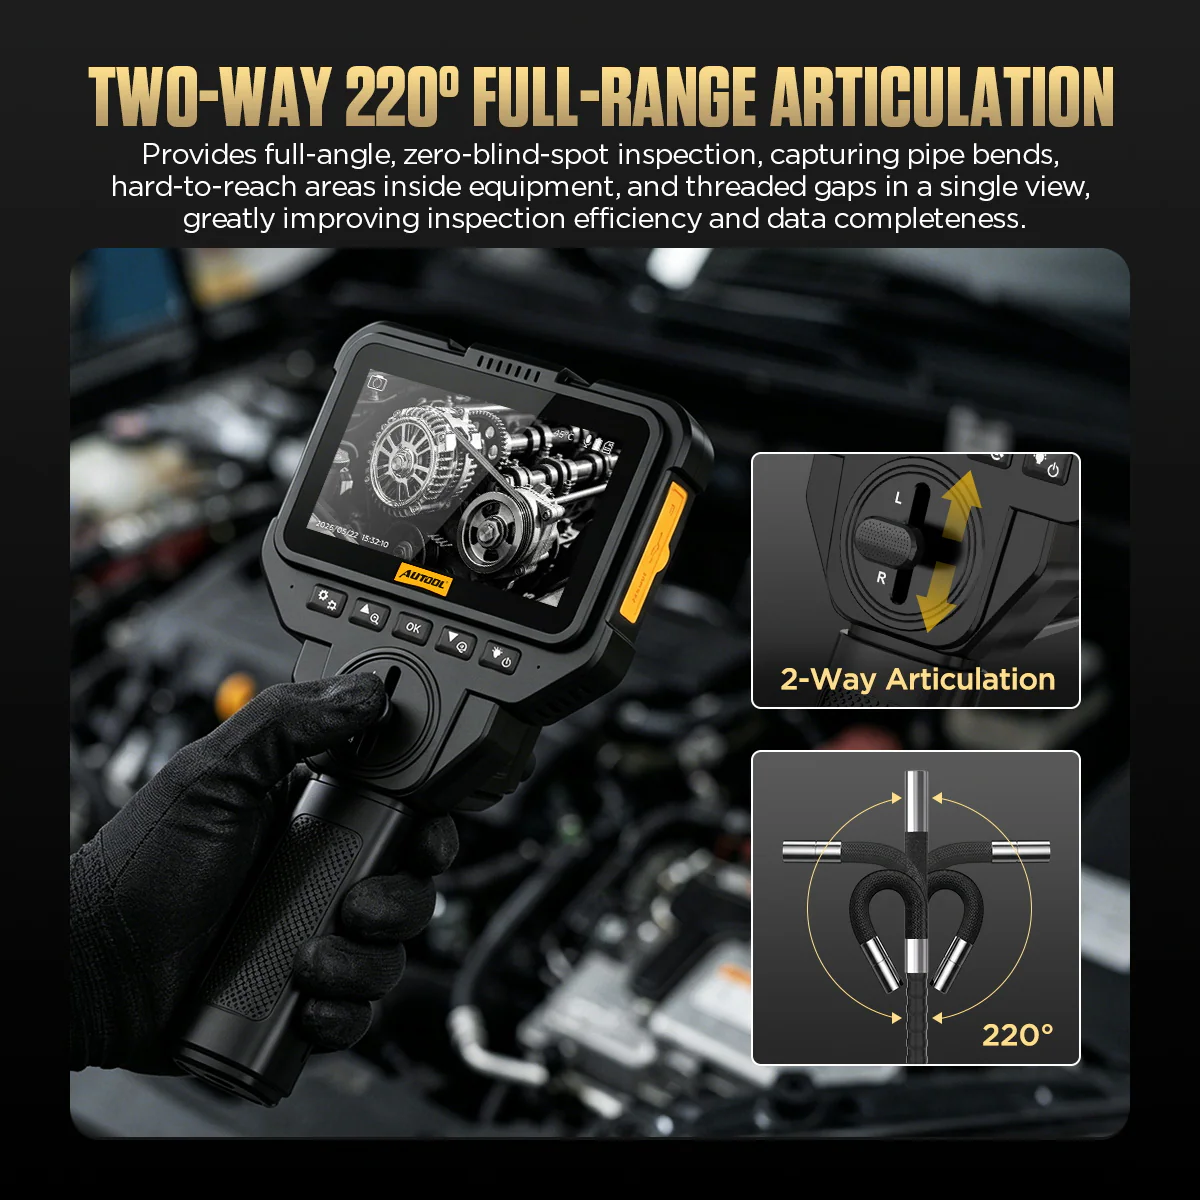
Orientation bidirectionnelle
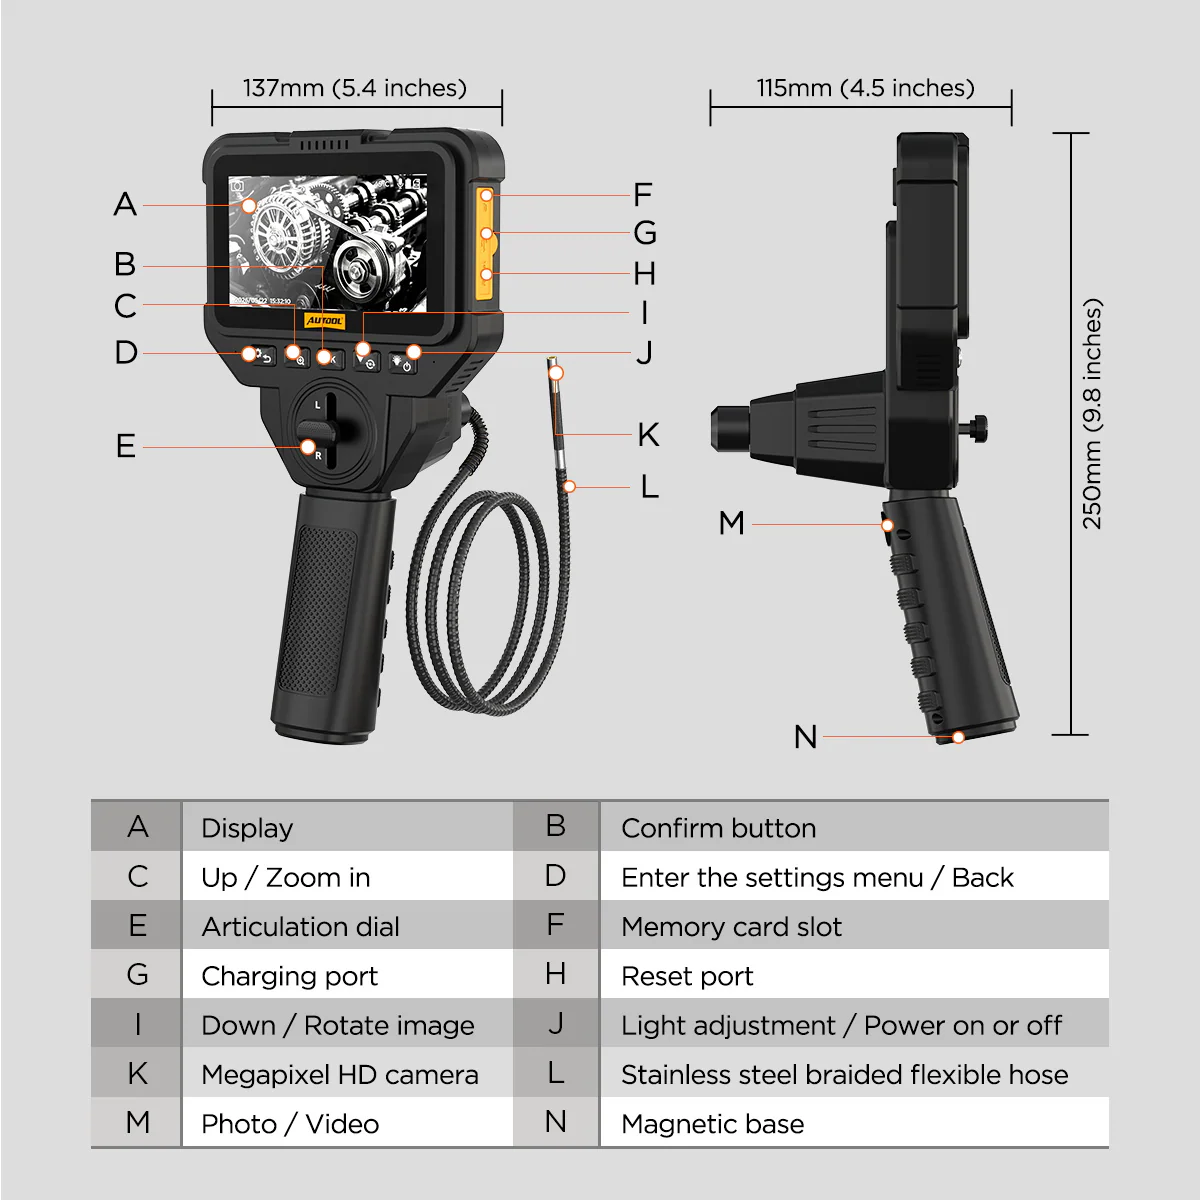
Guide the tip with the steering control; the stated articulation range is 220°.
-
Écran autonome
Live view, recording playback and device controls on the integrated color screen.
-
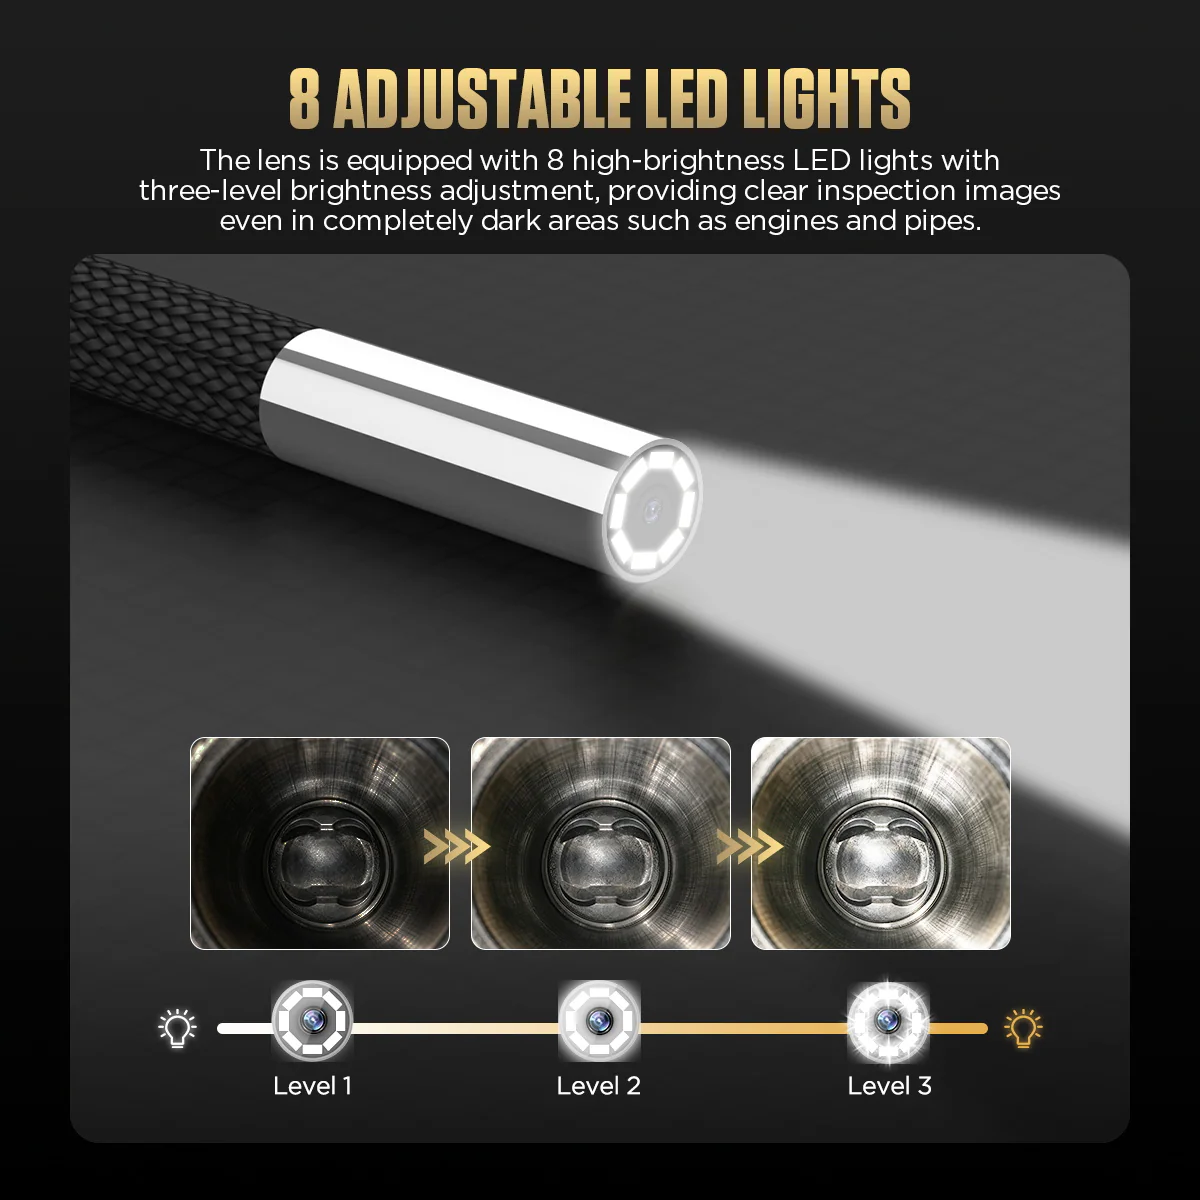
Éclairage de sonde réglable
Three brightness levels plus off, to reduce dark areas or reflections.
-
Zoom numérique jusqu’à 8×
Enlarges captured detail on screen; set distance, focus and lighting first, since zoom cannot add detail that was not captured.
-
Photo, vidéo et relecture
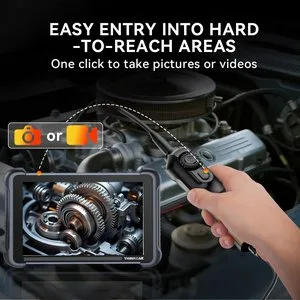
Capture with the handle button, then review files with playback and image rotation.
-
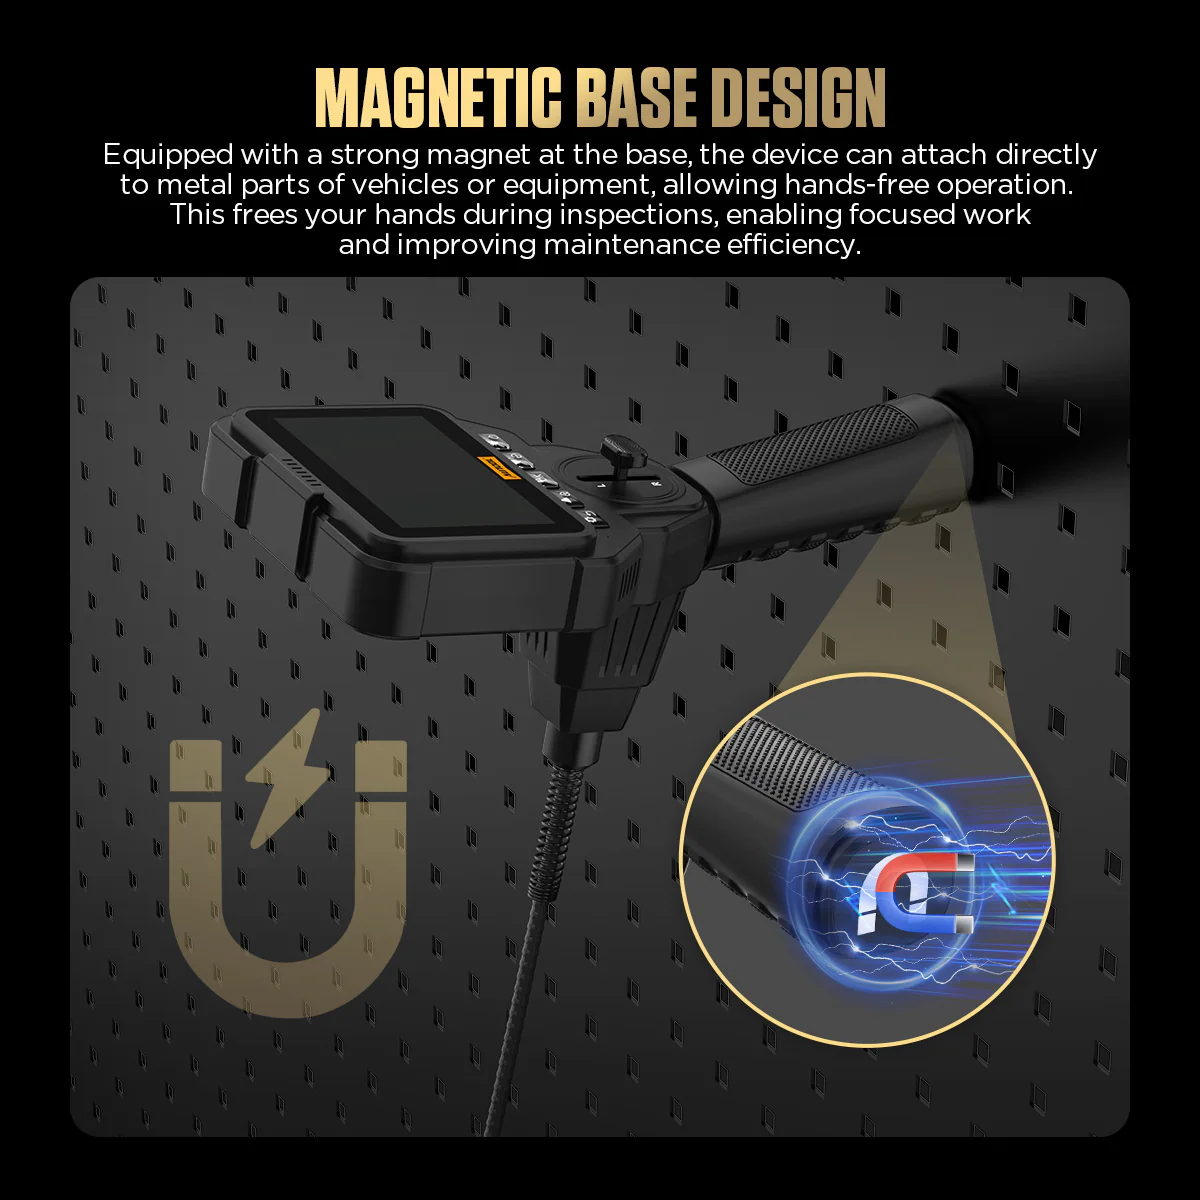
Base magnétique
Attach to a suitable ferrous surface to support positioning while you guide the probe.
Autres caractéristiques
| Capteur d’image | 1/9″ CMOS |
|---|---|
| Rayon d’articulation | Environ 32 mm |
| Durée de vie de l’articulation | Environ 20 000 cycles (caractéristique technique, pas une garantie) |
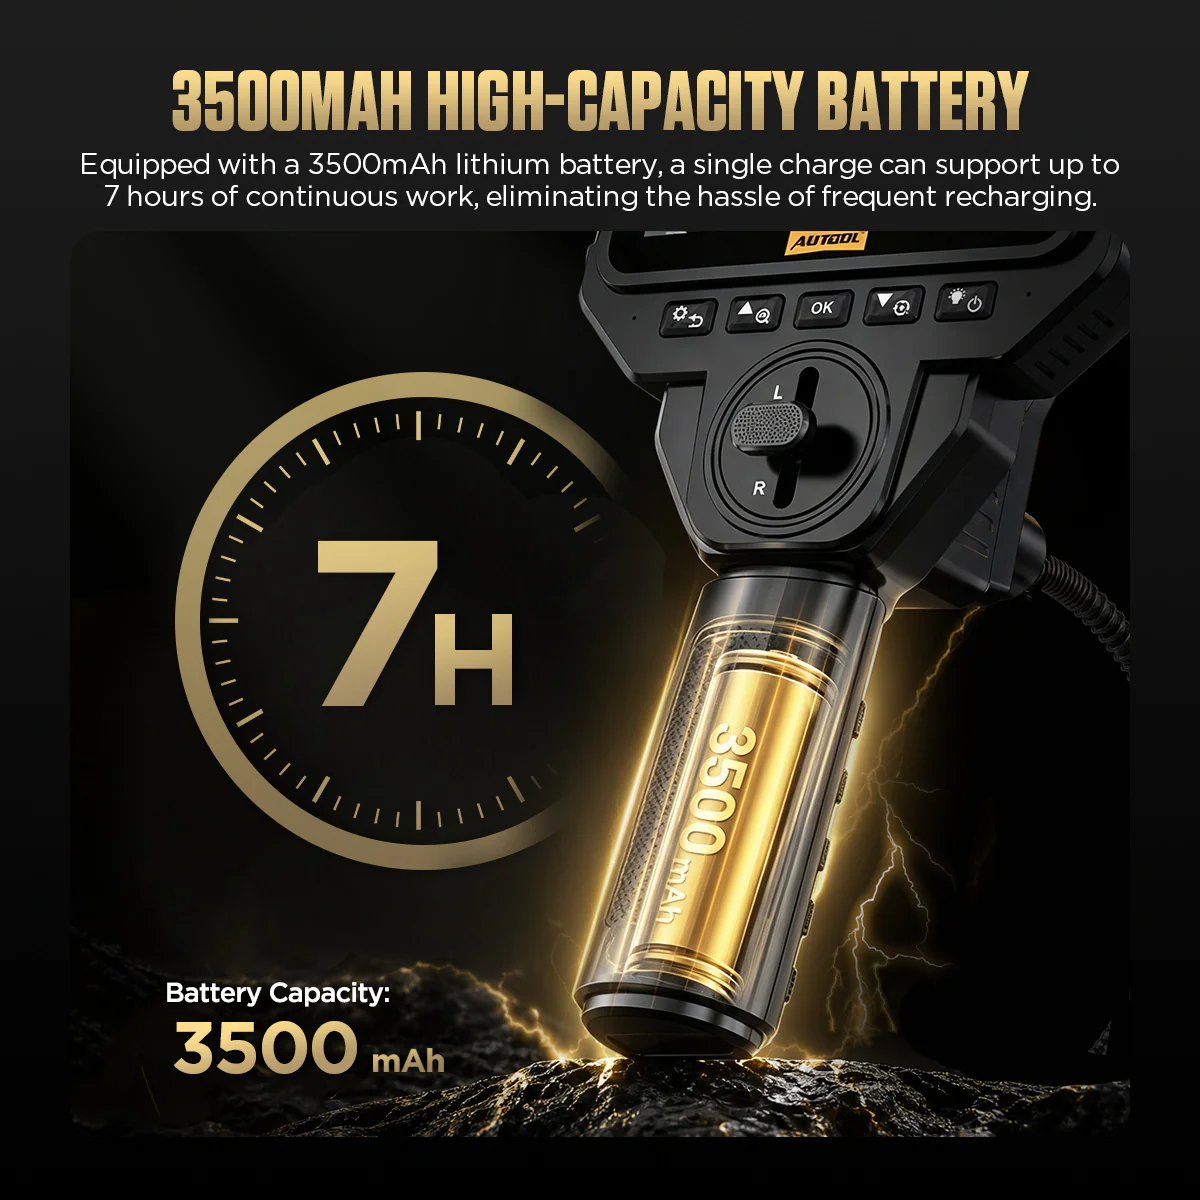
| Charge | DC 5 V / 1 A ; charge rapide non prise en charge |
Comparaison des modèles
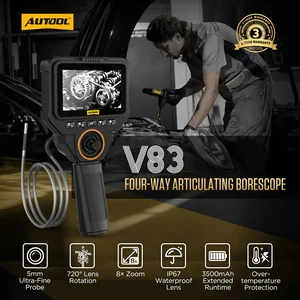
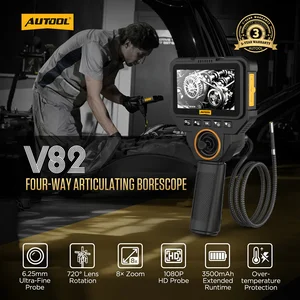
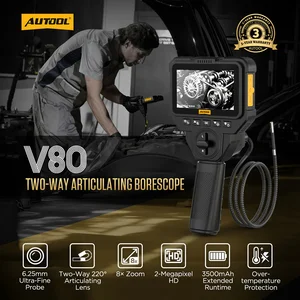
| V81 | V80 | V83 | |
|---|---|---|---|
| Probe diameter | 5 mm | 6.25 mm | 5 mm |
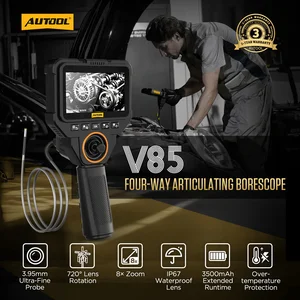
| Steering | Two-way | Two-way | Four-way |
| Résolution | 1280×720 (1 MP) | 1920×1080 (2 MP) | 1280×720 (1 MP) |
Contenu du coffret
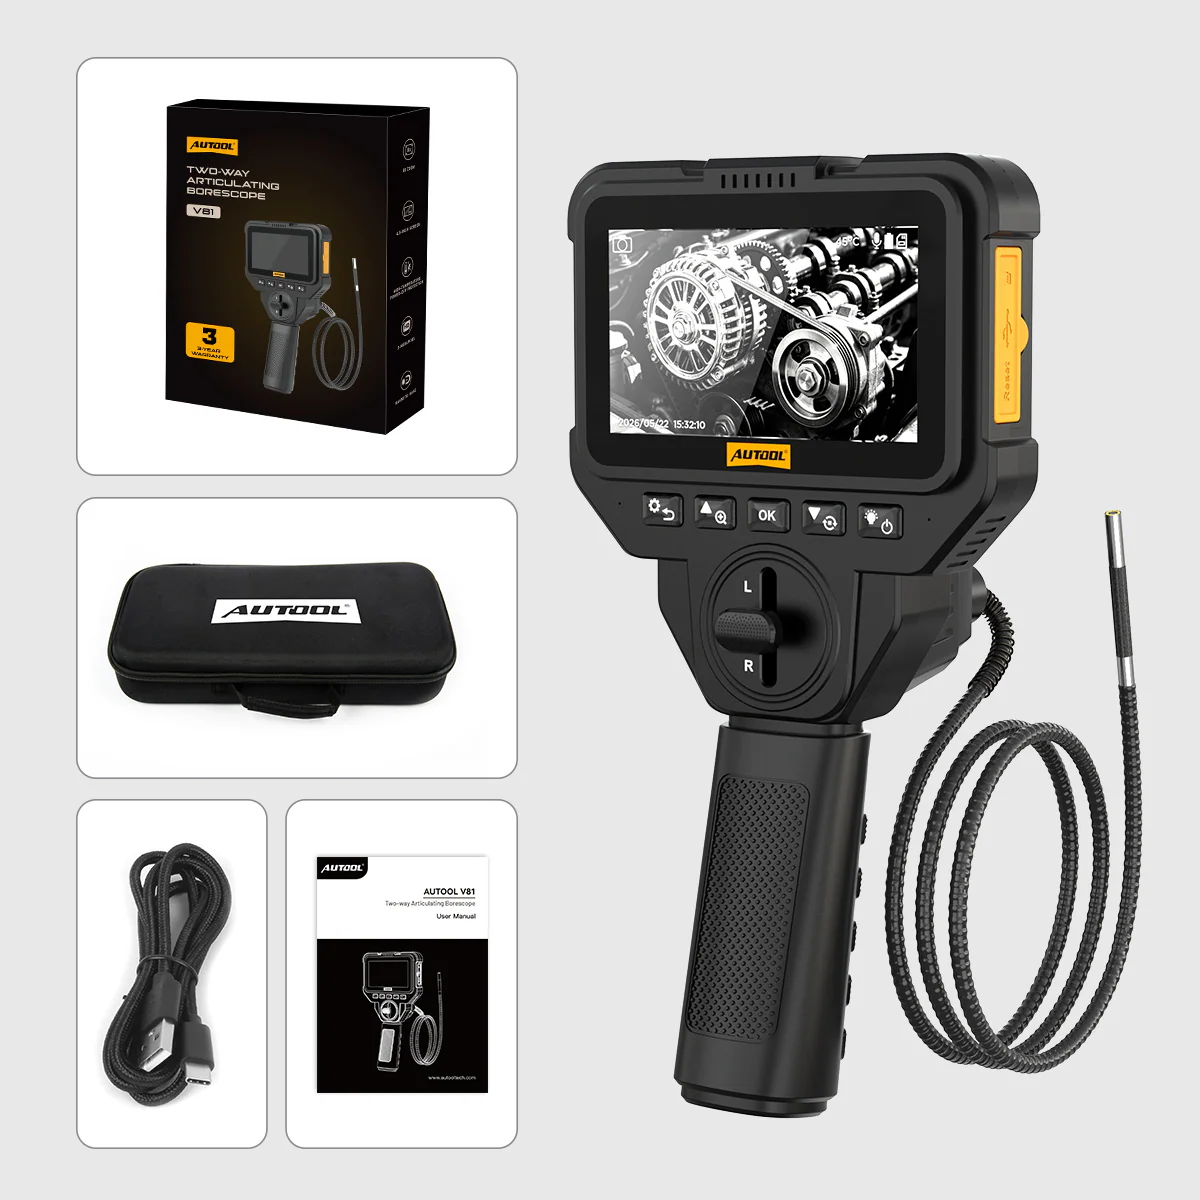
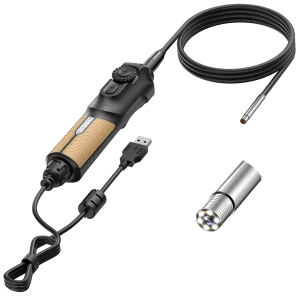
- Endoscope V81 avec sonde articulée et écran intégré
- Mallette de transport
- Câble de charge USB
- Manuel d’utilisation
Mode d’emploi
- Définissez la cibleIdentify the entry point and surface to inspect, and confirm the probe and viewing range suit that path.
- Vérifiez l’équipementInspect the tip and cable, charge the unit, and test steering, lighting and saving.
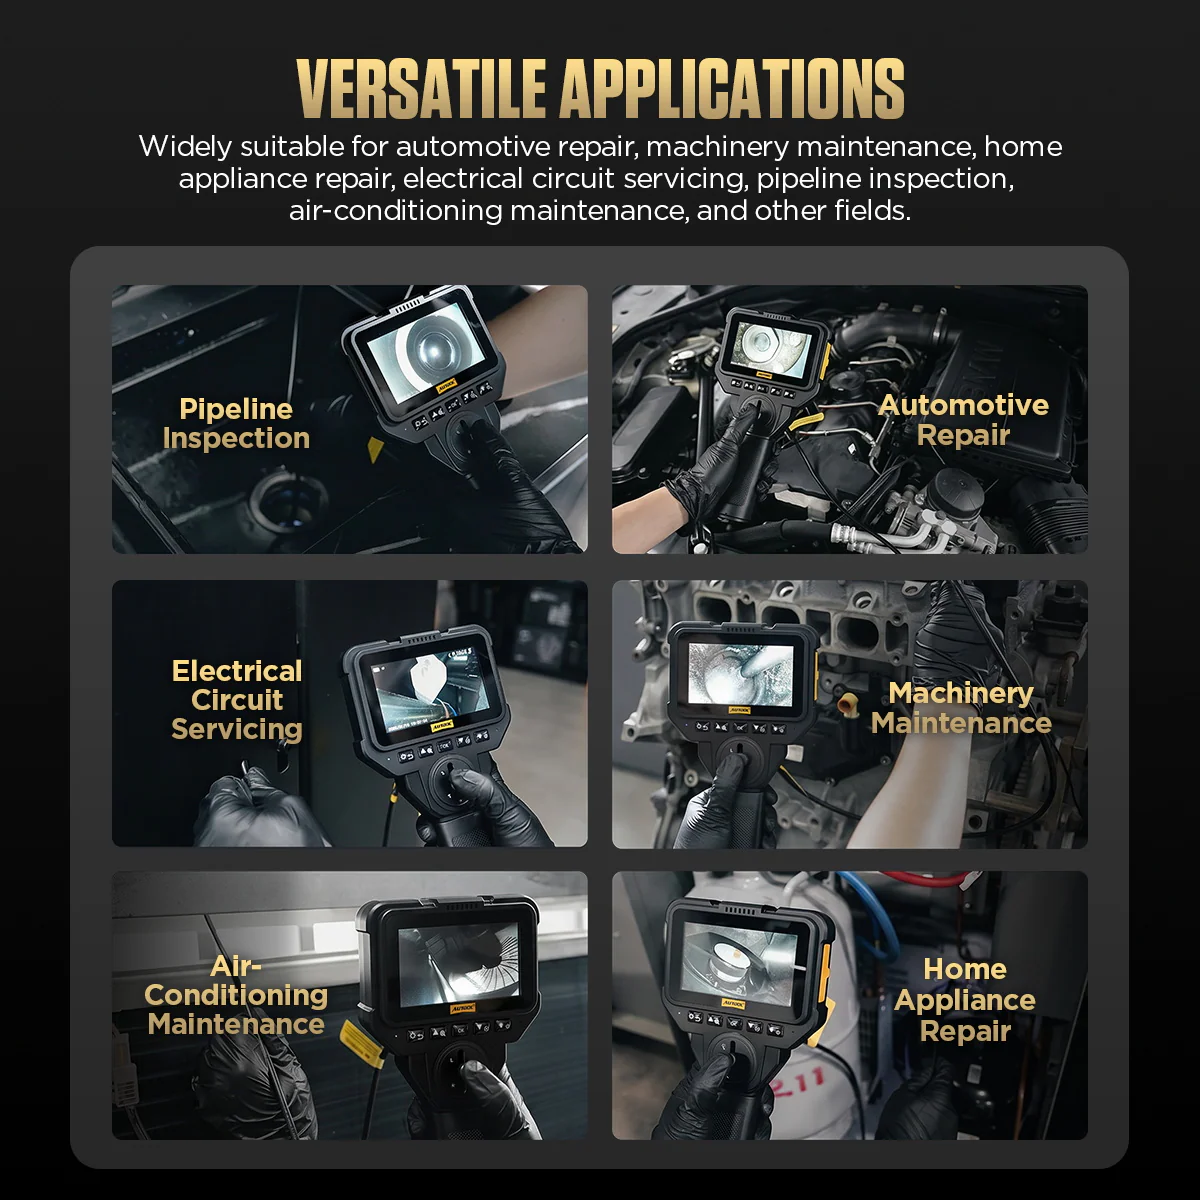
- Préparez le véhiculeIsolate moving and live parts and let the inspection area cool.
- Guider et éclairerInsert gently while watching the live image; steer and adjust lighting, never forcing a bend.
- Notez les résultatsCapture useful angles and note the component, entry point and viewing direction.
- Retirez et rangezStraighten the tip, withdraw gently, then clean, dry and store the probe.
Orientation, enregistrement, charge et retrait en toute sécurité : Manuel d’utilisation V81 (PDF).
Bon à savoir
Attention
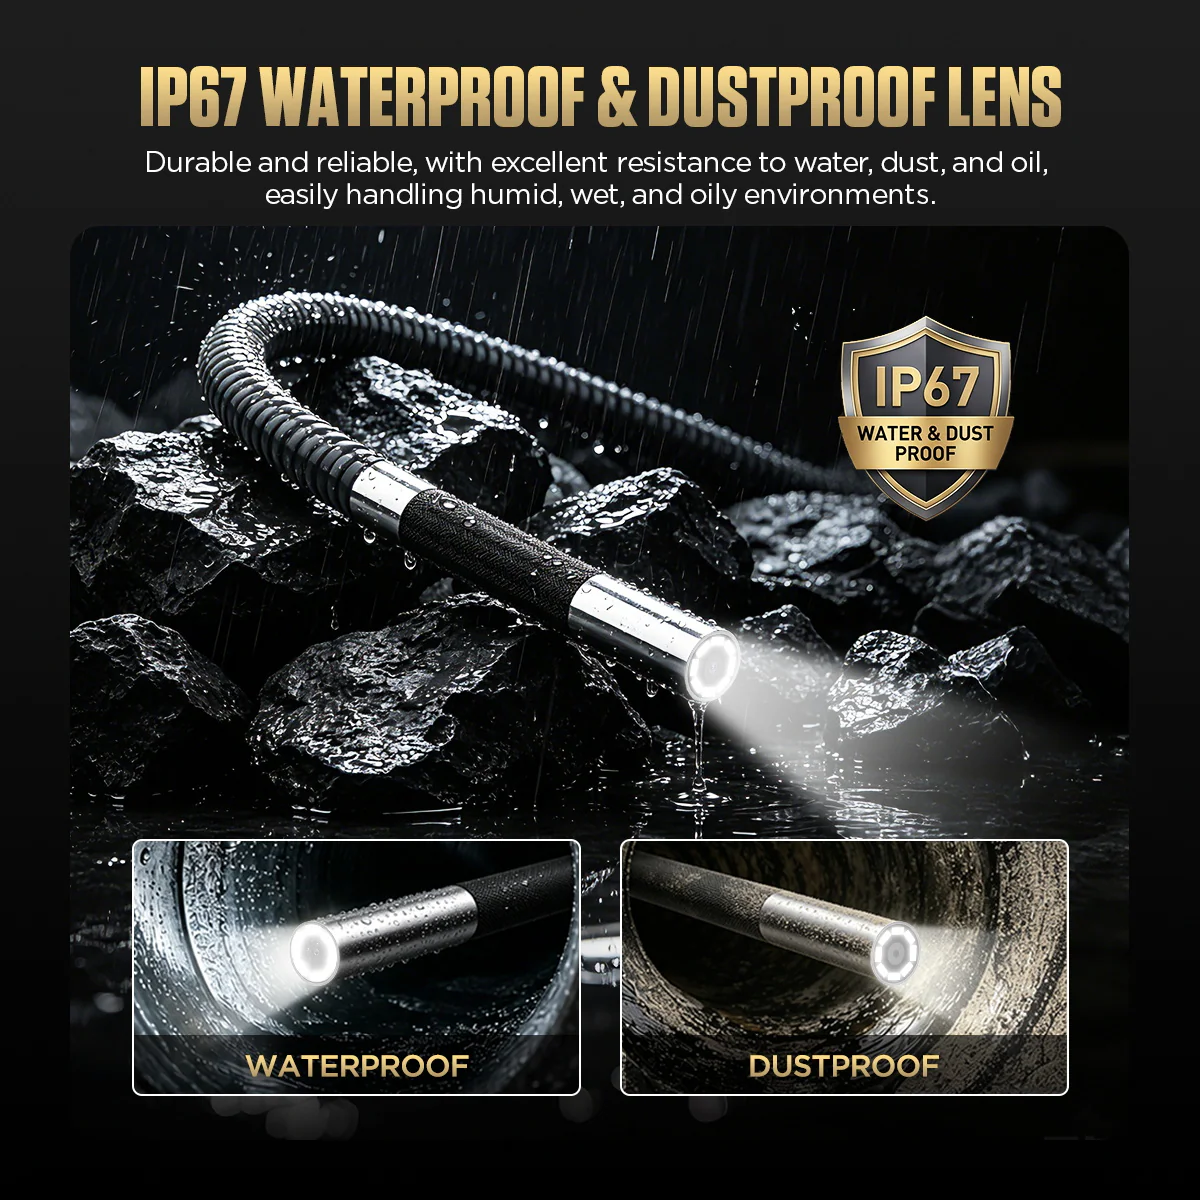
- IP67 applies to the probe only; keep the screen and handle dry, and do not infer oil, fuel or solvent compatibility from the rating.
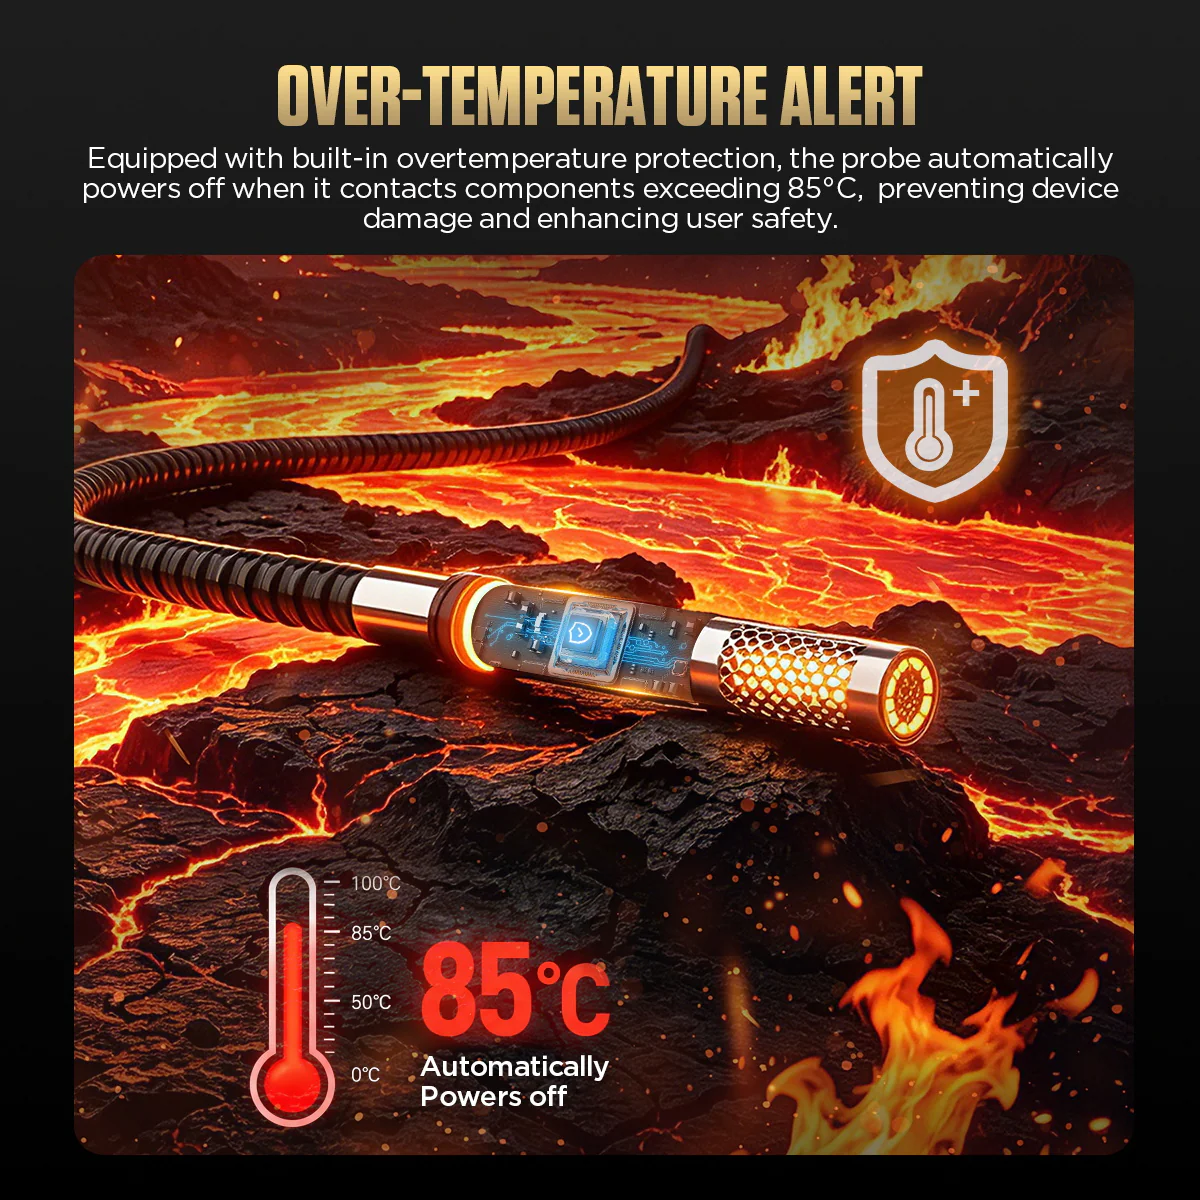
- The 85°C shutdown is a protection threshold, not a working-temperature rating; inspect only cooled components.
- If the probe resists withdrawal, stop pulling and return the tip with the steering control; do not start the engine with the probe inserted.
Entretien
- Évitez de faire fonctionner le tuyau enroulé et de le courber de force.
- Use the image as visual evidence; supporting tests may still be needed before a repair decision.







 English
  Deutsch
  Español
  Nederlands
  Français